Framing Curved Walls
Use a tape measure as a compass and thick plywood for wall plates.
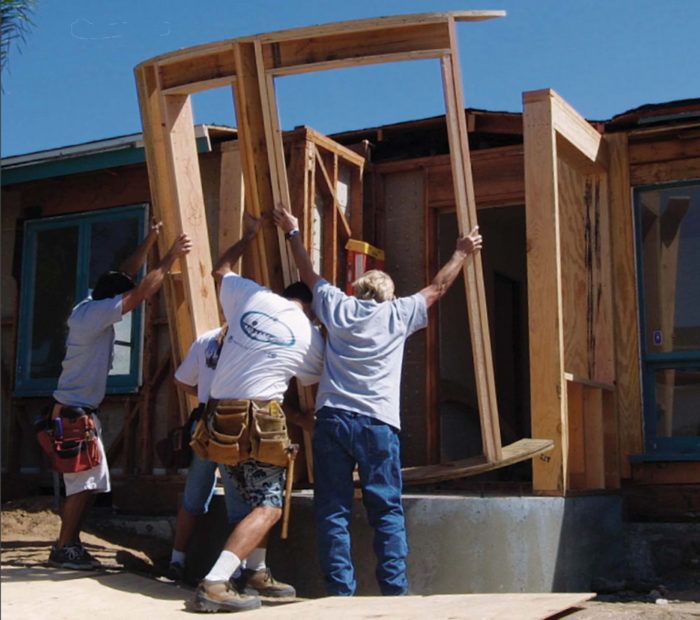
Synopsis: A simple technique for laying out and framing a curved wall. The author also describes how he lays out and frames door and window openings in curved walls.
“Piece of cake,” I replied the first time someone asked whether I could build curved walls. But as I looked over the plans, I didn’t have a clue how to turn that drawing of a round room into reality. Late in the day, after the generators were silenced and the crews were on their way home or to the bar, I prowled around at a couple of jobs being built by one of the best framing contractors in San Diego.
By looking at his work, copying his notes from the floor, asking questions the next day and applying ingenuity, I built my first radius wall as if I’d done it a hundred times. That was a few years ago; I’ve since developed a more refined technique that I use now.
A chalkline represents the base of the radius
The job shown here is a 180° radius wall, or a half-circle, that extends from two parallel sidewalls. This radius wall is the simplest type.
To lay out the radius, you first must establish the baseline. In this case, the baseline connects the ends of the two sidewalls. I snap a chalkline on the floor to represent the baseline, then mark its center (half the length of the baseline is the outer radius).
A nail partially driven into the floor at this center mark becomes the pivot point for my tape measure, which I use as a compass to mark the inside radius of the wall plate on the floor. Most tapes have a slot cut in the hook at the end for just this purpose: The edge of the nail head rides in the slot as you hold a pencil to the edge of the tape at the proper point and mark the radius to the floor.
Complications arise when something straight, such as a door or a window, goes into a curved wall. On this job, the architect had called for the wall to be 5-1 ⁄2 in. thick and for the door to be 3 ft. wide. If I’d built it as drawn, the center of the door-jamb head would have intruded past the wall surface. After consulting the architect, we thickened the wall to 7-1 ⁄2 in. and downsized the door to 2 ft. 8 in.
Thick plywood makes up the radius-wall plates
I usually make radius plates from two top and two bottom layers of 1-1 ⁄8-in. plywood, which adds up to the same 4-1 ⁄2-in. thickness as three 2x plates, avoiding the need to custom-cut studs. When framing on a slab, however, as here, the bottom plate must be treated plywood, which is available in a maximum thickness of only 3 ⁄4 in. Cutting six 3 ⁄4-in. plates to achieve a 4-1 ⁄2-in. plate thickness would have been a lot of work. Instead, I used two 3 ⁄4-in. bottom plates and two 1-1 ⁄8-in. top plates; I custom-cut the few studs that this wall required.
For more photos and details on framing a curved wall, click the View PDF button below.
Fine Homebuilding Recommended Products
Fine Homebuilding receives a commission for items purchased through links on this site, including Amazon Associates and other affiliate advertising programs.
Stabila Extendable Plate to Plate Level
Guardian Fall Protection Pee Vee

Sledge Hammer
