Install a Full-Frame Replacement Window: How To Flash a Window Rough Opening in an Existing Brick Wall
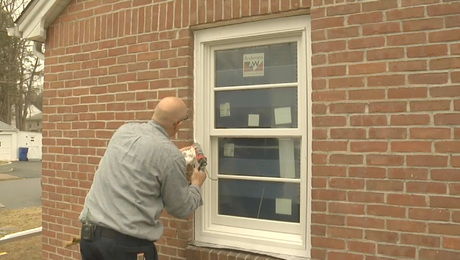
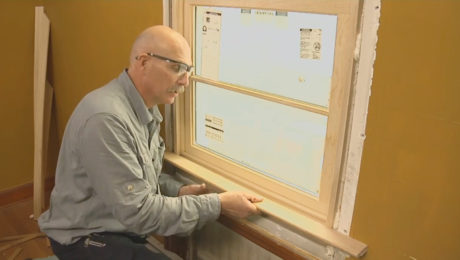
Remodeler Mike Sloggatt demonstrates a reliable method for managing water when installing a replacement window in a masonry wall.
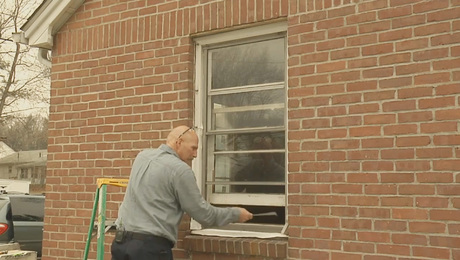
Mike Sloggatt: I’m measuring center, brick to brick, because I want the trim on the exterior to be even. So I’ll take the center of brick to brick, not the interior framing.
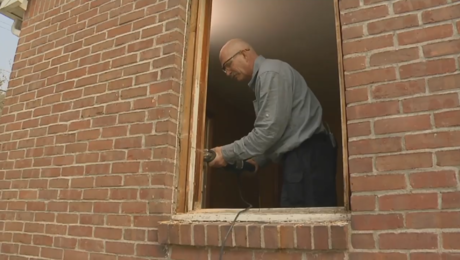
Narrator: Mike shrinks the opening by nailing up stock ripped from 2x4s.
Mike: All right, I’ve got the rough opening established that we need for the window. But I need to bring the sheathing back out to this rough opening. Part of our strategy for water management was to be able to get this 3½ inches or so that I’ll put a 1-by in, and put flashing tape on top of that to establish a new drainage plane, which will tuck in behind the existing weather barrier. There will be an overlap, which should give us good water management.
This is the sheathing I’m going to install. Because I won’t be able to get any flashing tape on top of it after it’s installed, I’ll put the flashing tape on first. I leave a little of the backing on the flashing so that I can get my aluminum under it and establish the drainage plane. It can be tough to get the backing off the flashing tape. Here’s a trick: Take it paper to paper and flip it back with your thumb. The paper will then separate from the tape. It’s really easy. I use this flashing tape because it’s very thin and has an aggressive tack. It won’t build up too much. When I put the window in, the clearances are really tight. That’s why I like thin flashing tape. I fold the excess over the edges. Now I can nail the sheathing in place.
Narrator: With a 10-inch drywall knife, Mike coaxes the sheathing patch with its flashing tape skin behind the home’s felt paper weather barrier. He takes his time, to avoid ripping the old felt.
Mike: I’ve got a little bit of the weather barrier crinkled in here, so I want to make sure I can get the drywall blade in and protect the weather barrier as the board goes in. This way, I’ll get a nice overlap. The whole idea is to avoid damaging the existing weather-resistant barrier—to get good continuity here to let the water flow down and out. The weather barrier is on top, and the flashing tape goes behind it. That’s the first layer of protection.
I don’t need to pre-flash the bottom piece here because I have good access to it. So I’ll just set it into place and nail it. I will tape off the head piece because that’s going to slip in behind the weather barrier already on the house. I only have 3-inch tape, so I’ll do a couple of layers here. This will help protect this wood in the event water does get behind the brick. I leave the backing on half the tape to provide integration; I’ll be able to get the flashing tape underneath the window flange. Again, I’m always keeping the water heading to the outside of the house. That’s what’s really important. Make sure to slip the head piece behind the weather-resistant barrier, to get it nice and tight. Nail up the whole thing.
What I want to do now is take some aluminum stock that I’ve cut down and slip it on top of the kerf I cut earlier with my grinder, so I can layer the weather barrier here on the sill. I’ve got a break in the weather barrier right here, so I slip the aluminum behind the weather barrier and over the one on the bottom. Now I’ve flashed it. Water can come down, and it will be on top of that weather barrier there. Do the same thing on the other side. This is our backup system in case any water should get past the window.
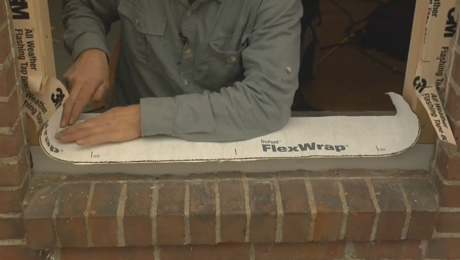
The window manufacturer wants me to put a back dam at the back of the sill, so if any water blows under the window, it gets contained and then rolls to the outside. To satisfy that requirement, I take a piece of vinyl wall edging and put half a piece of flashing tape on it to hold it in position on the sill. I put more flashing tape on top to keep any water out of the house. I install a piece of flexible flashing tape at the bottom to allow me to put it in in one piece. When you put flashing tape into the corner, make sure it’s in a tight 90-degree angle. You don’t want to roll it. The problem with that is the window will catch it on the way in and tear the flashing—you won’t get good waterproofing. Bond it really good to the back dam that we made and peel the release tape off this side, put even pressure on the corner, and flex it right around. By using my spackle knife, I can get this in behind the old weather barrier. Then do the other side. It’s a little tricky: Use the spackle knife to push it and tuck it right in behind the weather barrier. To finish it off, pull the weather barrier down and keep it behind, establishing another drainage plane.
We’ve done the best that we can to manage water so that it stays to the outside of the weather barrier that’s on the house. The next thing to do when we install the window is to integrate the top, but we’ll do that with the head flashing.
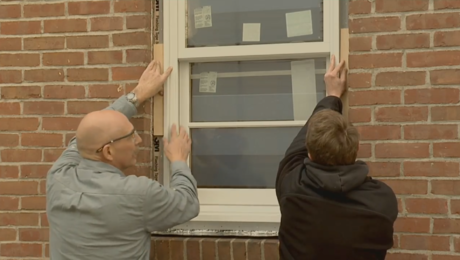
Now that the flashing system is set up and ready to go, it’s time to dry-fit the window.
Videos in the Series
-
Install a Full-Frame Replacement Window: Removing Old Trim and Measuring for a New Window in a Brick Wall
-
Install a Full-Frame Replacement Window: How to Remove Old Window Sashes and Jambs From a Brick Wall
-
Install a Full-Frame Replacement Window: How To Flash a Window Rough Opening in an Existing Brick Wall
-
Install a Full-Frame Replacement Window: How to Install and Air-Seal a New Window in an Old Brick Wall
-
Install a Full-Frame Replacement Window: How to Install a PVC Exterior Casing on a Window in a Brick Wall
-
Video Series: How to Install Interior Extension Jambs and Window Trim



View Comments
Hey^^,
Where can i find that "vinyl wall edging" for the back dam?
Thanks,
Max ^_~