Install a Full-Frame Replacement Window: How to Install a PVC Exterior Casing on a Window in a Brick Wall
Remodeler Mike Sloggatt shows how to integrate exterior trim with flashing to make your replacement window weatherproof.
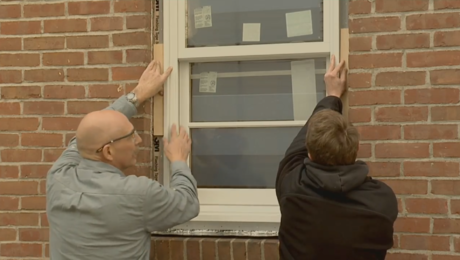
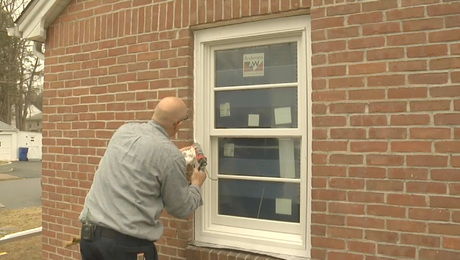
Narrator: Mike has already installed the new window, flashed the exterior, and air-sealed the interior. Now he’s moving on to the exterior casing. First, he rips cellular PVC to width for the two sides, top, and bottom. He uses pocket screws to join the corners, creating a four-sided frame.
Mike Sloggatt: Before I install the finished casing, I want to integrate the whole system together.
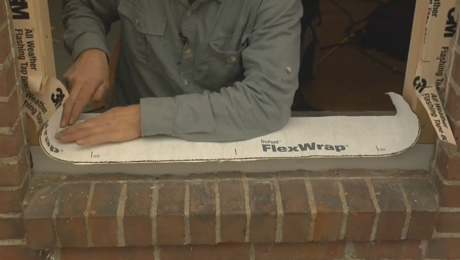
Narrator: Mike trims the flap of flashing so he can install the aluminum drip cap over the window frame. Later, he’ll tuck a secondary flashing under the shortened flap when he installs the preassembled casing. While cutting, he uses a scrap of aluminum flashing to protect the underlying layers.
Mike: Before I install the head flashing on the window, I want to put some sealant on the back. This is required by the window manufacturer. It’s a good idea, too. This way, no water could possibly get up underneath that when you get a good wind blowing.
Set the flashing on top of the window and line it up. I use 1 1/4-inch pan-head screws. You could use a roofing nail if you want. Next, I seal the top of the head flashing with another layer of flashing to direct water out and over the top. I’m not going to try to get this layer of flashing up behind the brick because that would be almost impossible. But I’ve got that storm flap that I put in earlier, and I’ll just integrate my next head flashing with that. I’m going to put in one more piece of head flashing up behind the brick lintel; remember, it’ll get behind that storm flap we made to channel the water out. It’s probably a little redundant, but it’s really not a bad idea to make sure no water gets in behind the trim. Get the flashing behind the flap. It will sit up in there, and we’ll put the trim right underneath that.
I set the screws in the casing on the ground. When I get up on the ladder, it’s easier to pick up a screw gun and drive them in. You don’t want to use nails in PVC because of its expansion and contraction. Screwing is a much better way.
With this storm flap on the bottom, I could still get water blowing up underneath. So I take the sealant and fill the void underneath. Let this set up a little bit; then I’ll cut off the storm flap when I’m finished sealing the sides.
I’ve got this flashing here at the top and I don’t want to seal it because it’s a drainage area. But underneath, that’s fine; we can seal it underneath using a window, door, and siding sealant. From the top I’ll work right down along the side of the brick.
Really, caulk is not the way to stop water. I have to rely on a drainage plane behind the trim. I’m not going to caulk the top of the trim; it’s a drainage surface, so water can get out. I will run a bead of sealant along the side of the trim because the manufacturer requires it. Check the manufacturer’s spec on the window for your clearances.
Last thing I need to do is cut back the storm flap at the bottom of the window. I’ll then run a bead of caulk along the bottom of the window. But remember, this storm flap is a drainage area, so leave some spaces in the bead.
We’re finished with the exterior of the window. It looked like we put a lot of extra work into it, but really, when the storms come, I want to know I am never going to get a call back on this window.
Videos in the Series
-
Install a Full-Frame Replacement Window: Removing Old Trim and Measuring for a New Window in a Brick Wall
-
Install a Full-Frame Replacement Window: How to Remove Old Window Sashes and Jambs From a Brick Wall
-
Install a Full-Frame Replacement Window: How To Flash a Window Rough Opening in an Existing Brick Wall
-
Install a Full-Frame Replacement Window: How to Install and Air-Seal a New Window in an Old Brick Wall
-
Install a Full-Frame Replacement Window: How to Install a PVC Exterior Casing on a Window in a Brick Wall
-
Video Series: How to Install Interior Extension Jambs and Window Trim

