Bending Kickout Flashing
Divert water away from the siding at the bottom of the roof with this critical flashing detail.
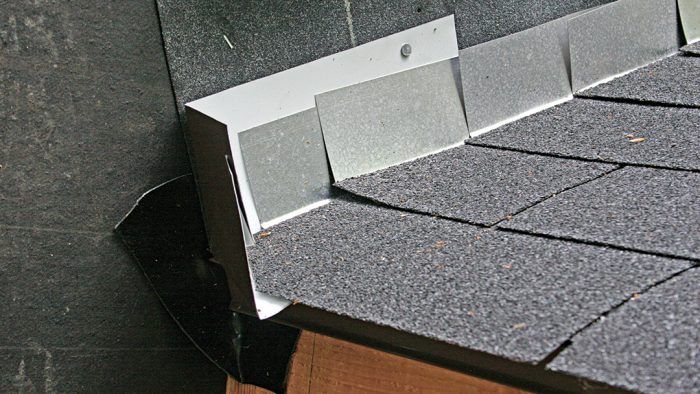
One flashing detail that’s often done wrong is where the flashing at the bottom of a roof meets a wall. When the bottom piece of step flashing is placed so that it drains out onto the face of the siding below, the regular dribble of roof water keeps the siding in this location wet, leading to peeling paint and rot. I’ve even seen the step flashing terminated behind the siding, which is a real recipe for disaster.
There’s a simple solution, though: Kickout flashing installed below the bottom piece of step flashing creates a dam to divert water away from the siding. A polypropylene version is available from DryFlekt and comes in a variety of colors. However, I never seem to have one on hand, or I’m using copper flashing and want the kick out to match, so I usually bend one from aluminum or copper coil stock. Galvanized flashing is too stiff to bend this way, but vinyl coil flashing can work, although a pop rivet or two might be needed to keep it from relaxing out of shape. I figured out the bending pattern by folding a piece of paper, which is a great trick for modeling any sort of flashing detail. For tools, you’ll need a pair of hand seamers and some tin snips.
1. Start with coil stock
Use a knife and a straightedge to cut a 12-in. by 14-in. piece of flashing from the same metal used for the roof’s step flashing.
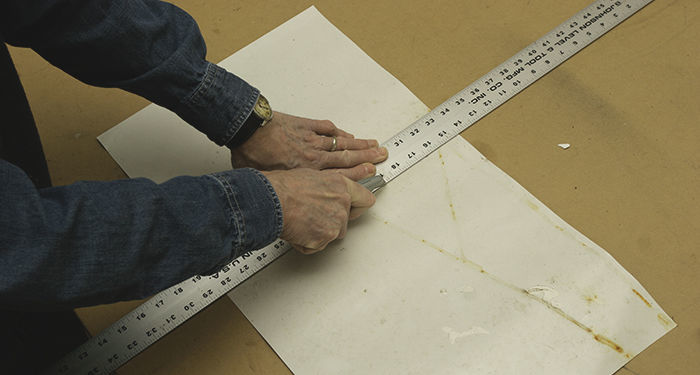
2. Make a 90° bend
Use a straightedge to make a bend that will leave 6 in. of flashing on the roof and 6 in. going up the wall.
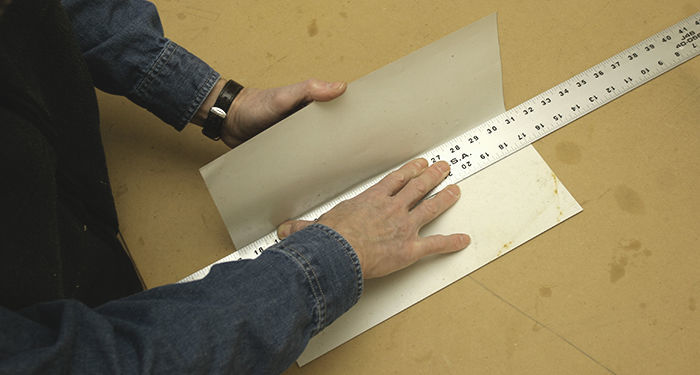
3. Measure the first bend
Mark the flashing 6 in. from the end to locate the approximate location of the first fold.
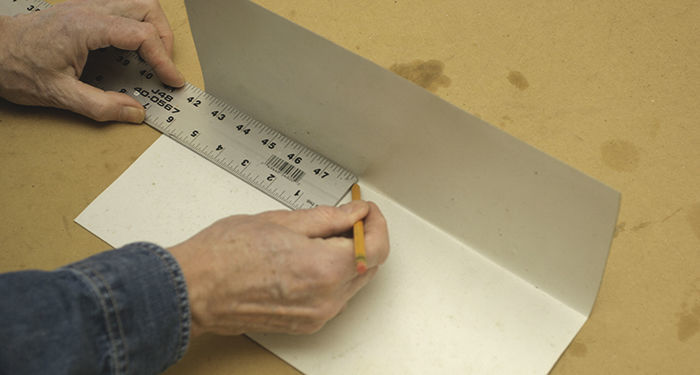
4. Position seamers for the next bend
Hold the seamers at an angle slightly beyond 90° in relation to the first bend so the bottom of the flashing will drain. Keep the seamers away from the first bend or the metal might tear at the corner point.
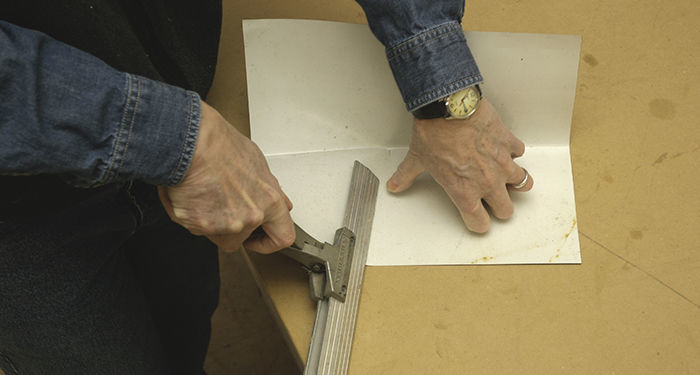
5. Bend the flashing upward
As you push the seamers forward, the metal on the other side of the bend will follow, beginning to form the dam.
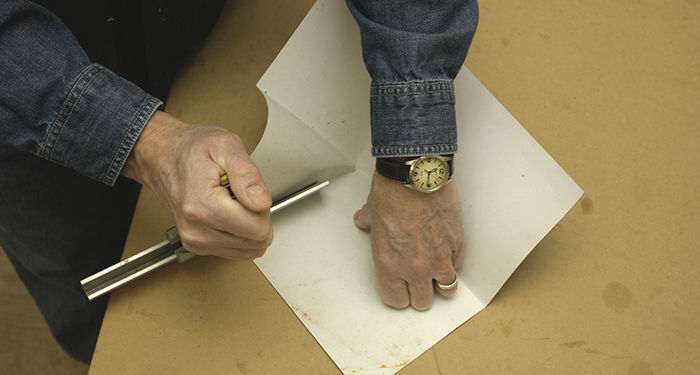
6. Fold the flashing like wrapping a present
Bend the leg that will abut the house at 90° and the roof leg a bit greater than 90° to encourage drainage.
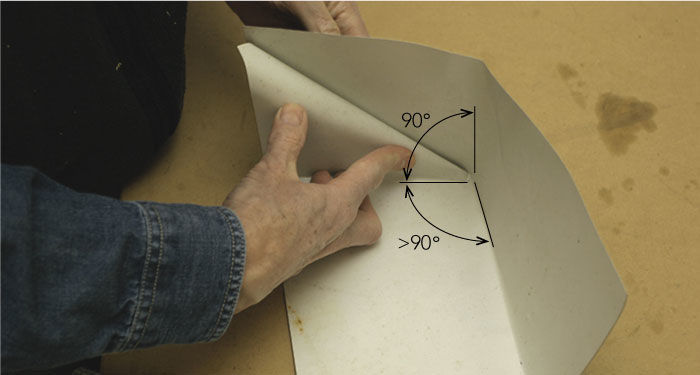
7. Flatten the bends
Use a block (and, if needed, a hammer) to make the flashing smooth and crisp.
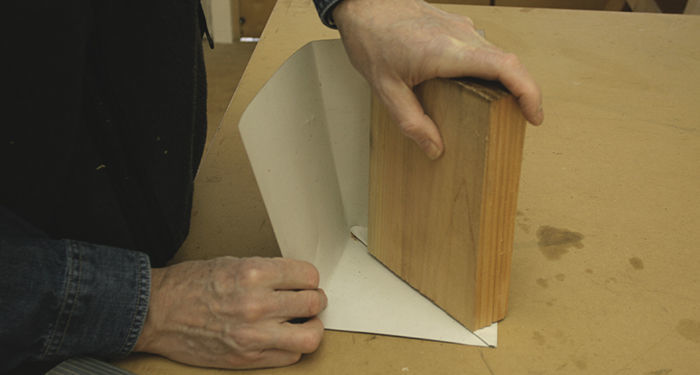
8. Make it pretty
You can leave the end square, but rounding it off with a pair of snips makes it look less obtrusive.
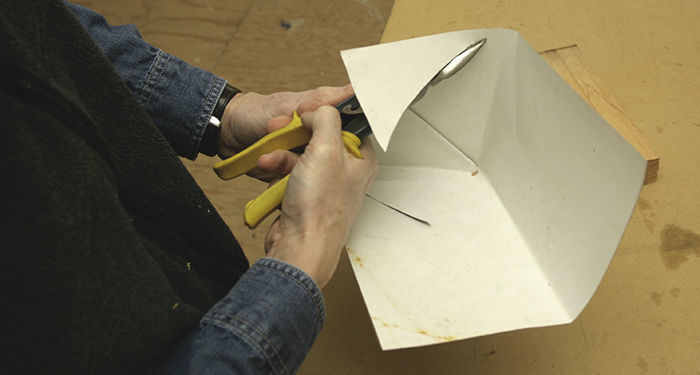
Making crisp bends
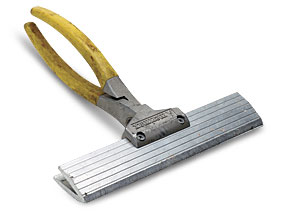
Hand seamers are like mini-brakes. They make crisp but short bends in sheet metal. The ones shown here are equipped with 10-in. jaws, but they will also accept a variety of narrower jaws. Seamers come in handy for flashing, as well as for gutter and duct work.
Photos by Charles Bickford, except where noted.
Fine Homebuilding Recommended Products
Fine Homebuilding receives a commission for items purchased through links on this site, including Amazon Associates and other affiliate advertising programs.

Fall Protection
Roof Jacks

Peel & Stick Underlayment


