
Prefabricating Exterior Window Trim
Prefabricating exterior window trim makes installation easier and can save a lot of trips up and down the ladder.
Most windows on the market today look a lot alike. Vinyl flanges attached to sides of the jambs form the attachment point, and the jambs themselves protrude about an inch beyond the wall. It’s a good system that’s easy to install and to flash, but the narrow profile of the jambs provides a weak visual impact when compared to the wider trim found on traditional architecture. To get that old-house look, windows with wider trim are available, but they can be expensive, as well as being harder to install and flash.
An alternative is to trim around a regular flanged window. Prefabricating the trim makes installation easier and can save a lot of trips up and down the ladder. That’s a big benefit, especially if you’re working high off the ground. Also, the joints are easier to get tight, and the surfaces are easier to get flush.
Here, I use 5/4×4 PVC stock for the legs and heads, and I make a sill from 6/4 PVC. You could do the same using wood or another material. Just be sure to make the frame 1/4 in. larger than the window. This eases installation and leaves a 1/8-in. gap to allow for a good caulk joint.
Step by Step
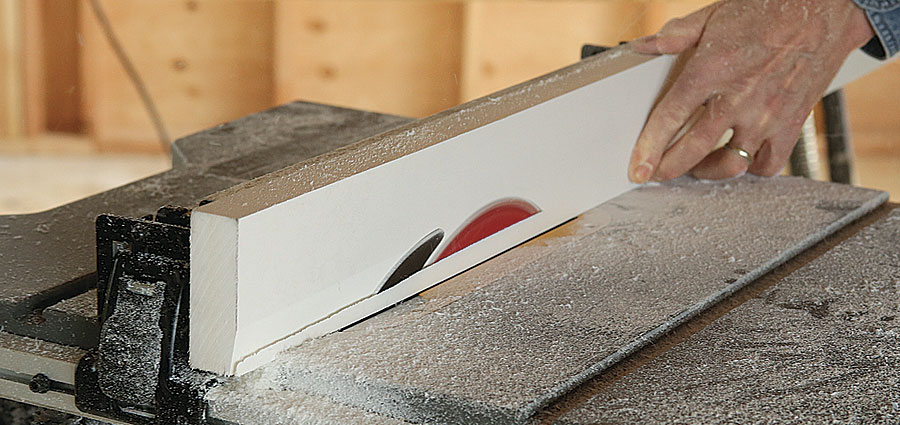
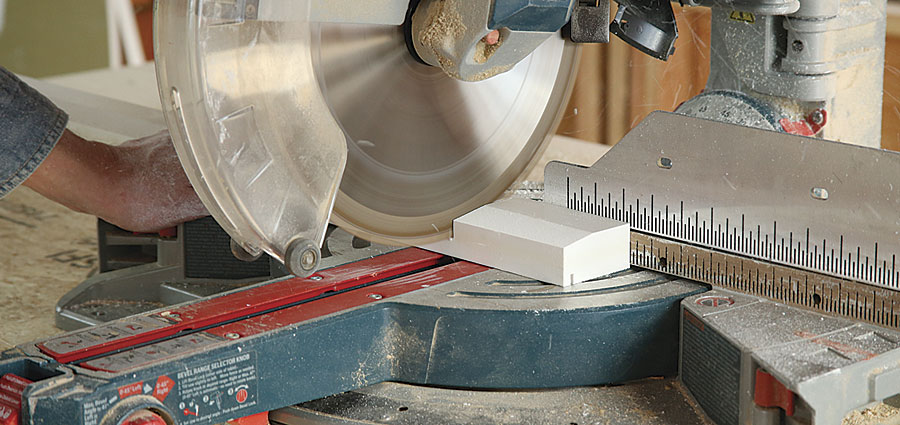
1. Bevel the sill
Set the saw to a 10° bevel, and set the fence to cut the beveled section of the sill wide enough so that it will extend 3/4 in. or so beyond the face of the casing.
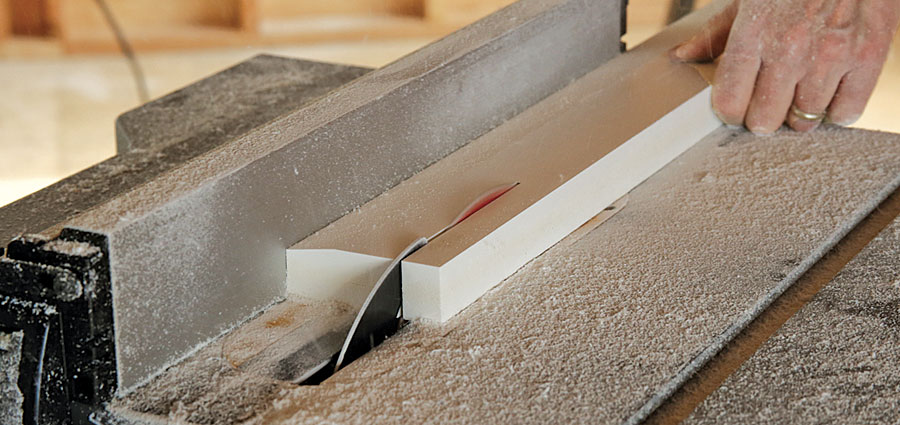
2. Rip the sill to width
The sill should be wide enough so that the flat fits under the window and the bevel begins at the edge of the jamb.
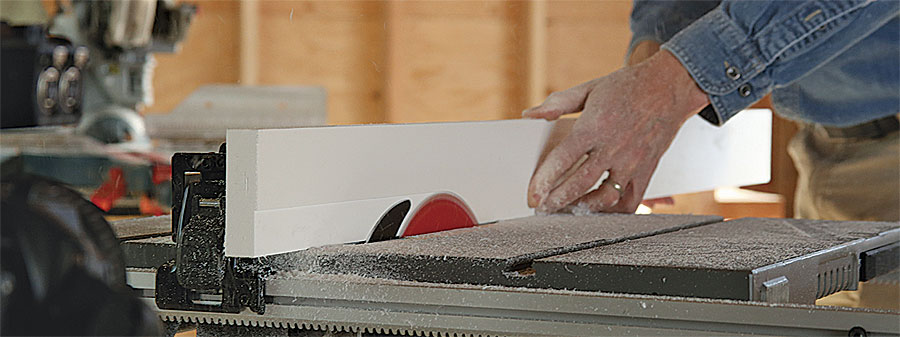
3. Rip a drip kerf
On the sill’s bottom, cut a 1/4-in.-deep kerf 1/4 in. from the face. This helps to prevent water from following the sill back to the house by forcing it to form drips.
4. Cut the sill and casing to length
Make the legs the height of the window plus 1/4 in. Make the head and sill the width of the window combined with the widths of the legs, plus 1/4 in.
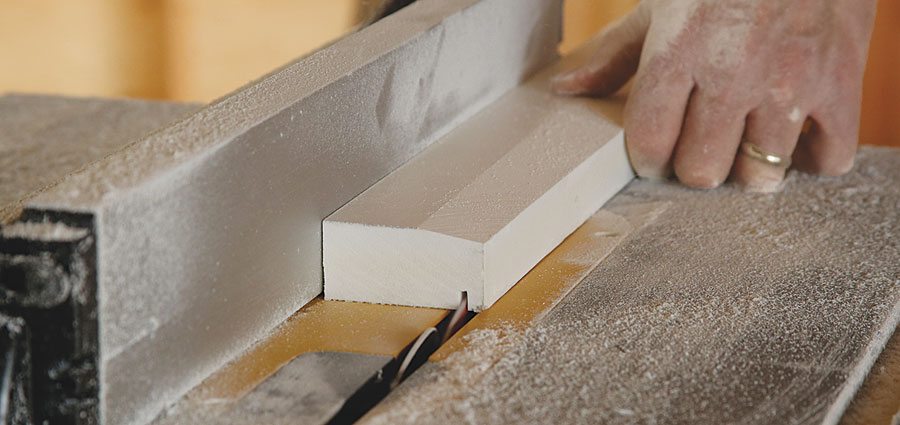
5. Rabbet the back of the casing
Cut a shallow rabbet along the inside edge to fit around the window flange. Otherwise, the trim won’t sit flat on the wall.
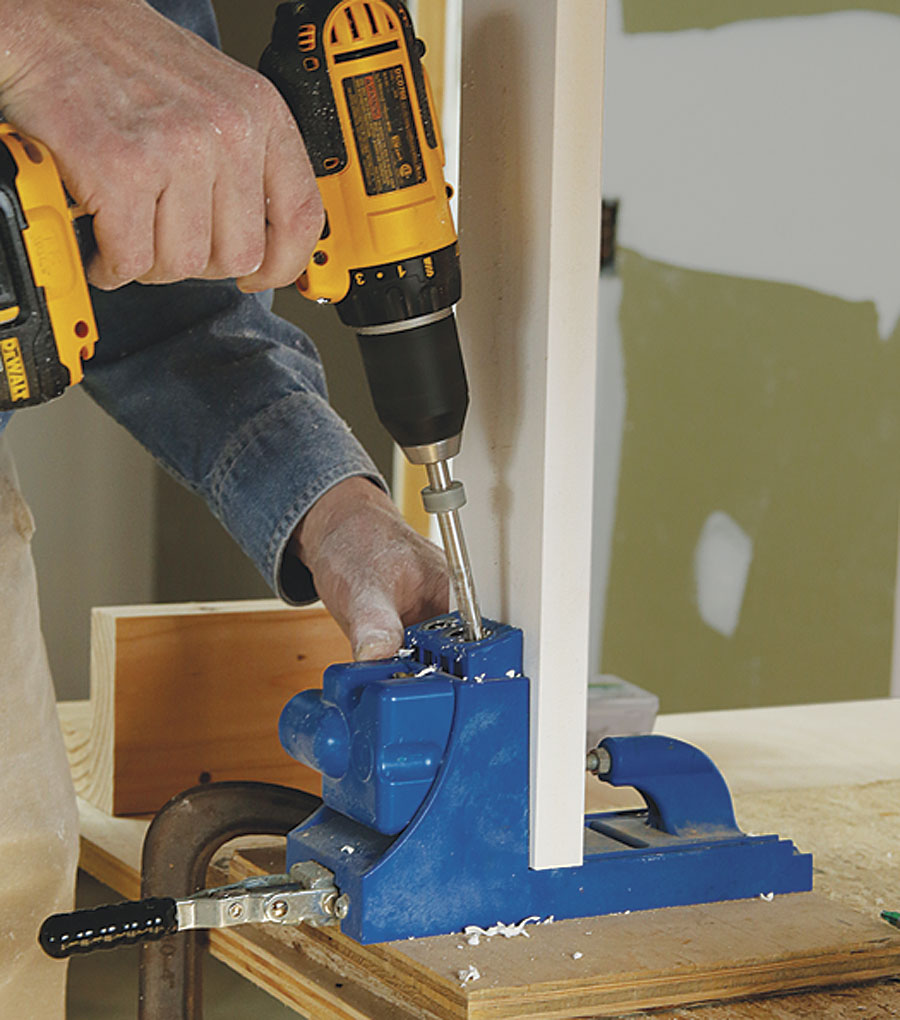
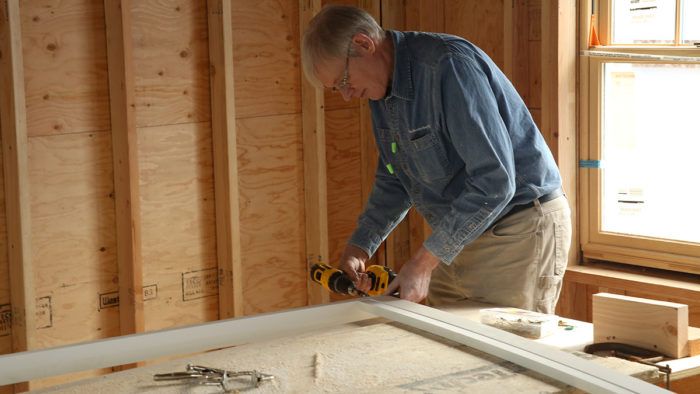
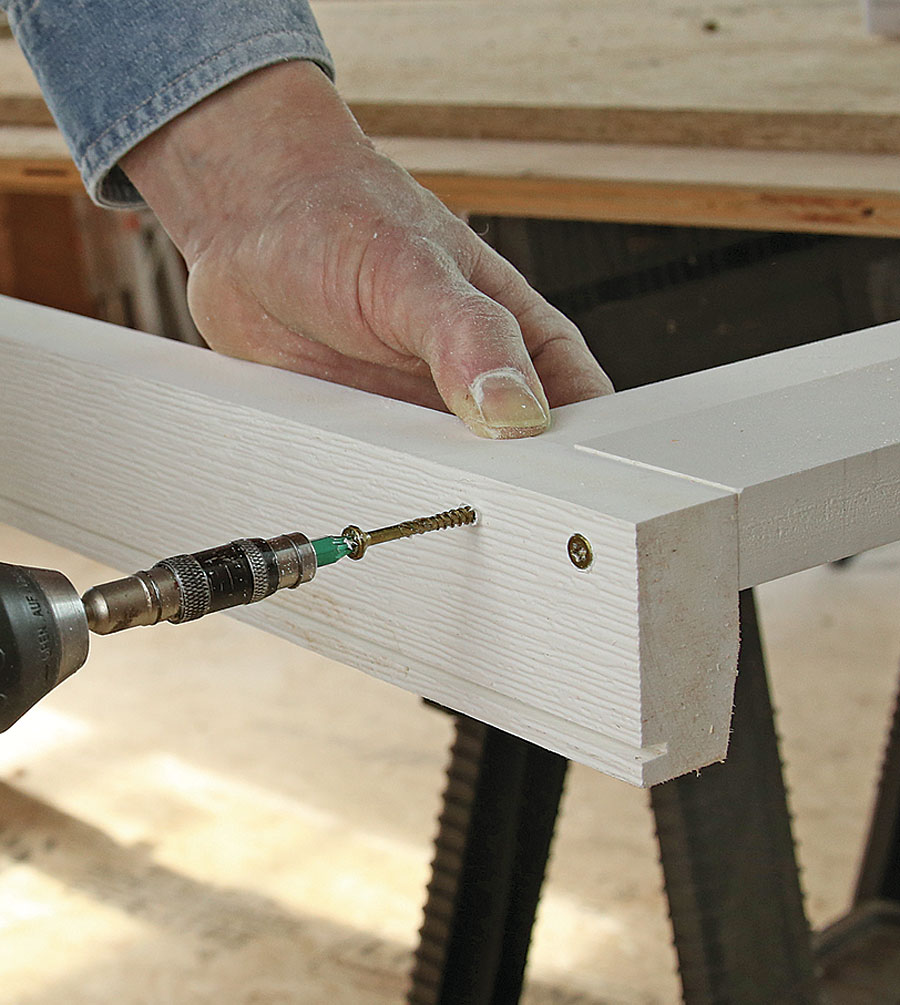
6. Drill pocket holes from behind
Use a jig and special bit to drill these stopped and concealed screw holes in the tops of the legs.
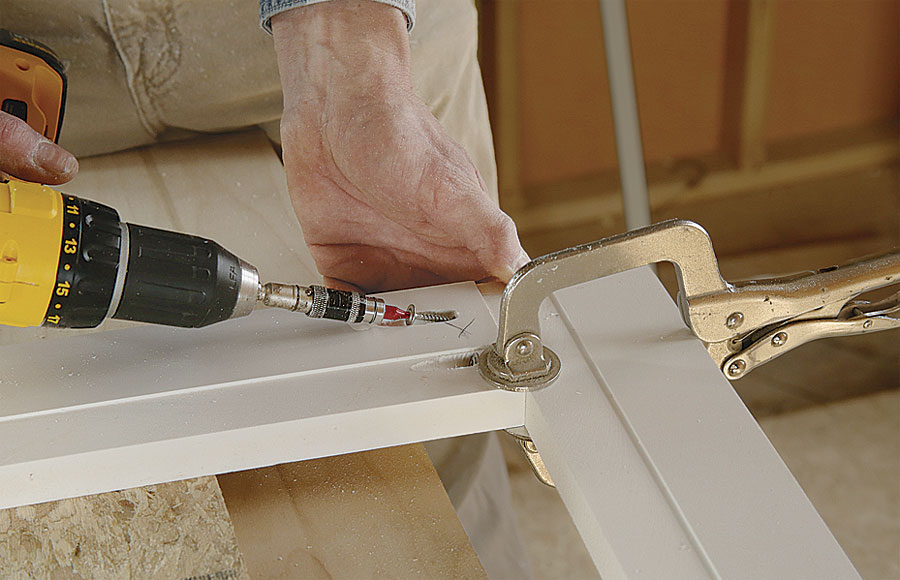
7. Assemble the head to the legs
Clamp the joint together so that the rabbeted portions of the casing pieces are flush. Make the connection with 1-1/4-in. corrosion-resistant pan-head screws.
8. Screw the sill to the legs
Align the back of the sill with the rabbet on the legs, and fasten the assembly with 21/2-in. corrosion-resistant screws.
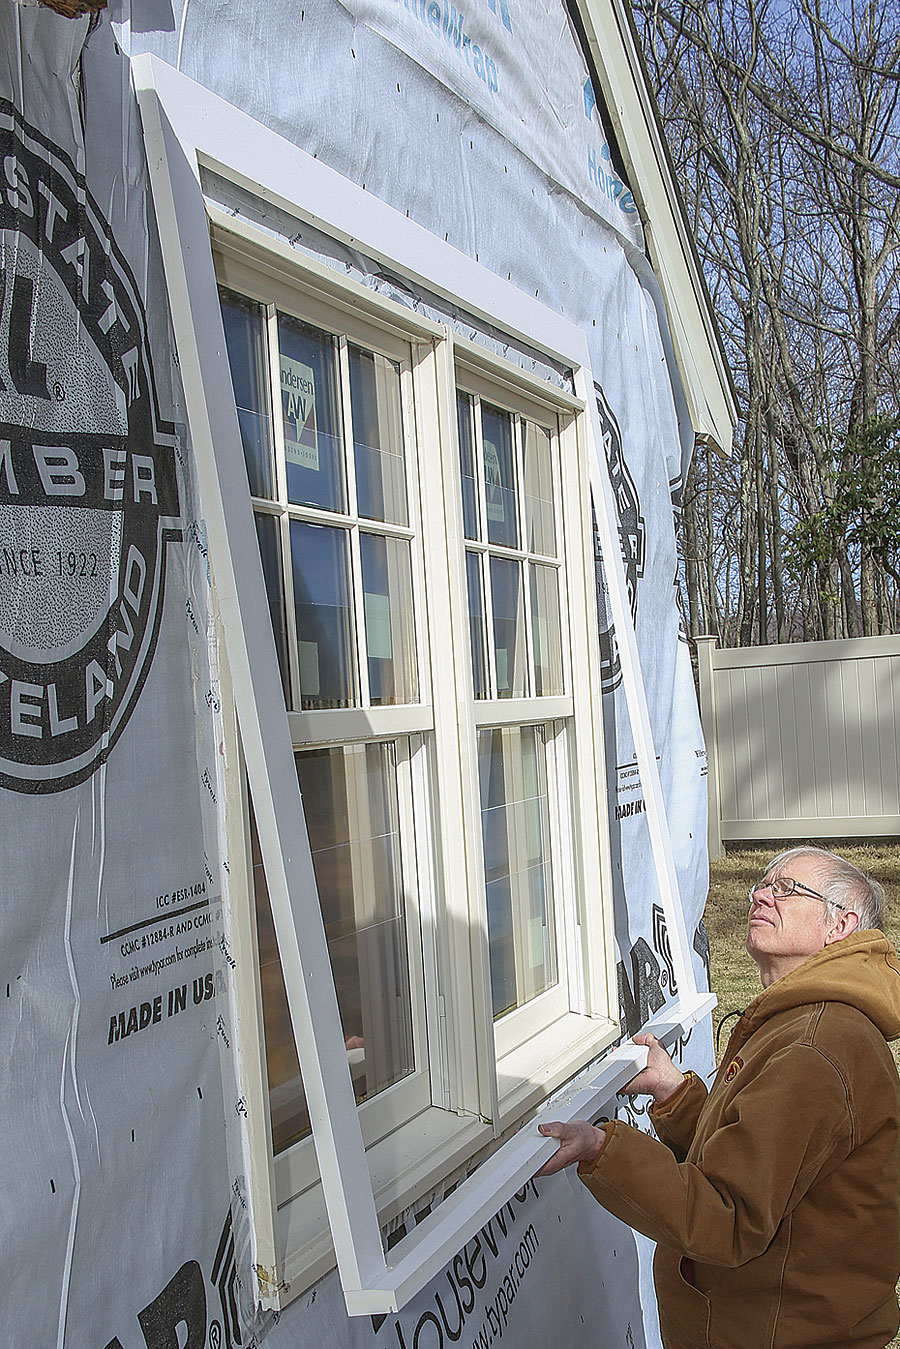
9. Place the frame around the window
Maintain a 1/8-in. expansion gap when fastening the frame to the house. Use 2-in. stainless-steel or 2-in. color-matched trim screws in pairs about every 16 in.
