Installing Split-Jamb Doors
A style that works well for remodeling applications where one side of the opening has a different thickness wallboard than the other.

Love them or hate them, split-jamb doors are common option for a lot of production style homes and remodels. For those unfamiliar, split-jamb doors come with casing pre-attached from the factory and the jamb separates along the stop. This allows you to quickly hang the hinge side of the door and shim the jamb. After that, you can simply insert the remaining side and nail it off. This style also works well for remodeling applications where one side of the opening has a different thickness wallboard than the other.
Some drawbacks are that the casing is installed in a factory and not by a skilled carpenter. This usually means the miters are not as tight as you would prefer, the fasteners used to attach the casing to the jamb are not set properly, etc. There have been times where I’ve had to rebuild the door frame and casing. (Sometimes the factory’s tolerances are shocking and/or the quality control wasn’t exactly on point the day they were assembled.)
Now that I’ve gone over a few pros and cons, the following is my method for installing split-jamb doors in new construction:
 |
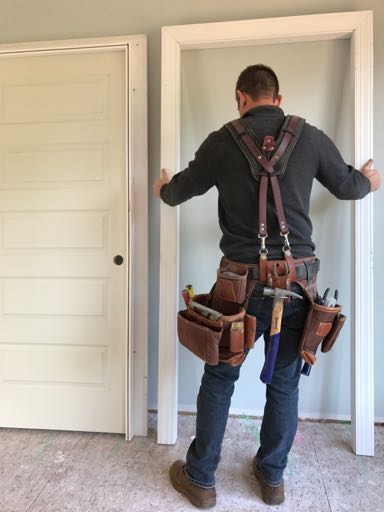 |
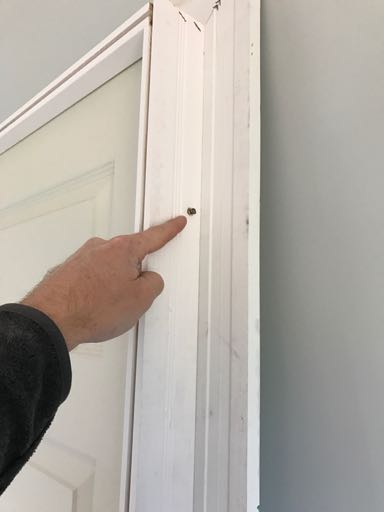
| I start by removing all of the scrap blocks, staples, fasteners, etc., used to keep the door together during shipping. Then, separate the jamb. There usually are a couple of nails through the jamb that hold the door slab in place. I DO NOT REMOVE these until right before I set the door into the rough opening. This just helps keep things together while moving it within the room. |
 |
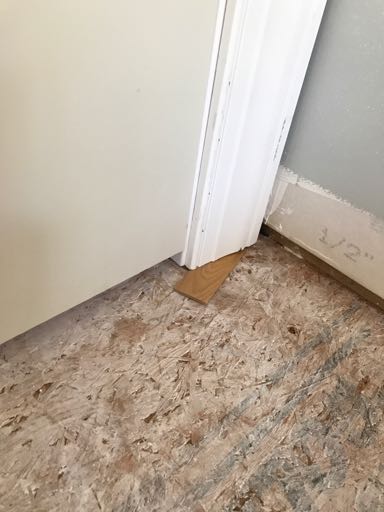 |
| Depending on the finished floor going in, I will set the door about a 1/2 in. to 5/8 in. off the ground using a scrap piece of trim or a shim. This allows 3/4-in. hardwood to have good clearance under the bottom of the slab. This also helps in not having to trim the legs of the door at time of install. |
 |
 |
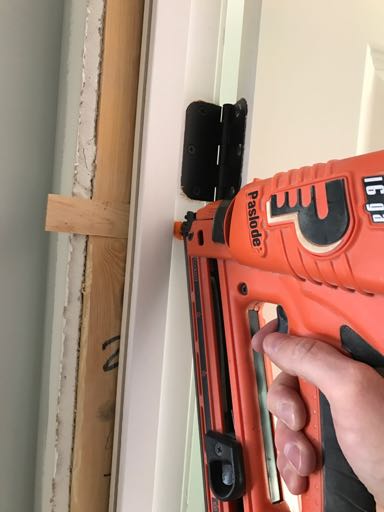
| Once the door is in the rough opening, I plumb it left and right. When I’m happy with the placement I will put a pattern of three nails vertically at each hinge location all the way down that side of the casing. | Next, I adjust my margins along the top corner of the door on the hasp side, then put two nails on either side of the mitered casing (not getting too close to the miter). |
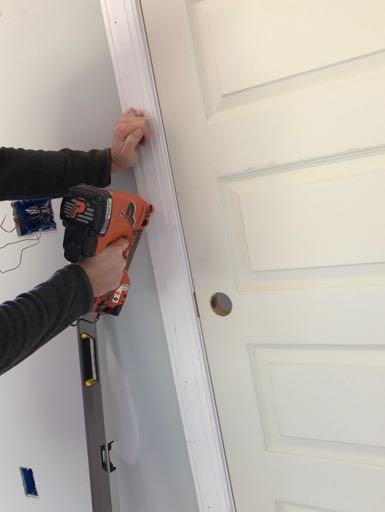 |
Now I nail the casing on the hasp side, adjusting and working the margin as go. |
 |
 |
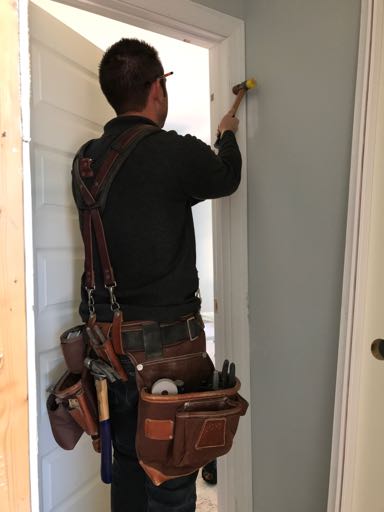
| At this point I will inspect to make sure the door slab touches the stop evenly and that the door is totally plumb. One way I do this is to open the door to approximately 45º. If the slab stays put and doesn’t move on its own I know it’s balanced. |
 |
 |
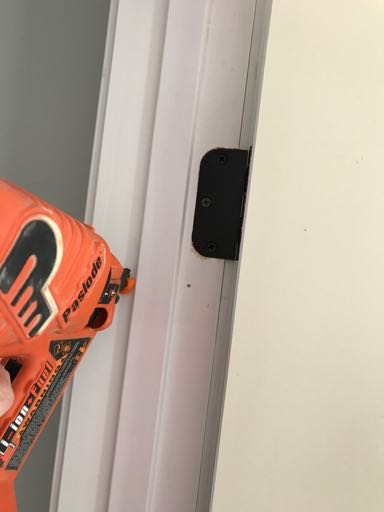
| Now shim the door as you prefer. (I like to follow Gary Katz’s concept of shim placement.) After the door is shimmed and margins are good, insert the other side of the jamb and casing. Give it a few taps with a mallet until casing is flush with wallboard. I then nail the perimeter of the casing, and follow it up with nails through the jamb. |
 |
 |
Follow Andy Moore on Instagram @Modern_Oak for more tips and ideas.


View Comments
Hi I'm the owner at JNTU Students Site jntu world
different Style!!!
Great Stuff..
When ordering your doors why not just order the correct jamb width? They can make jambs any width you need for the opening. We have a lot of instances where we have 3/4" installed on one side of the wall and a 1/2" on the other side. We just order a wider jamb.