Kitchen Design: In the Zone
Create three distinct work areas with refined details to bring flexibility, flow, and function to your kitchen's layout
When designing a kitchen, many people rely on the concept of a “work triangle” that orients task-specific areas so that the cook moves through the motions of food prep, cooking, and cleanup in a triangular pattern. The concept makes perfect sense, and certainly the result can be a kitchen that’s easy and enjoyable to work in. Click here to learn more about the theory behind the triangle.
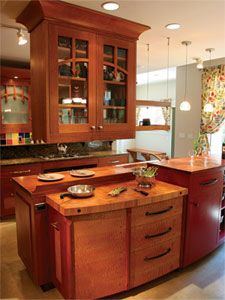
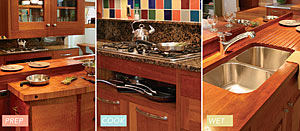
But as a kitchen designer for the past 12 years, I’ve never found that method suitable for my designs. In my experience, site constraints and client preferences usually nullify any preconceived notions of how a kitchen should be laid out. Instead, I create prep, cook, and wet “zones” that can be integrated into any kitchen design regardless of the existing site challenges or the clients’ style guidelines. Each zone has its own functional design attributes, including cabinetry that satisfies homeowners’ utilitarian needs as well as their style preferences.
Break out of the triangle
Instead of designing with a triangle in mind, I consider prep, cook, and wet “zones” that can be integrated into any kitchen design.
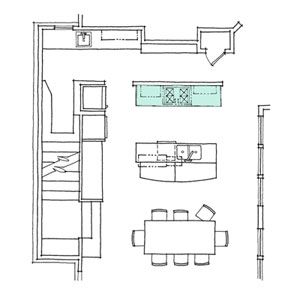
The approach I suggest is to think of the functional spaces in your kitchen as three zones – the prep zone, where cutting, chopping, and kneading occur; the cook zone, which is centered on the cooktop or range; and the wet zone, where the main sink is located. Each should be 4 ft. to 8 ft. in length and about 26 in. deep.
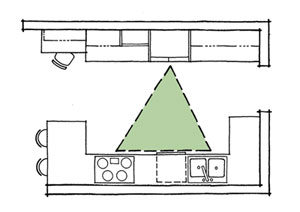
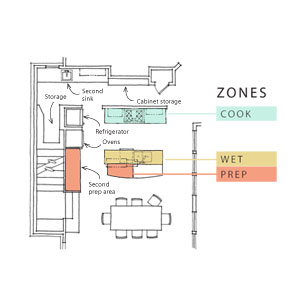
A sketch determines how zones are best organized
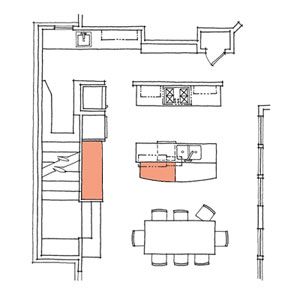
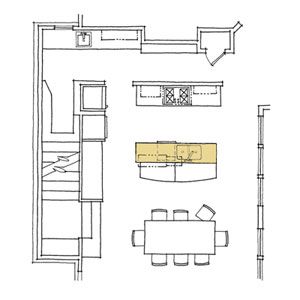
To begin the layout process, outline the zones on a floor plan, irrespective of any site constraints and at any angle relative to one another and to the room. Be sure to leave traffic lanes that are at least 3-1/2 ft. wide. With this exercise, you’ll know pretty quickly what variety of kitchen your space can accommodate, whether it’s L-shaped, galley style, or home to an island.
Once you have a layout that you like, determine which site constraints you just cannot live with and can afford to alter. For example, you might decide to change existing drain and wall locations or duct routes. For constraints you cannot afford to eliminate, simply work around them by reconfiguring the shape, positioning, and size of each zone.
The Prep Zone
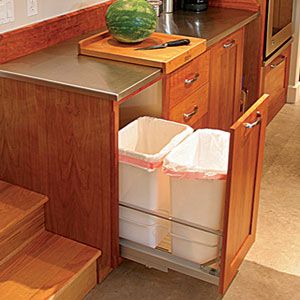
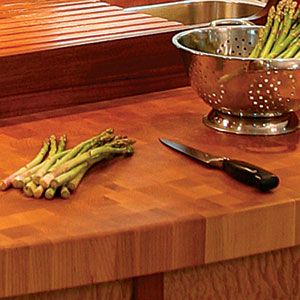
The prep zone need not be central in the kitchen, and it’s often nice to place it at the periphery of the floor plan, out of the main traffic flow.
Integrate secondary spaces wisely
With the three principal zones laid out, add space for a refrigerator and a pantry if you can. I have written previously about ways to shoehorn refrigerators into kitchen spaces; see How to Hide Your Refrigerator. Although it might not be suitable in all kitchens, a pantry provides lots of storage space, which can reduce the size or number of cabinets you need to buy.
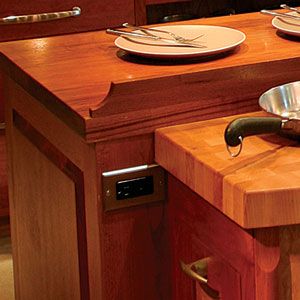
You’ll have other requirements for your dream kitchen as well, such as a bar, a desk, additional prep space, and a high counter for casual meals or snacks. Personally, I don’t think it’s sensible to let these elements drive the overall design. In many of my projects, such elements were jettisoned when it became clear that the three principal zones demanded the entire space.
In larger kitchens where there’s room to include these extras, be sure to design them specifically for your needs rather than arbitrarily blanking out a large space for them. Then do an imaginary walk-through to site each element correctly.
For example, a desk in a deep, dark back corner of the kitchen will probably end up as storage, not as a place for kids to do homework. Desks placed at an entry point are obstructive. The successful kitchen desk serves as command central and is placed in the center of the room, typically at an island. Certain secondary spaces work best when they are somewhat central and in the thick of things. When placed in the middle of the floor plan, a high counter for fruit and snack bowls is the go-to place for those coming through the kitchen and fosters social interaction.
The Cook Zone
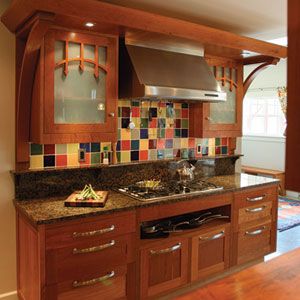
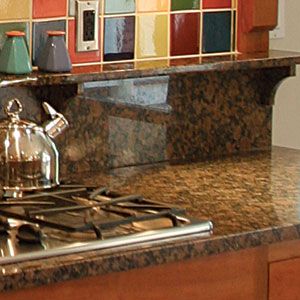
The placement of the cook zone is perhaps the most critical. Ideally, it should be placed against a wall, not within an island, to allow for better heat and grease control. For convenience, the cook zone should be positioned no more than two steps away from the wet zone.
Create a functional kitchen with useful cabinets
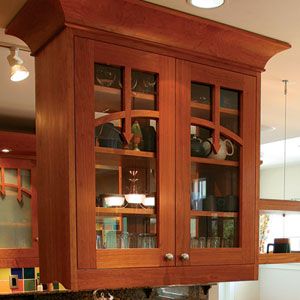
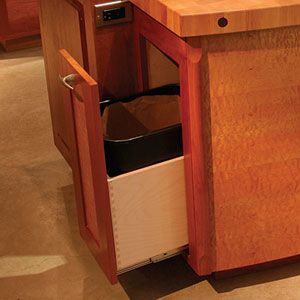
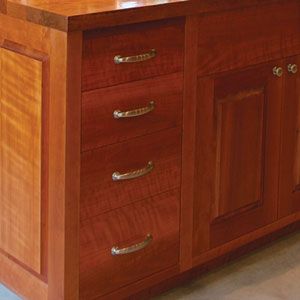
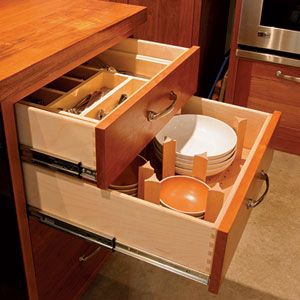
Once you’ve settled on your new kitchen’s layout, it’s time to select the cabinetry. Whether you choose custom cabinets from a local shop, semicustom from a large cabinetmaker, or stock from a catalog, it’s important to elicit as much functionality as possible from every inch. Choose whatever look you want – style is subjective, after all – but be careful not to let aesthetics trump function. Some decorative elements can really boost the price of cabinets.
When selecting cabinets and their orientation within the layout, keep a couple of things in mind. First, think hard about door swings and drawer clearances in the corners of the kitchen. Second, don’t forget that knobs and pulls also need appropriate clearances.
Take a closer look at these must-have kitchen accessories.
The Wet Zone
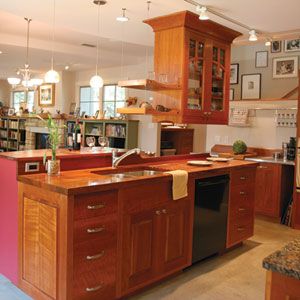
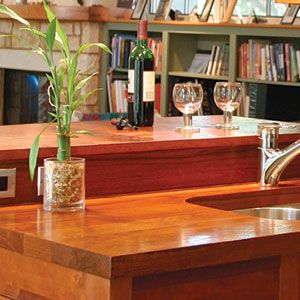
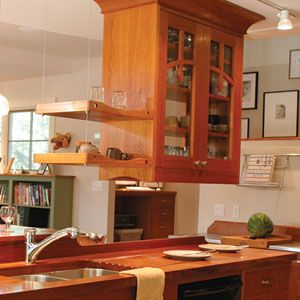
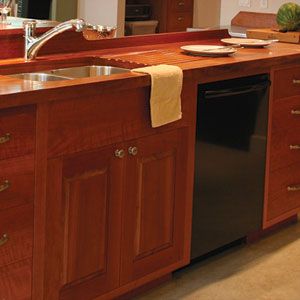
The wet zone is where the main sink is located. This is the social center of most kitchens, and even when it’s not, it’s the most heavily used space. As a general rule, the wet zone needs either a window view or a view of the living area and should have a counter height of 37 in. to 39 in., the tallest of the three primary zones.
Photos: Brian Pontolilo except where noted; Drawings: Martha Garstang Hill
Fine Homebuilding Recommended Products
Fine Homebuilding receives a commission for items purchased through links on this site, including Amazon Associates and other affiliate advertising programs.

Not So Big House
Graphic Guide to Frame Construction

Homebody: A Guide to Creating Spaces You Never Want to Leave
