Installing Strip Flooring
Careful prep, layout and tight nailing make a wood floor last for years.
Magazine extra: Watch a video of Charles’ racking technique in action.
I live in New England, where 200-year-old houses are as common as blue jays and maple trees. Peek into any old house, and you’ll find that everything has probably been replaced at least once, except for the fireplace, the timber frame and the hardwood floors. The carpenters who hand-planed and nailed those floors may or may not have given much thought to the floors’ longevity, but the floors have stood the test of time. With some attention to detail, carpenters can still put down a floor that will likely outlast everything around it. Although modern flooring includes everything from prefinished laminated plywood to wide boards of exotic species, I’ll describe how to install the most common type: 3/4-in. thick tongue-and-groove flooring ranging in width from 2 1/2 in. to 3 1/2 in.
Acclimatize the flooring to the house
Wood is hygroscopic, meaning it soaks up atmospheric moisture and expands or loses moisture and shrinks. While each floorboard may swell or shrink only a tiny fraction of an inch, that dimension multiplied by 100 rows of flooring can translate to gaps between boards in the dry season or heaving and buckling during the wet season.
To minimize moisture problems, the house should be closed in and dry before flooring is brought to the job site. The house’s interior should have reached its normal living conditions, whether air-conditioned or heated, for at least a week before installation. Concrete foundations and slabs should have cured for a minimum of 30 days, and moisture from plaster and paint should be given at least a few days to dissipate. I use a relative-moisture meter (available at electronics-supply stores for about $30) to check the house’s interior; the relative humidity should be 30% to 50%.
Once the house is ready, I order the flooring and store it in the targeted rooms for a week or more. The goal is to allow the flooring’s moisture content to equal the normal living conditions of the house, which makes the flooring less susceptible to moisture-related problems after it’s installed. If possible, flooring packages should be spread around instead of stacked to speed the process.
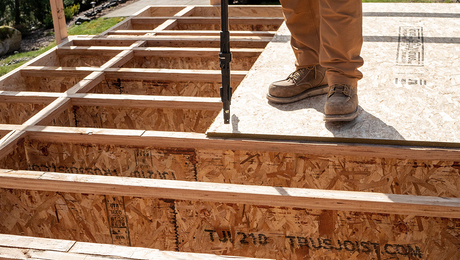
After this initial period, I begin a fairly detailed survey with a moisture meter. (I use meters equipped with probes that take a more localized, accurate reading than scanning meters.) In the Northeast, flooring should have no more than 6% to 10% moisture content; the subfloor’s content should be within 4% of the flooring. If the installation is above a basement, I check the slab and joists there as well. If the moisture content of the subfloor is too high, I won’t install the flooring until the moisture problems are corrected. As I go along, I record the date and readings on the job paperwork as well as on the subfloor, which is good backup information in the event of warranty questions.
For more photos, drawings, and details, click the View PDF button below:


