Laying Out Octagons
Whether framing an octagonal window or laying out a bay, here are two fast ways to get the angles right.
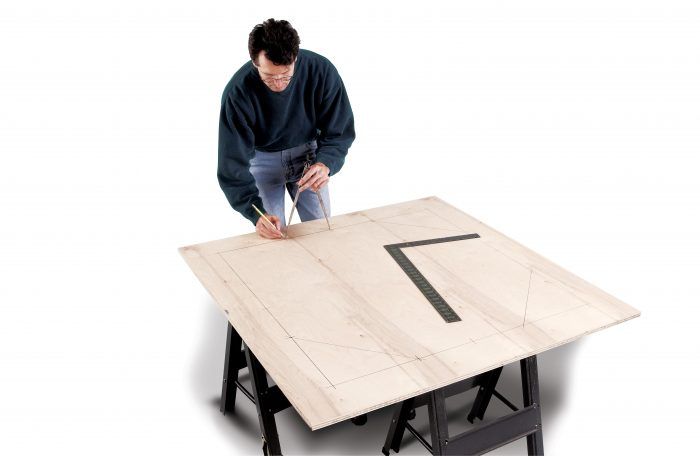
Synopsis: A builder explains how to lay out octagons using the octagonal scale on a rafter square and a pair of dividers.
A few years ago, I helped a friend to frame a house that had an octagonal window. When it was time to frame the octagonal rough opening, he wanted to play it safe by first framing a square rough opening and later filling in the angled pieces after the window had arrived. His last effort at octagonal framing had to be ripped out because the angled sides were a little off. When I asked if he had used the octagonal scale on his rafter square, he didn’t know what I was talking about.
Like my friend, a lot of professional carpenters have no idea what the octagonal scale is or how it works. To them, it’s just more meaningless chicken scratch etched into the face of their framing squares. In addition, using the octagonal scale commonly is misrepresented as an archaic technique with no useful purpose, save for laying out octagonal posts.
Octagonal openings can be laid out other ways, but this one is fast and accurate. It also works on any octagon (not just posts) from 1 in. to 67 in. wide. And once the window’s in place, it works for drywall, too.
For larger octagons, use a ratio
Because the sides of an octagon have a consistent geometric relationship to each other, a ratio can be used to lay out an octagon within any size square. Multiplying the length of a side of any square by 0.2071 equals the distance found by using the dividers on the octagonal scale or one-half the length of one of the sides of an octagon.
Four steps to an octagon
1 To lay out, say, a 38-in. wide octagon, make a 38-in. square and mark a center point (A) on each side of the square.
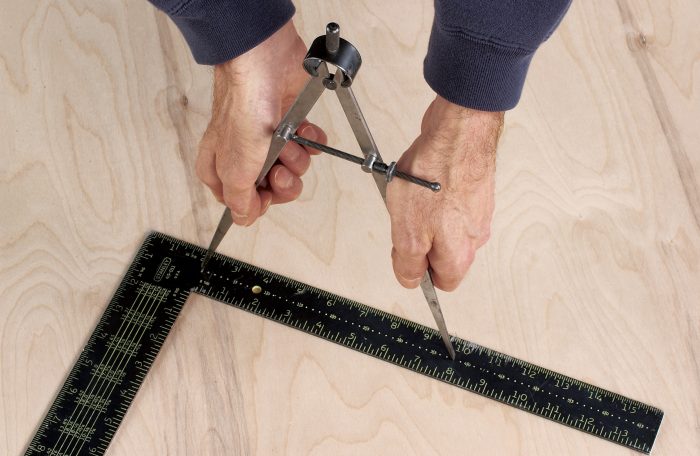
2 Locate the octagonal scale on the tongue (the smaller of the two sides) of the framing square. Place one point of a pair of dividers on the 0 mark of the octagonal scale and the other point on 38, which corresponds to the width of the square in inches.
3 After carefully removing the dividers from the framing square, place one point on the center point of any side of the square. With the other point, make two additional marks (B), one toward each corner along the same side. Repeat on each of the other sides.
4 Connect the two points (B) closest to each corner with a line.
For more photos, drawings, and details, click the View PDF button below:
Fine Homebuilding Recommended Products
Fine Homebuilding receives a commission for items purchased through links on this site, including Amazon Associates and other affiliate advertising programs.

All New Bathroom Ideas that Work

Code Check 10th Edition: An Illustrated Guide to Building a Safe House

Get Your House Right: Architectural Elements to Use & Avoid


