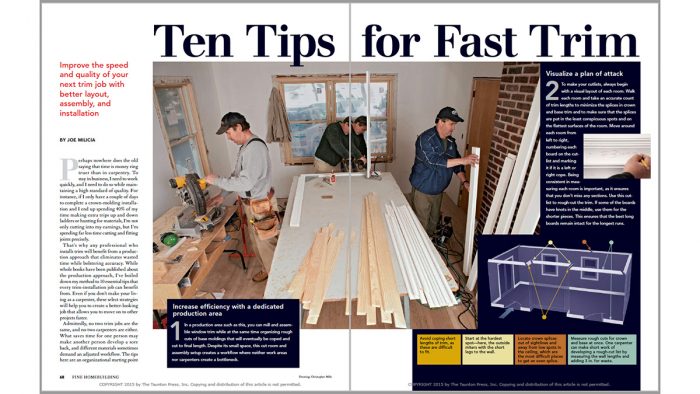
10 Tips for Fast Trim
Improve the speed and quality of your next trim job with better layout, assembly, and installation.

Synopsis: Adopting a production-style approach to trimming out a house saves time and makes the work more efficient and more accurate. In this article, carpenter Joe Milicia shares 10 practices he follows in his trim jobs. These include setting up a dedicated production area, planning the entire job ahead of time, and using the right joinery, fasteners, and tools.
Perhaps nowhere does the old saying that time is money ring truer than in carpentry. To stay in business, I need to work quickly, and I need to do so while maintaining a high standard of quality. For instance, if I only have a couple of days to complete a crown-molding installation and I end up spending 40% of my time making extra trips up and down ladders or hunting for materials, I’m not only cutting into my earnings, but I’m spending far less time cutting and fitting joints precisely.
That’s why any professional who installs trim will benefit from a production approach that eliminates wasted time while bolstering accuracy. While whole books have been published about the production approach, I’ve boiled down my method to 10 essential tips that every trim-installation job can benefit from. Even if you don’t make your living as a carpenter, these select strategies will help you to create a better-looking job that allows you to move on to other projects faster.
 Admittedly, no two trim jobs are the same, and no two carpenters are either. What saves time for one person may make another person develop a sore back, and different materials sometimes demand an adjusted workflow. The tips here are an organizational starting point and should be optimized to suit the way you work and to fit the work at hand.
Job preparation
The key to efficiency is creating good cutlists, a process that begins with a series of site assessments. At my company, we typically create a rough-cut list and a final list. Before the job starts, we take an inventory of the types and sizes of the windows and doors we have. We order trim specifically for each window and door size. This minimizes wasted time and ensures that we don’t have splices on trim around windows and doors. Also to cut down on splices, we order the longest lengths of crown, baseboard, and shoe molding available.
If by a stroke of luck we are awarded a job at the framing stage, we stop by after the rough mechanicals are installed and take a few photos. These photos help to identify the location of nailing hazards such as wiring and pipes before they are hidden behind the insulation and drywall. We organize the photos by floor and eventually attach them to the cutlist as a reminder of potential trouble areas. When the drywall is installed, we can quickly make reference marks for these obstacles to prevent complications or delays in our trim installation…
For more photos, illustrations, and details, click the View PDF button below to read the entire article.
From Fine Homebuilding #253


