Building a Wall in Place
When you lack headroom and a helper, the best way to erect a wall is piece by piece.
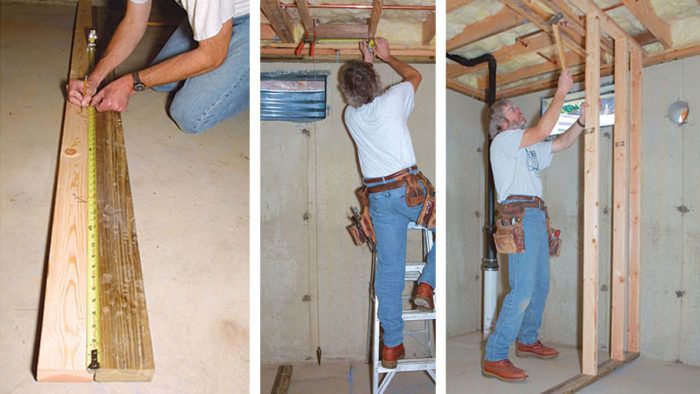
The most efficient way to frame a wall is to assemble the plates and studs on the floor, then tilt the completed panel into position. Building walls this way requires abundant floor space, enough people to raise the panels safely, and plenty of headroom.
If all you lack is a bit of headroom—say you’re erecting a wall under an existing ceiling, and you need a smidgen of extra ceiling height to allow raising the wall—you can design the wall to include a double top plate, but fasten the doubler to the ceiling ahead of time. This way, the wall assembly is tilted up easily and moved into position beneath the doubler.
But if you’re working in a confined area or if you’re working alone and don’t want to risk injuring yourself by lifting a big wall alone, the only way to frame the wall may be to build it in place, piece by piece.
Plates go in first
Step 1: A chalkline marks the bottom plate. Before snapping a chalkline to mark the edge of the framing, scratch a prominent X on the floor to mark which side of the line the wall goes on. If you’re working alone, a concrete block can be used to hold the dumb end of the line.
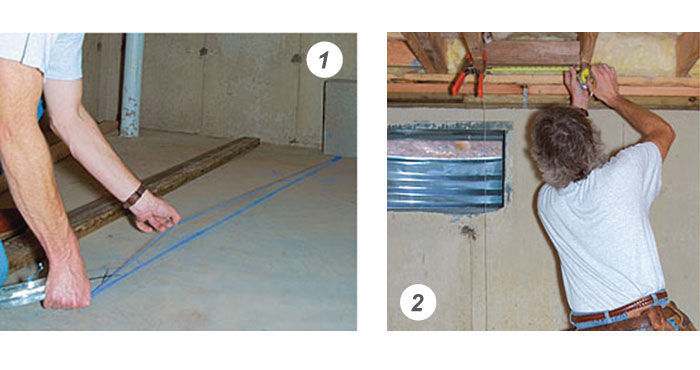
Step 2: Plumb up for the top plate. A plumb bob is a more reliable layout tool than a spirit level because it never goes out of whack. To avoid the tedium of centering a swinging plumb bob over the chalkline, clamp the string to a convenient joist, then measure the distance between the plumb bob’s tip and the chalkline. Transfer that measurement to the ceiling. If the wall runs parallel to the joists, you’ll need to install 2×4 blocking between the joists (approximately 4 ft. o.c.) so that you’ve got something to nail the top plate to.
Step 3: Mark stud locations before anchoring the plates. With the plates side by side and the ends flush, mark the stud locations. Use a square to complete the layout lines across both plates.
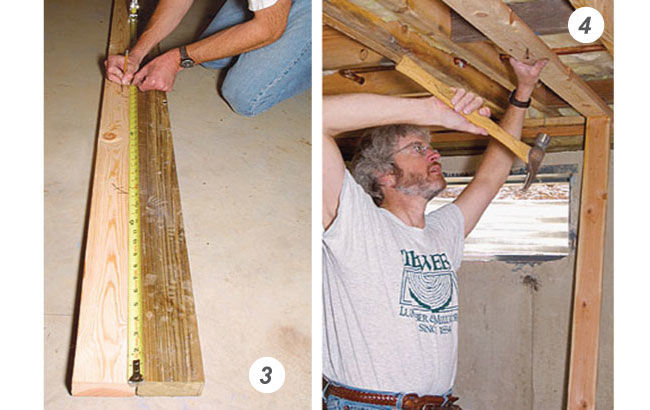
Step 4: Fasten top and bottom plates. If you’re working alone, a stud can temporarily support one end of the top plate while you nail the other end. For wood-to-wood connections, drive a pair of 16d nails wherever the plate overlaps a framing member. For wood to concrete, drive one 21/2-in. concrete nail at least every 2 ft.
Old-school concrete fasteners still have their place
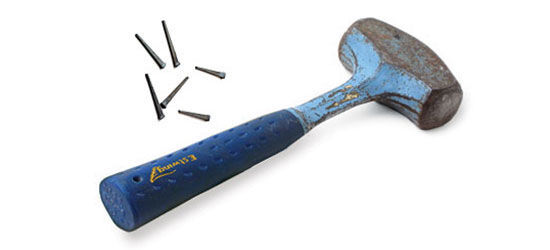
A powder-actuated tool may be the fast way to attach wood framing to concrete, but it’s not necessary. To fasten a few linear feet of pressure-treated bottom plate to a basement floor, all you really need is a box of 21/2-in. cut nails and a 2-lb. drilling hammer (Estwing; www.estwing.com; 815-397-9558). Unlike a framing hammer, a drilling hammer has the mass to drive concrete nails quickly and cleanly, and its soft face poses no risk of shattering when it strikes a concrete nail. For best results, orient the nail with its wide side parallel to the grain; drive it with short, carefully aimed taps (less than 2 ft. long); and leave the head slightly proud of the surface.
Each stud is custom-fit
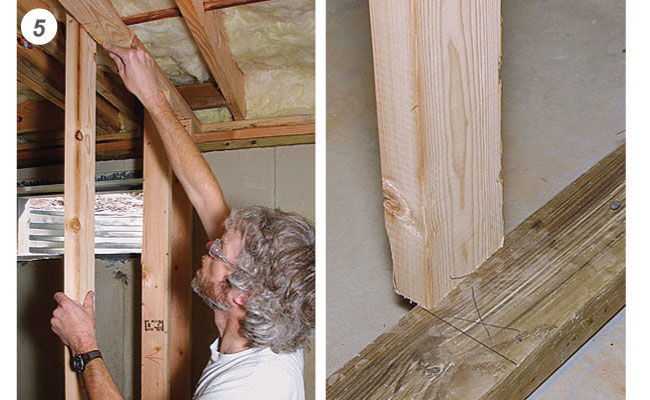
Step 5: Mark studs in place. Rest the bottom of the stud on the edge of the plate (photo below), and pencil a line where the stud meets the top plate. To ensure a tight fit when cutting the stud, leave a sliver of “daylight” on top of the line. Because few studs are perfect, crown each one—the arrow on the stud denotes an outward bow—and face all the crowns in the same direction.
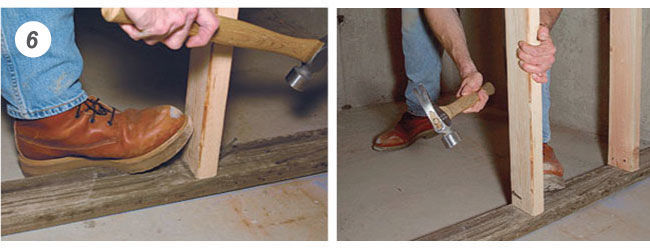
Step 6: Toenail the bottom first. Begin by placing a stud about 1/4 in. from its layout mark; then back it up with your foot. Start a 10d nail on the other side, about 1 in. up from the plate and 1 in. in from the edge. Drive the nail at a steep angle. Each hammer blow should drive the stud closer to the line, but it doesn’t have to be perfect; after the first nail is driven home, use subsequent nails to tweak the position. Two nails on one side and one on the other complete the process. To avoid a hit on the head from falling lumber, grip the side of the stud with your free hand while you start the first nail.
Photos by: Andy Engel
Fine Homebuilding Recommended Products
Fine Homebuilding receives a commission for items purchased through links on this site, including Amazon Associates and other affiliate advertising programs.
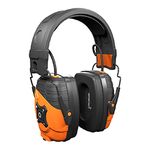
Bluetooth Earmuffs
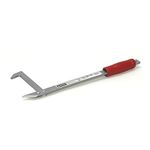
Guardian Fall Protection Pee Vee
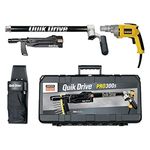
QuikDrive PRO300s
