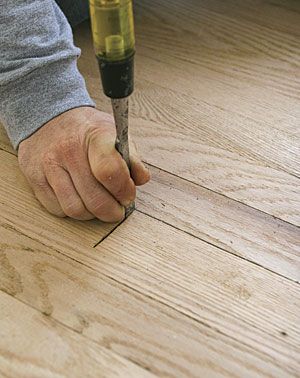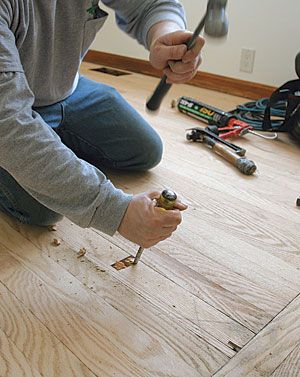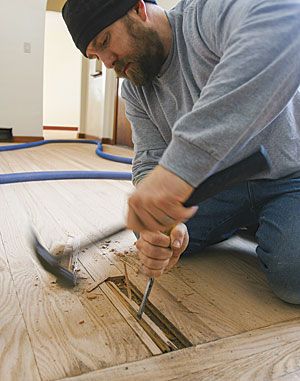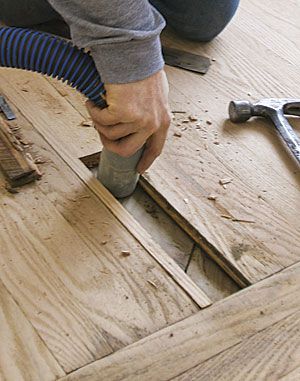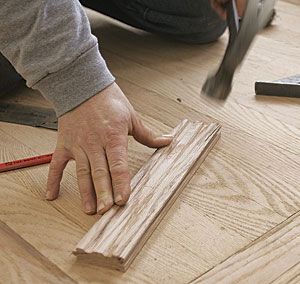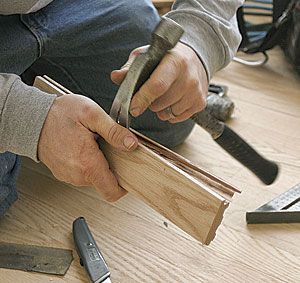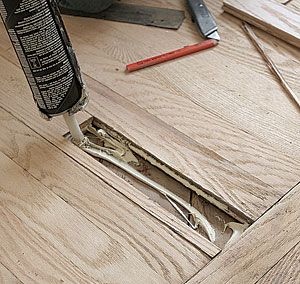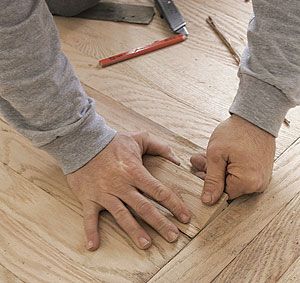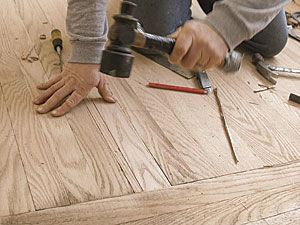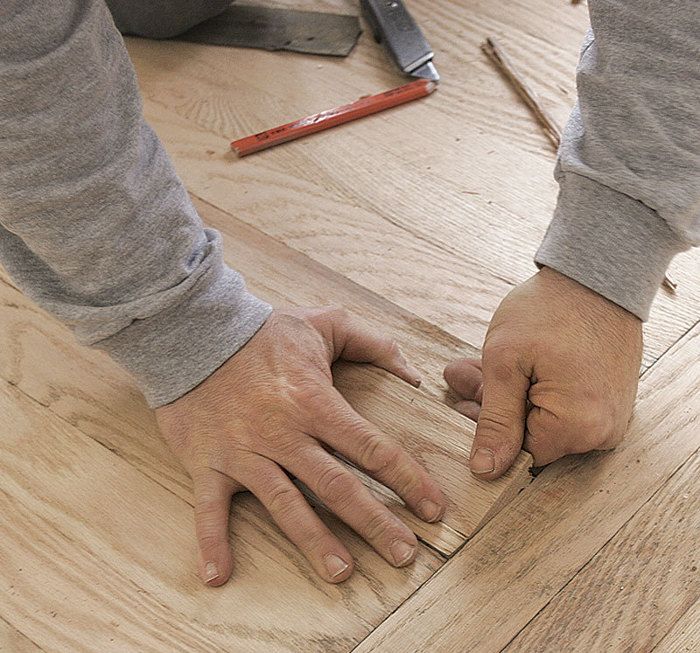
Although the tongue-and-groove joints that unite the boards in a wood floor may seem to preclude replacing just one board, the process is pretty straightforward. Since the board to be replaced is toast anyway, removing it piecemeal makes that part of the process simple. Then it’s a matter of removing the lip that forms the bottom of the replacement board’s groove so it will fit over the tongue of the existing flooring. The new board is then fit in place and secured with glue. This type of repair is usually part of a floor refinishing project because the new board has to be sanded even with the surrounding boards and finished to match.
You might think that finding a replacement board would simply entail visiting a lumberyard and buying one. It’s rarely that simple, though. Even common 3/4-in. by 2-1/4-in. red oak is sold in 20-sq.-ft. bundles for about $2 per sq. ft. If your flooring is anything other than 2-1/4-in. red oak, you’ll probably have to buy it from a specialty supplier or have a piece milled.
If you’re lucky, though, you may have a solution at hand. The original builder may have left a few pieces of flooring up in the attic. It’s worth a look, but if you aren’t that lucky, don’t give up. Odds are you can carefully remove a piece from inside a closet. Choose one from the edge so that you can get it out without having to split it in half, then replace it with whatever flooring you can scrounge or make.
Watch where you make that cut
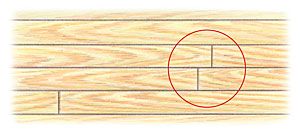
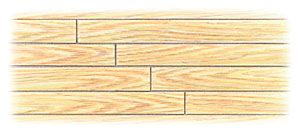
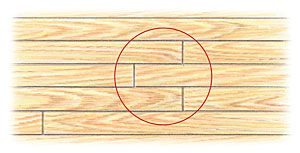
Careful installers pay attention to where they place the joints in a floor. A few things to avoid are butt joints closer than 6 in. to each other, evenly spaced joints that resemble stair steps, and patterns where three joints in consecutive rows resemble the letter H. When replacing a board, be careful to avoid creating one of these situations. A good rule of thumb is to not have any joints that are closer than the width of a floorboard over three neighboring courses.
Photos: Justin Fink
