Replacing a Load Bearing Wall with a Glulam Column and Beam System
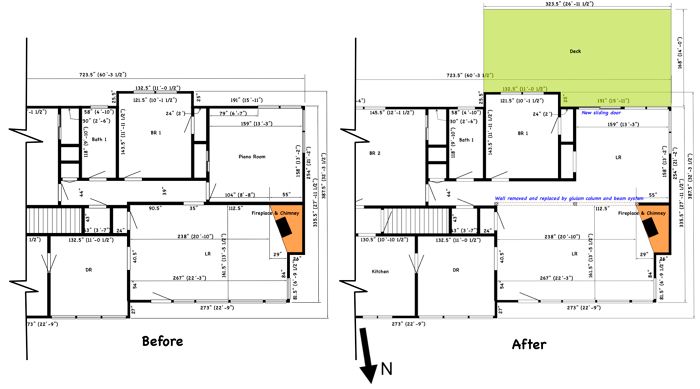
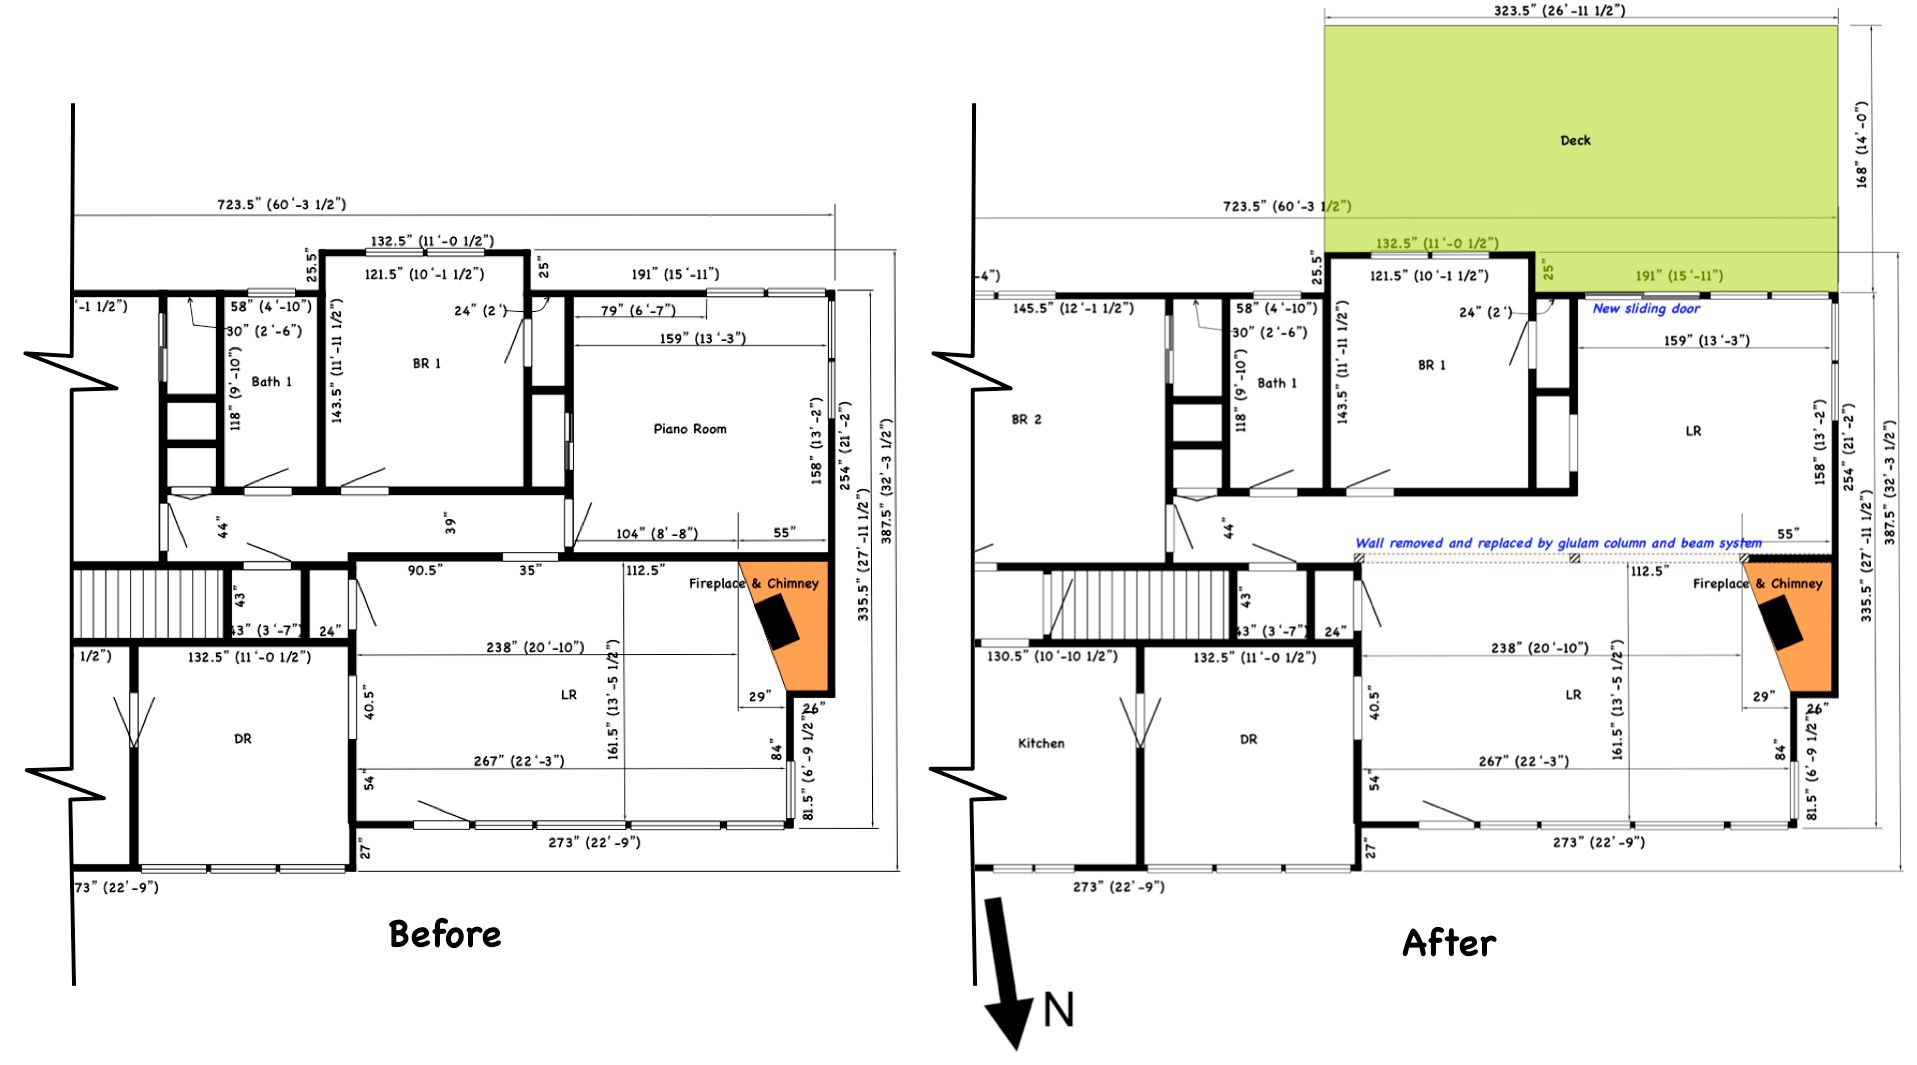
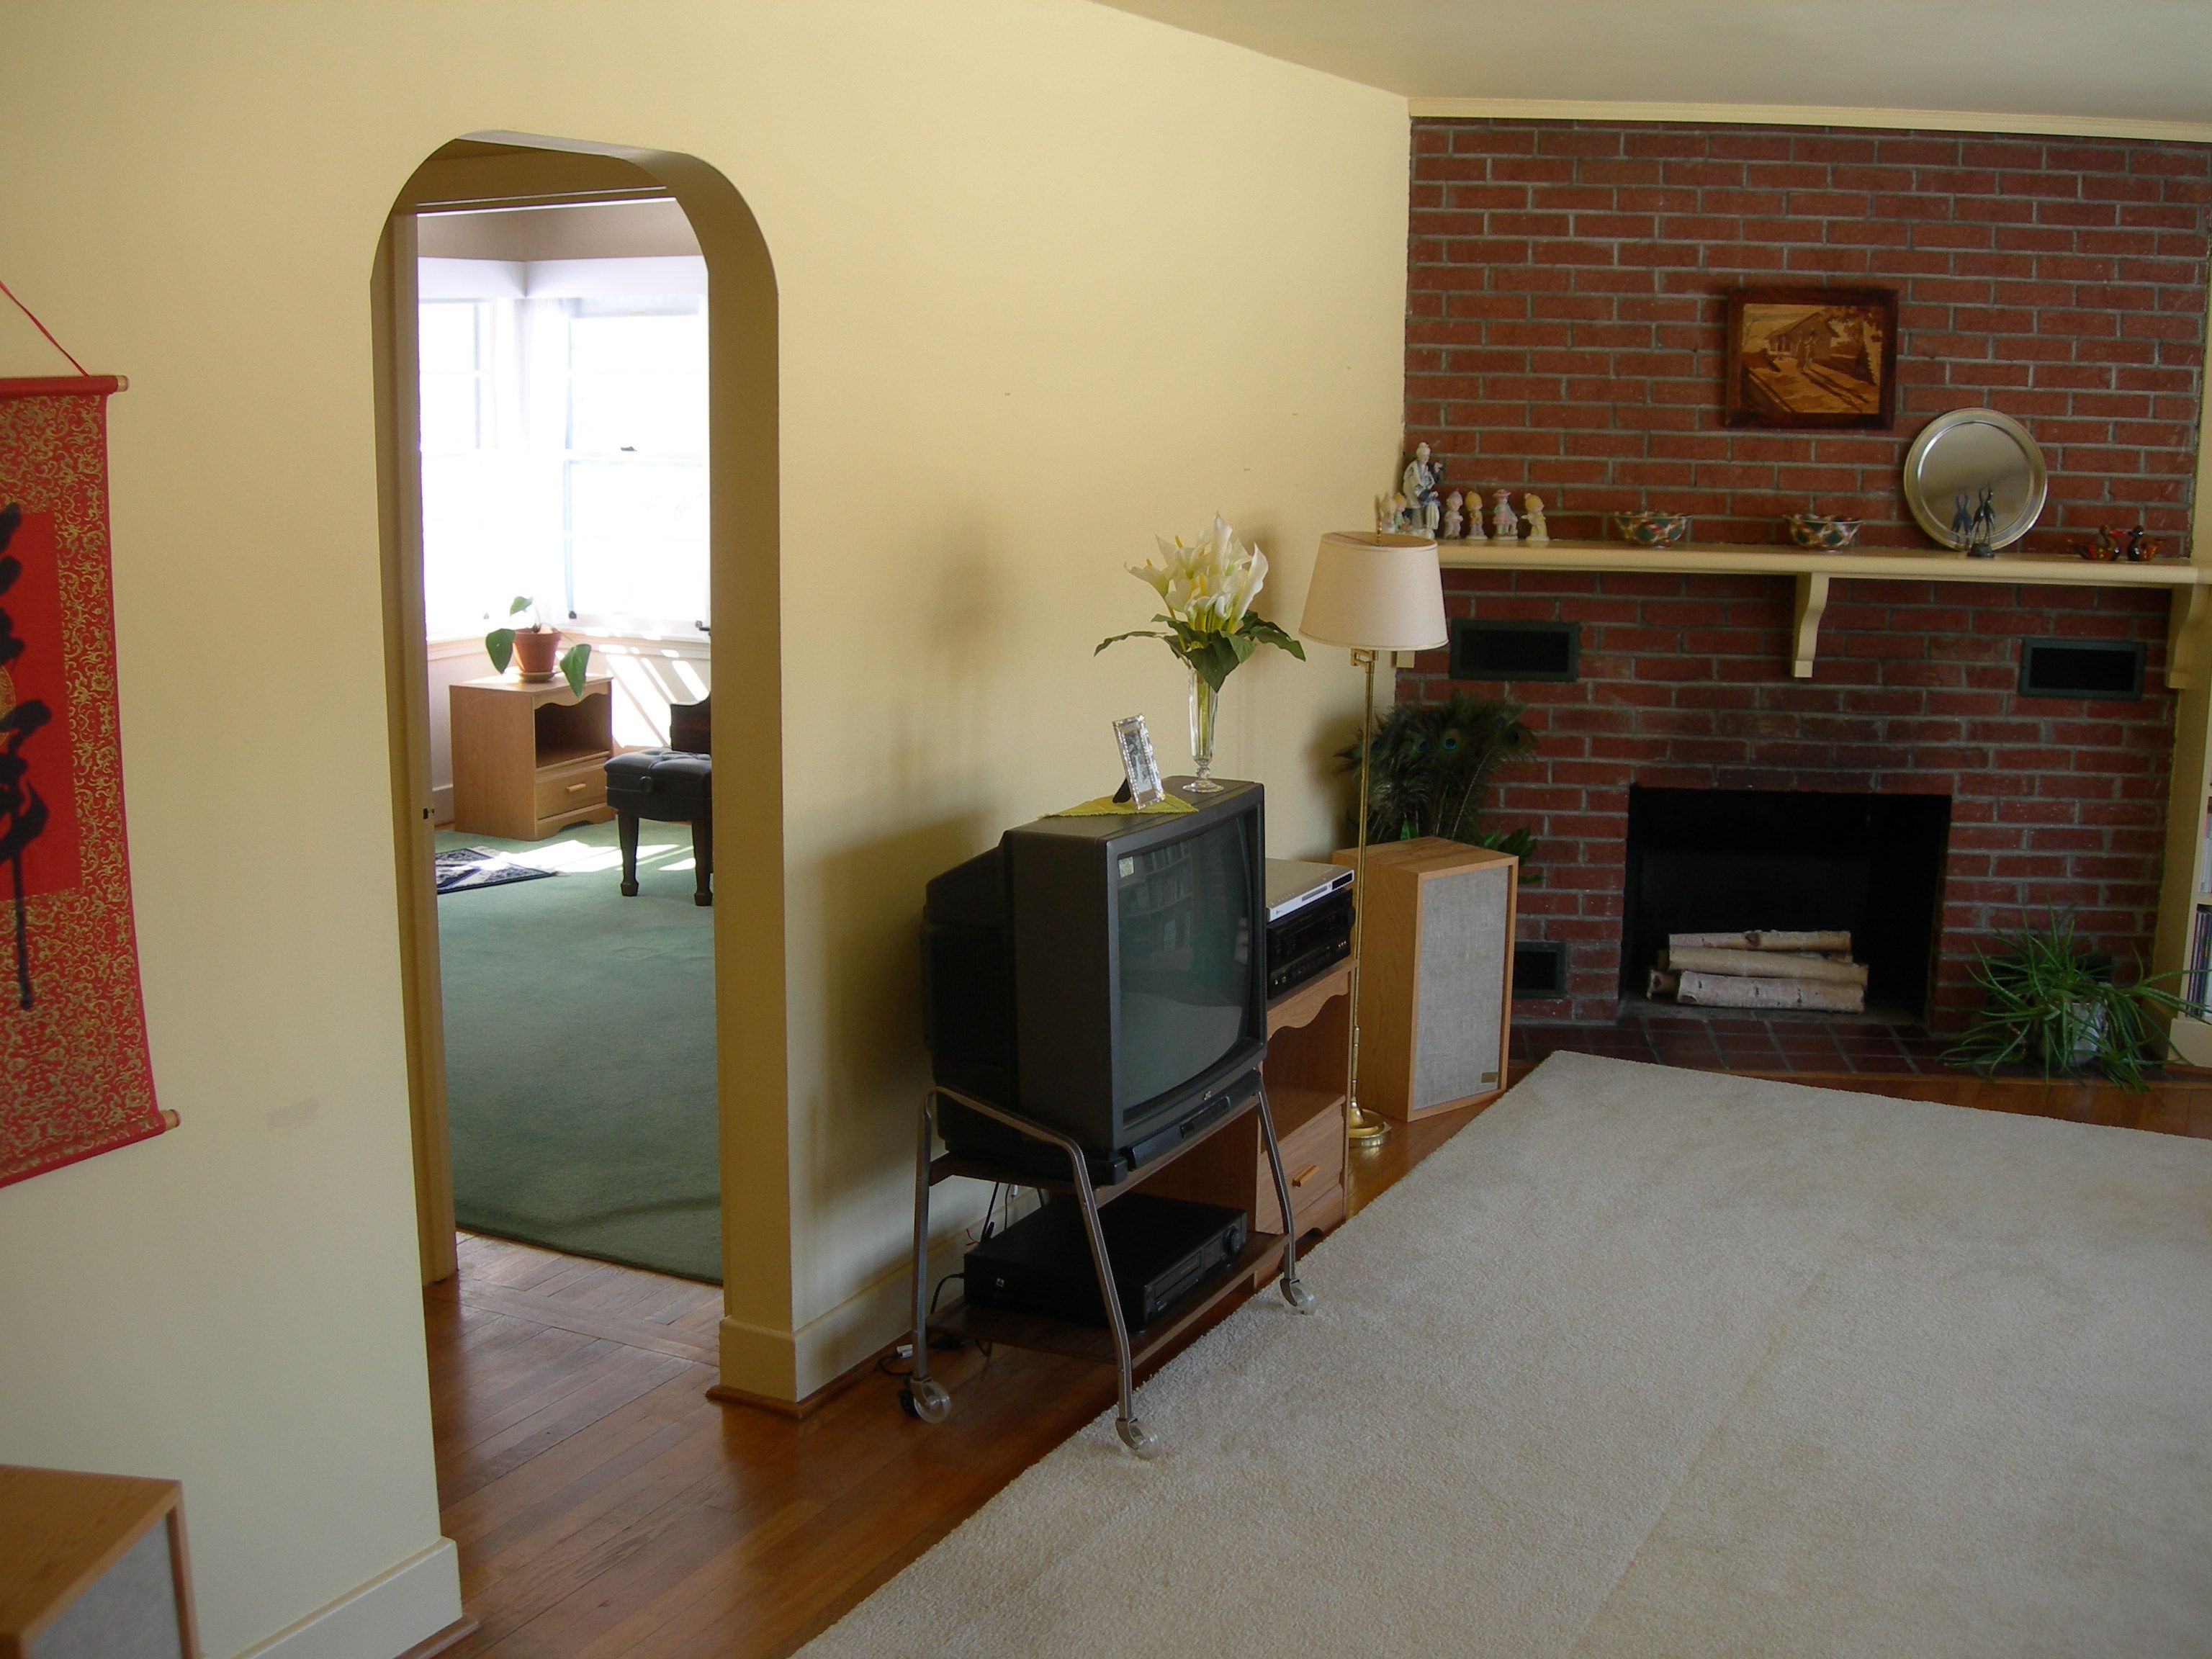
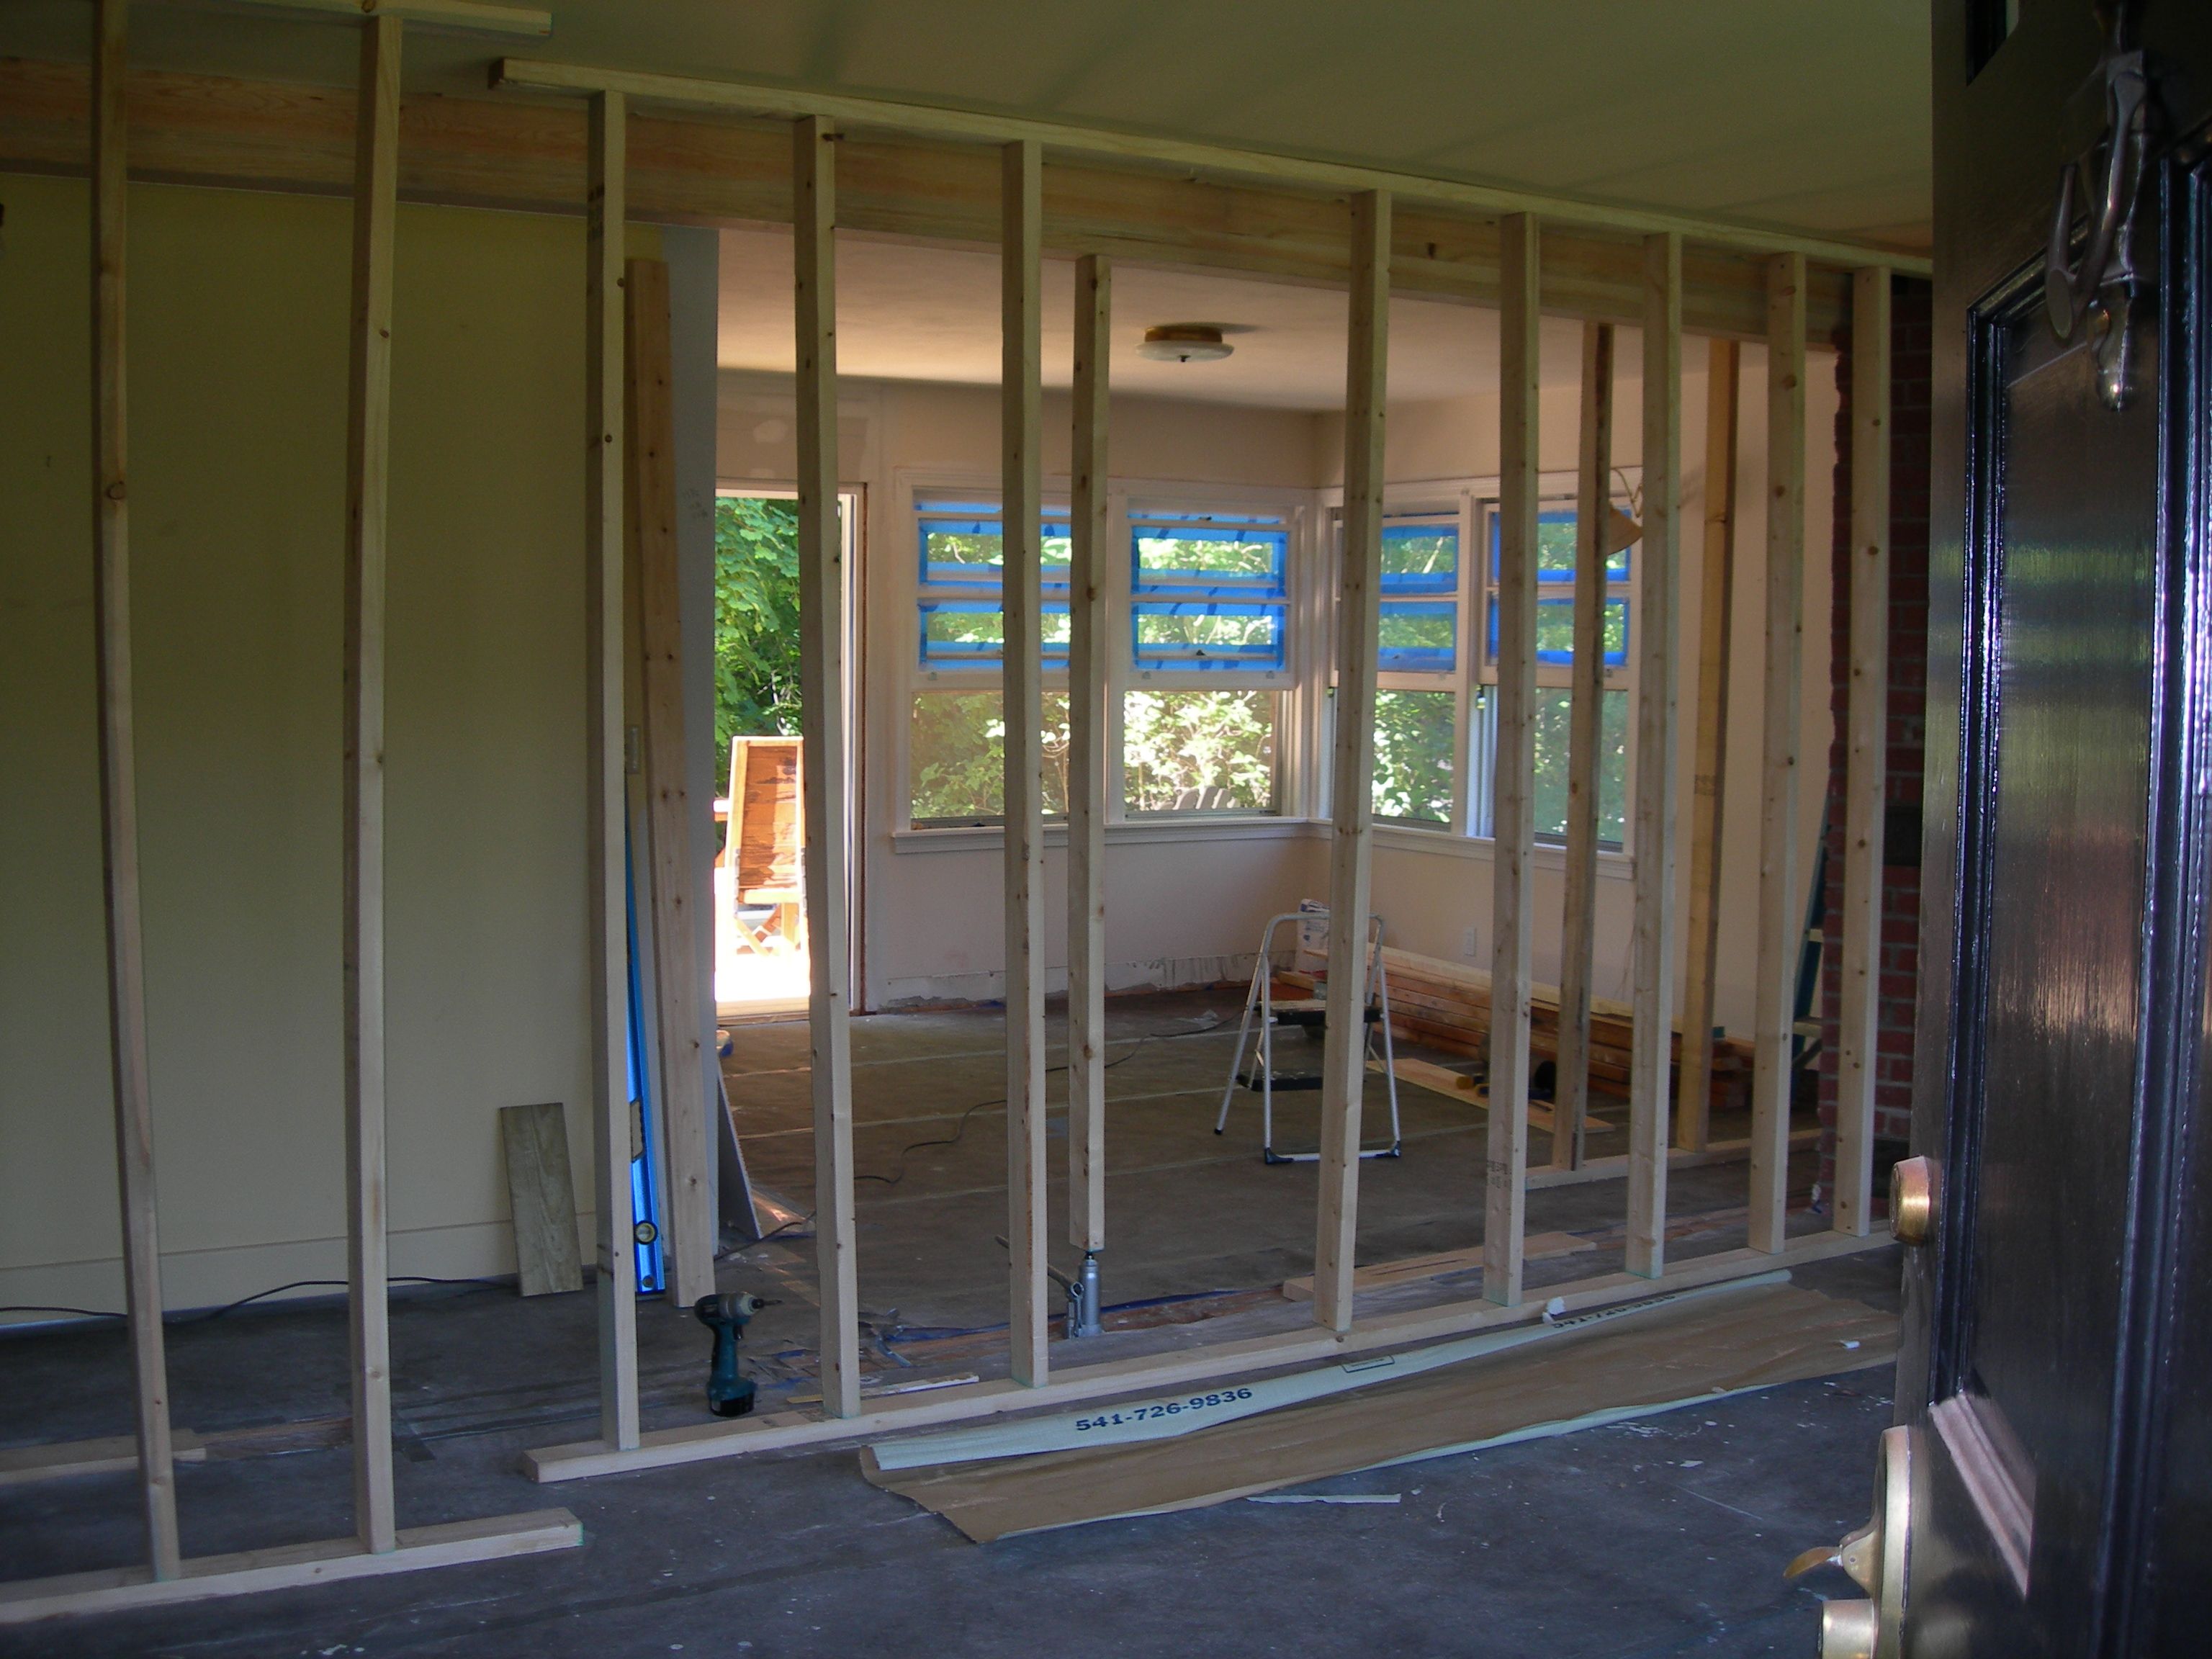
We bought a 1947 vintage ranch in upstate NY for our sons to live in while in university. In addition to the need for upgrading (especially electrical) and catching up on deferred maintenance, the interior finishing was badly dated and unattractive. However, a more glaring and more difficult-to-fix problem was that all the bedrooms were along the back side of the house and thus blocked any kind ofconvenient access to the beautiful shaded backyard. Our solution was to change the interior layout, add a patio door and construct a wooden deck. The change to the interior involved replacing a 20 foot 10 inch long load carrying wall with a glulam column and beam system. This change integrated a bedroom and a hallway into the living room. In addition to gaining convenient backyard access, the narrow 307 SF living room became a spacious 535 SF living room with windows on three sides.
Engineering
I used the Design Properties tables in Cascade Structural Laminators’ GLULAM DESIGN GUIDE for the structural design and came up with a 5–1/8” x 7–½”beam and 5-1/8” x 6” columns. Some other structural issues that had to be dealt with were:
1. The load carrying wall in the living room was supported by a basement wall that was founded on the concrete basement floor slab. Placing a column in the basement beneath each of the new columns would have required constructing reinforced concrete footings in the basement. Instead, we converted the basement wall to a shear diaphragm by screw fastening ¾” plywood to the 2×4 studs and top and bottom plates at 6” on center. Essentially the wall became a gigantic grade beam and there was no change in load application to the basement floor. An added benefit was that the plywood gave us the opportunity to finish out the basement.
2. The living room ceiling joists were overlapped over the wall and fastened to the top plate and not to each other. We fastened the joists to each other with no. 10 screws before wall removal to keep the outside walls from spreading.
3. We erected 2×4 shoring to support the ceiling until the new beam and column system was in place. Once the old wall was out of the way, we slotted the ceiling plaster so that the beam would fit snugly against the ceiling joists. Once the columns were in place, the shoring was removed.
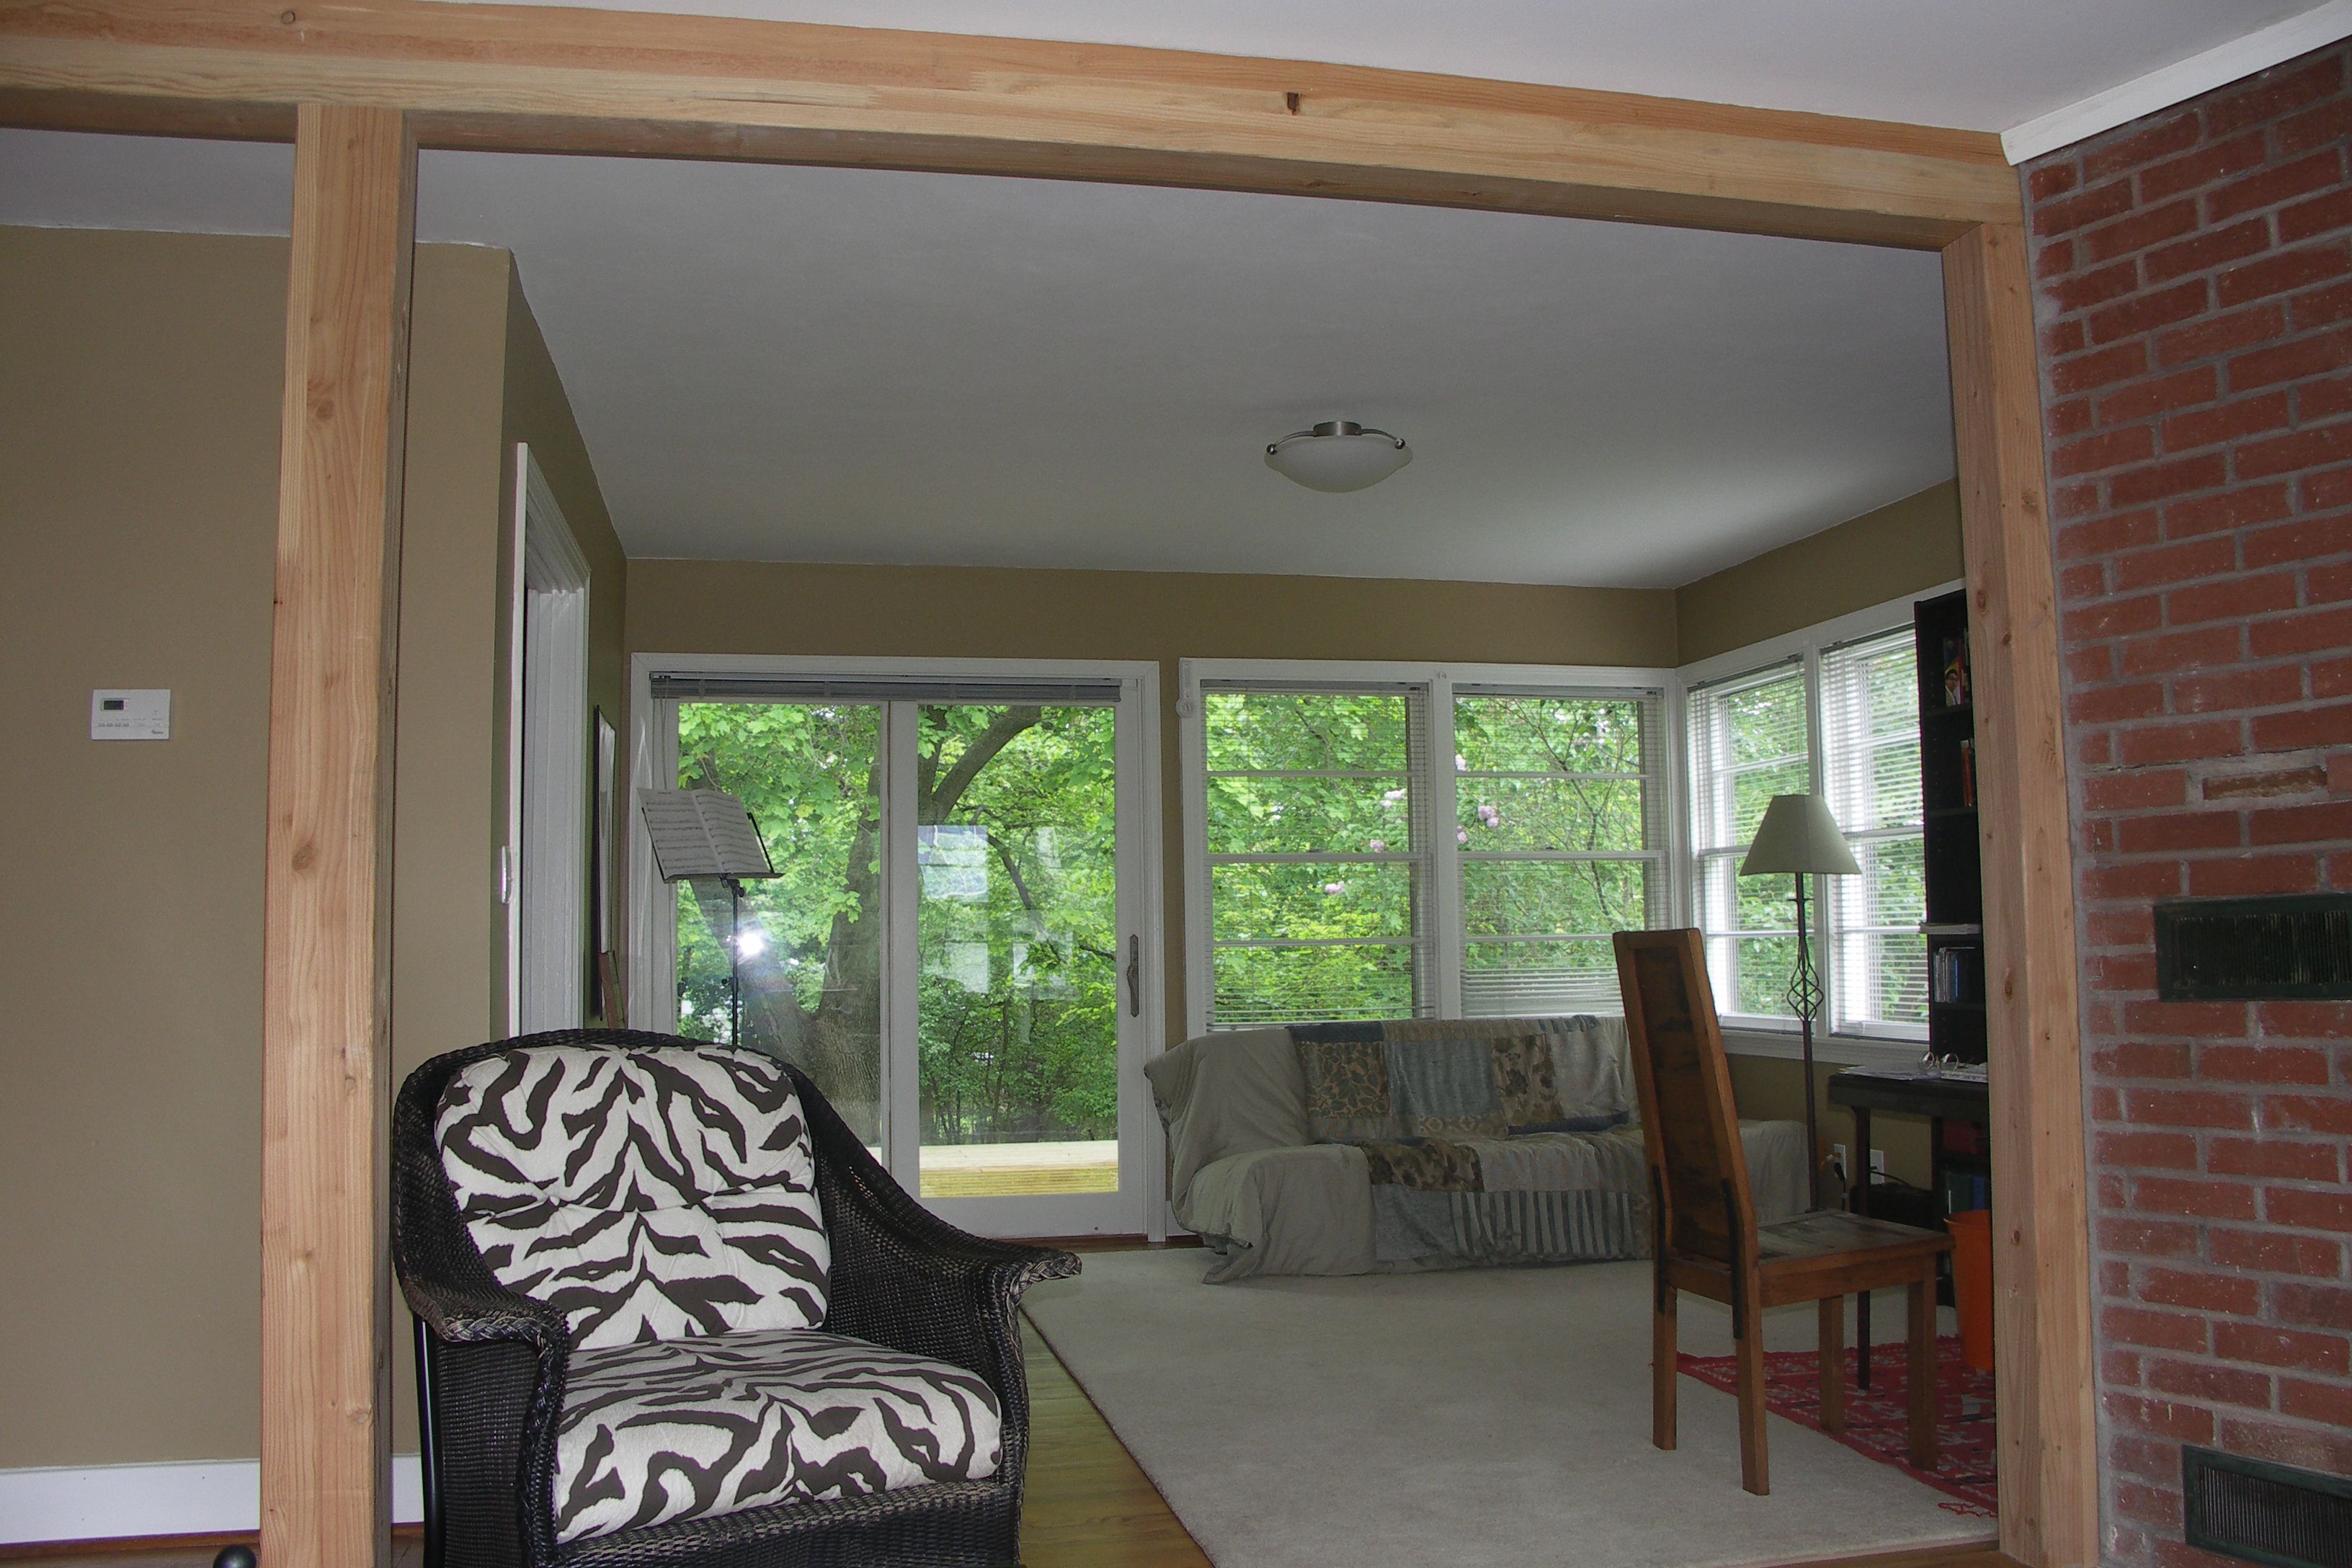
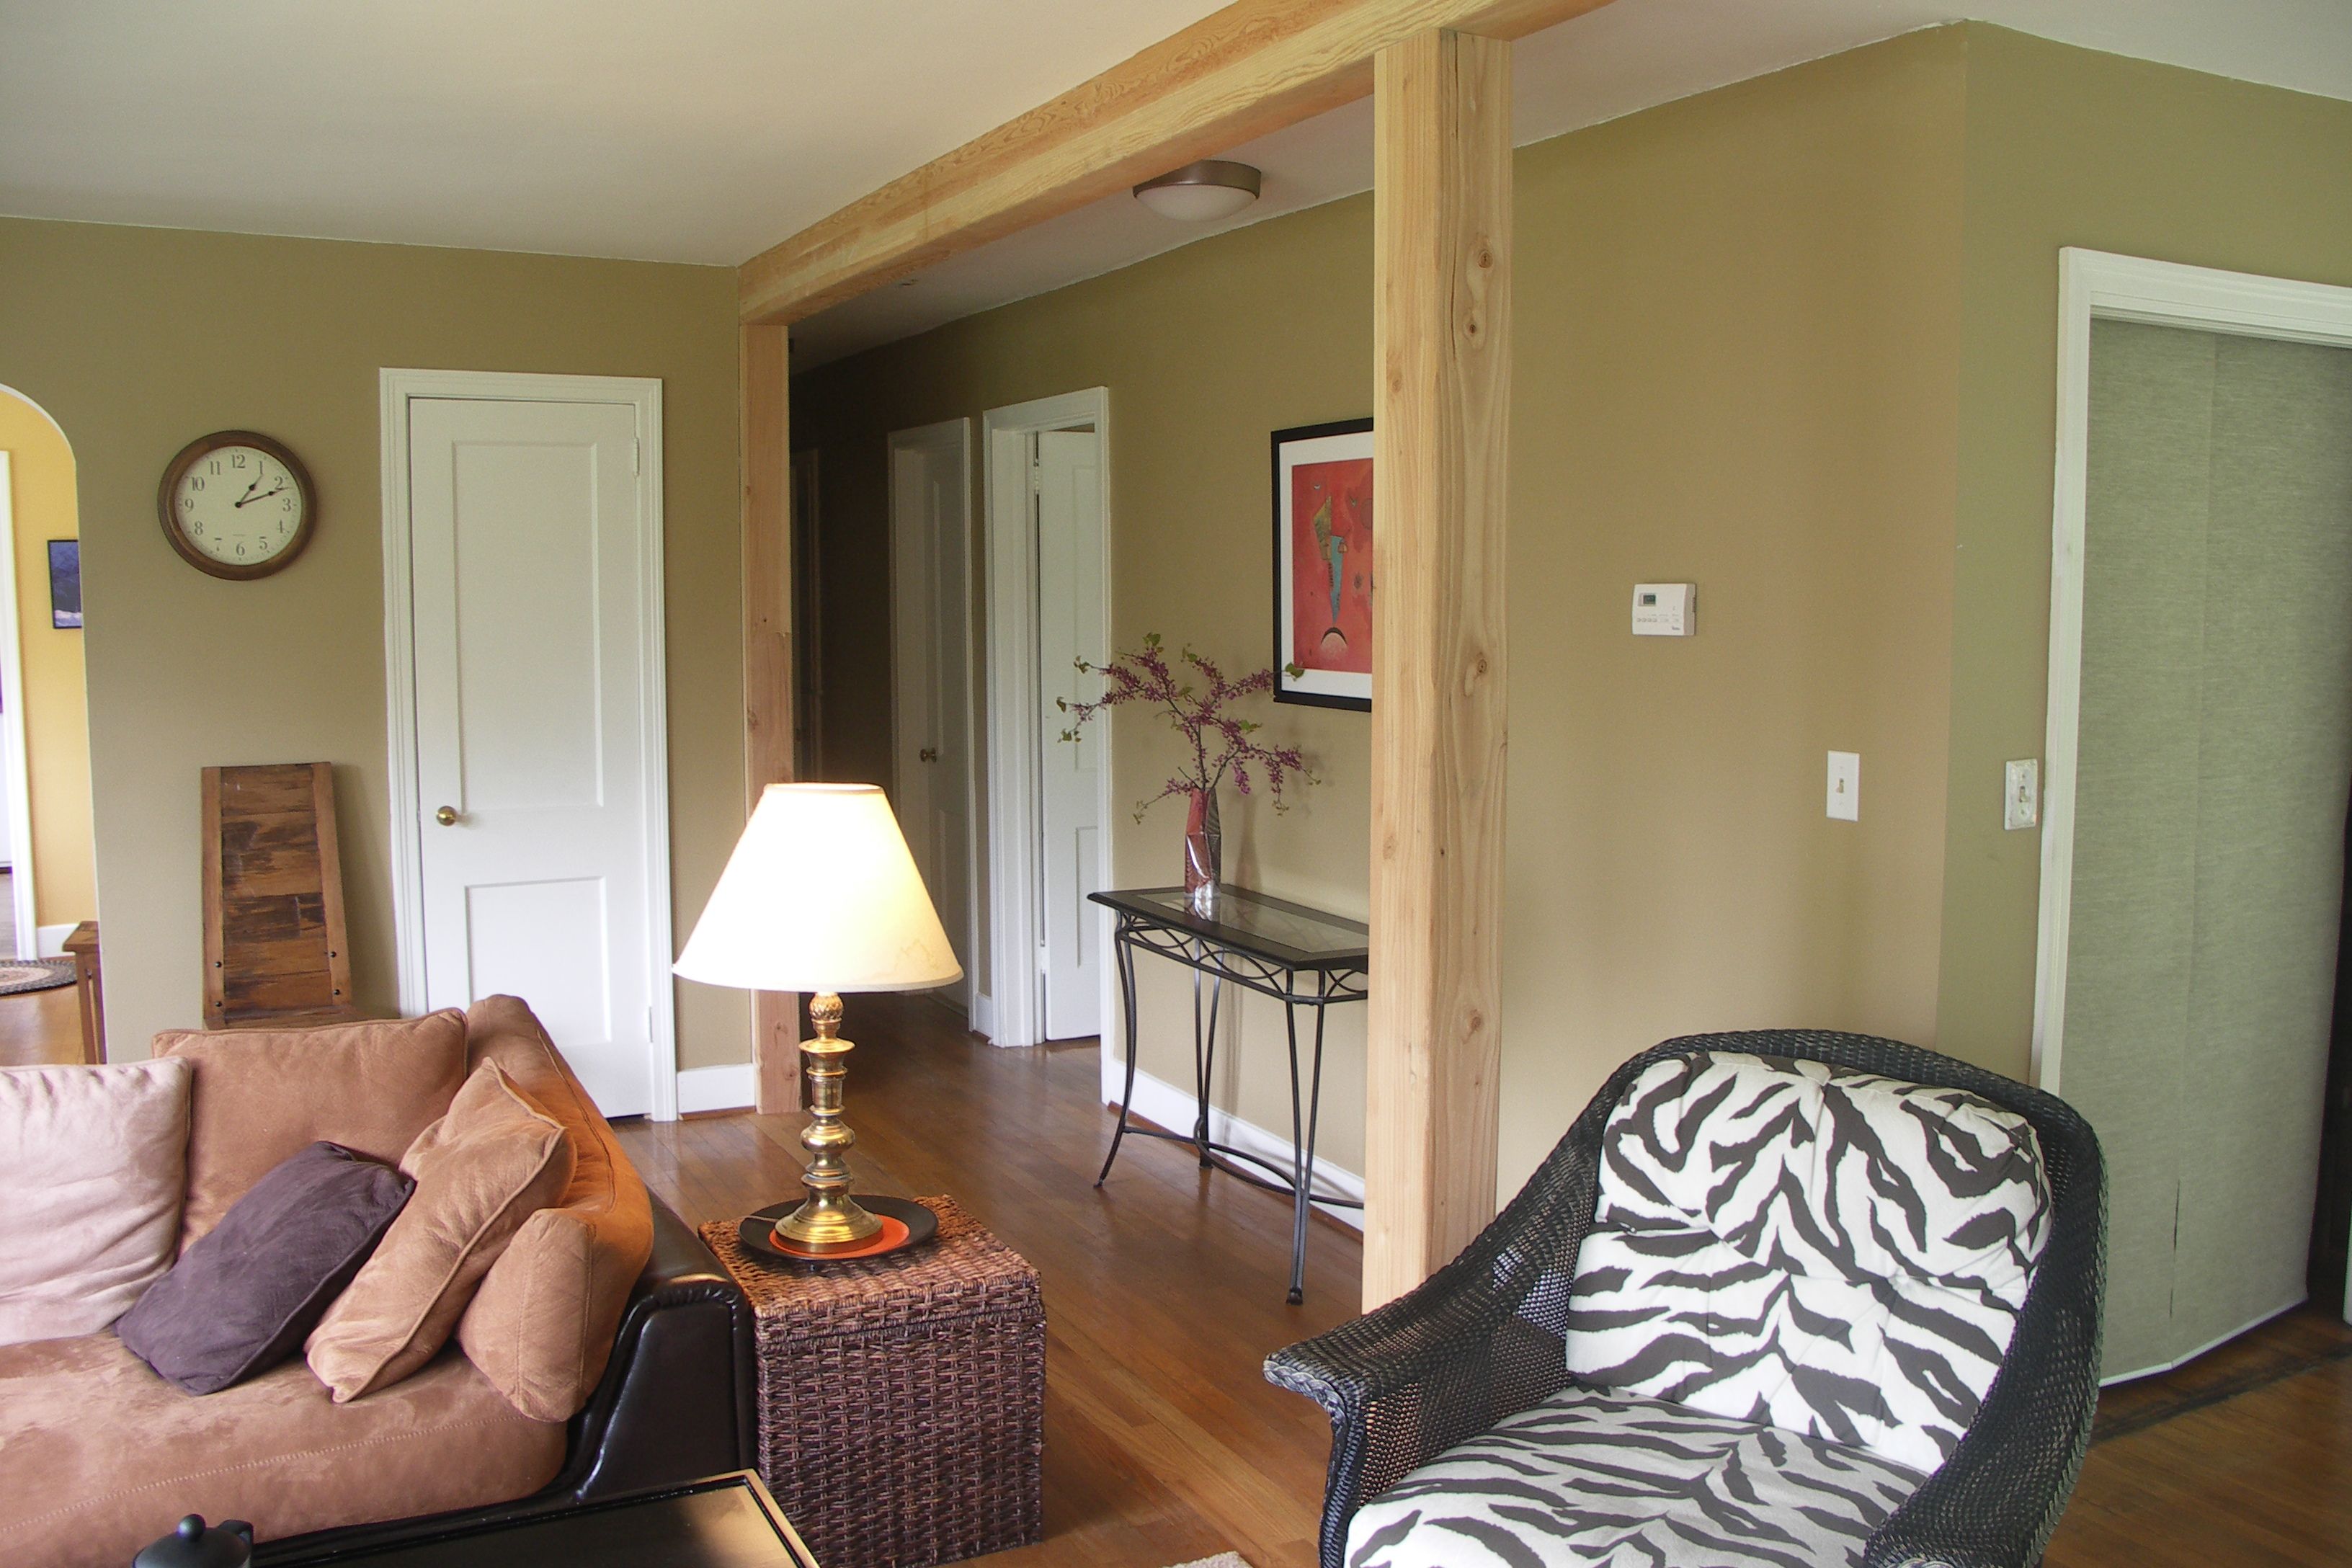
We chose glulam instead of alternatives like LVL because we wanted the appearance of natural wood. In our color scheme for the living room, the 1×6 baseboards and all window and door trim are semi-gloss white. Painting the beam and columns white (as our contractor and an interior designer insisted on) would have relegated this noble structural system to the role of trim. After completion of the work and after painting the ceiling, walls and trim, my wife treated the beam and columns with IKEA BEHANDLA (butcher block oil) to obtain a rich reddish appearance that has with time only improved.
The new oak flooring that we installed in the slot left by wall removal was fit tight against the columns to give a sleek “growing out of the floor” look.
Sourcing
When we decided to use glulam, it never occurred to me that sourcing them would be so tedious. No one at either of the two lumber yards in the city had any idea what glulam was. I went to another town and at a lumber yard there, an employee remembered some samples he’d gotten from a salesman a while back. Thus, they had a source and I ended up ordering the beam and columns from that lumber yard. I was really surprised that the glulam had come all the way from Oregon. One would think there would be fabricators somewhere on the east coast.
