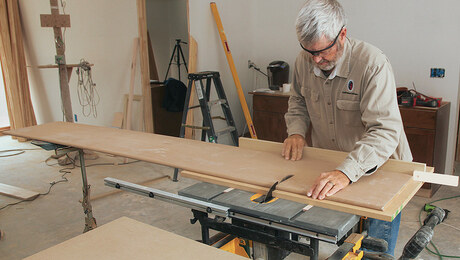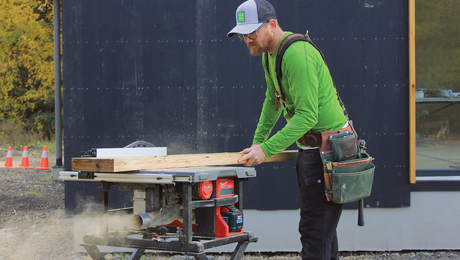
Synopsis: In this article originally featured in Fine Homebuilding issue #2, a restoration carpenter describes his method of cutting complex molding profiles on a tablesaw. Even a straight blade can cut curves if you know how. But the real secret is choosing the right sequence of cuts.
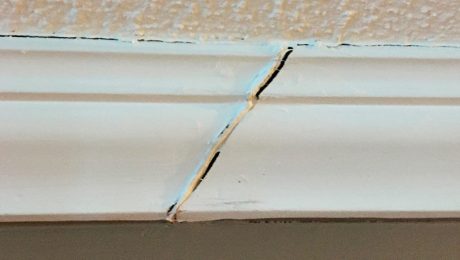
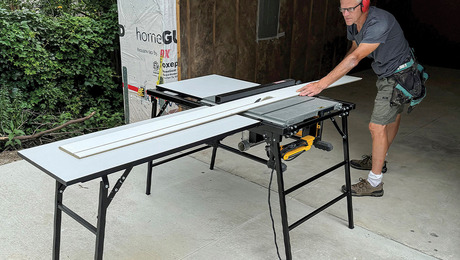
When the landmark Winooski Block was finished in 1862, the builders festooned it with all manner of ornamental moldings and wooden filigree. But by the time we (Moose Creek Restorations Ltd.) got the repair contract, 117 Vermont winters had weathered, cracked and split all of its remaining woodwork. Three-fourths of the building’s cornice moldings were either rotten or missing. We were to replace 10,000 linear feet of various moldings, not one of them a type manufactured today, and we didn’t even own the usual tool for milling moldings, the spindle shaper. We still were able to complete the job, relying on our table saw and a lot of careful planning. We found that the table saw could handle most any profile—it could even scoop out concave curves—but we also learned that every profile required its own sequence of cuts. Figuring out that sequence is the heart of our method.

The first thing we worried about was getting enough good stock. Molding stock must be the highest quality, close grained and knot free. We were still short of stock after several deals to obtain a couple thousand board feet of Vermont pine in varying widths, thicknesses and lengths— all rough cut and in need of finish planing, dimensioning, and in some cases, drying. We were bemoaning our plight when two young entrepreneurs wandered into our office. They asked if we knew anyone who could use several thousand board feet of redwood and cypress beer-vat staves from the old Rheingold Beer brewery that was being dismantled in Brooklyn, N.Y. Well, yes, we probably knew someone. The wood reeked of stale beer, but it was superb for our purposes. It was straight, close grained and of course, well seasoned.
Before any shaping could be done, we had to prepare our stock. We thought that the wood might have nails hidden in it, but we found none. We did find metal flecks where the vat bands had deteriorated, but with wire brushes and large paint scrapers we removed almost all the rust. On our 16-in. radial-arm saw, we ripped the lumber to the rough sizes we needed, about 1/4 in. thicker and 1/2 in. wider than the dimensions of the finished moldings. Next we prepared the stock on a jointer and a thickness planer. Once we had dressed down the old surfaces 1/4 in., the wood was perfect and unmarked. As we worked, we checked our cutters for sharpness. Our stock was as straight and as square as we could make it; we were ready to begin shaping.
Setting up
Milling complex moldings on a table saw requires precision. Begin with an accurate template of the molding, to which you can adjust the sawblade’s settings and against which you can compare results. The best template is a short piece of the molding you want to copy. If you must create a template from molding in place, you’ll have to use a profile gauge. Many exterior moldings are too large to be handled with one application of the gauge. If this is the case with your trim, you’ll have to take a series of readings, transfer them to paper and combine them for the complete profile. In fact, it’s a good idea to sketch all molding profiles on site, for the gauges may get distorted before you return to the shop. Fashion your template out of a rigid material such as Masonite or plywood.
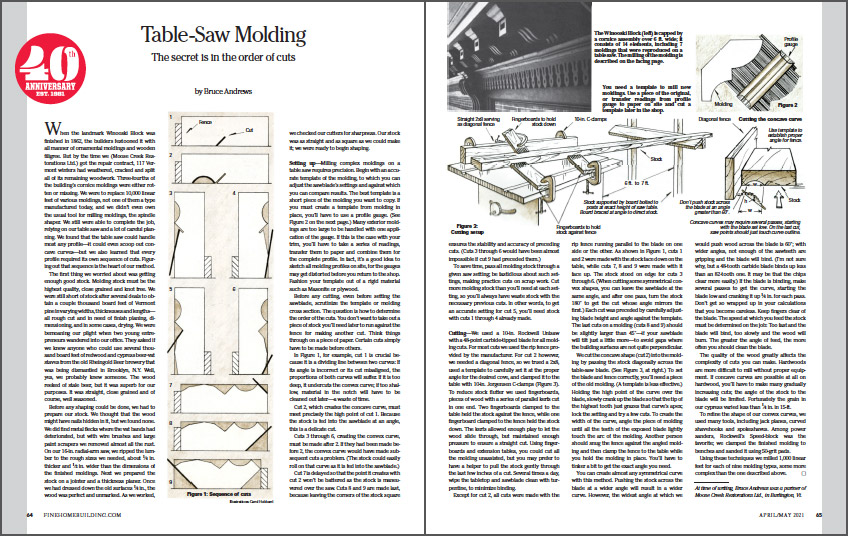
From Fine Homebuilding #298
To view the entire article, please click the View PDF button below.
Fine Homebuilding Recommended Products
Fine Homebuilding receives a commission for items purchased through links on this site, including Amazon Associates and other affiliate advertising programs.

Metabo HPT Compact Cordless Miter Saw (C3607DRAQ4)

BOSCH Compact Router (PR20)

Reliable Crimp Connectors


