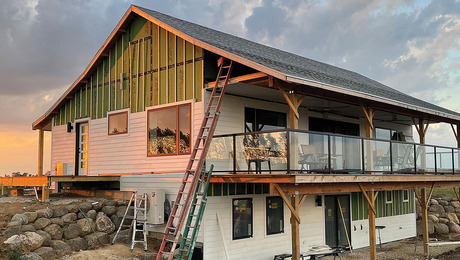
Flashing
Anticipate the flow of water to keep it outside your house, where it belongs.
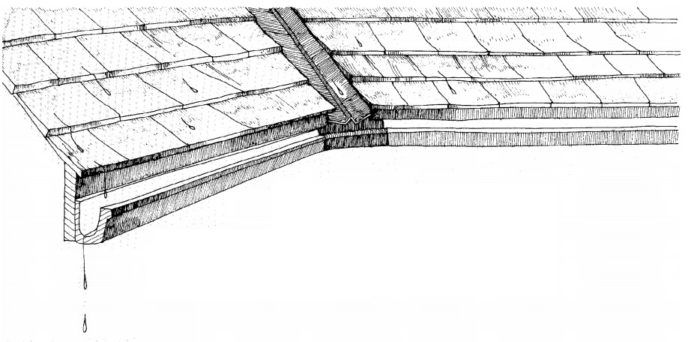
Synopsis: An annotated guide with clear drawings showing how flashing should be applied in a variety of situations, such as around chimneys and at wall-roof junctions. The information is solid and easy to understand quickly.
Flashing is that ounce of prevention worth a pound of cure. I can’t begin to count the repair jobs I’ve done because of faulty flashing. All the mystery was taken out of flashing for me when an old-timer advised that I take a ride on a drop of water as it runs down the roof or sidewall. In so doing, you quickly realize where that drop wants to go, and you understand how to change its direction. Anything that stops the flow will do it. A gutter is a good example. A strong wind will also cause a change in direction, and leaks often result. Other problems occur at junctures of dissimilar materials, where, for example, a chimney meets a roof or an aluminum window frame joins a sidewall. Any vertical crack is also an open invitation to water—door and window jambs, casings and corner boards.
Flashing used in these and other locations will keep water out of your house. The material used for flashing can be copper, lead, aluminum, galvanized steel, plastic or paper. What material is used where depends on cost, how severe the condition is, and how long it should last. Copper is the best and the most expensive flashing material. It is strong, long-lasting and can be easily shaped. Lead is right up there in quality and cost; it can be shaped quite easily, but you have to be careful because it punctures and tears. Galvanized (zinc-plated) steel comes next, followed by aluminum, plastic and paper. Unformed metal flashing comes in 10-ft. lengths, in sheets or rolls of various widths and gauges.
Doors and windows
I like to flash window sills with paper, but I use metal on door sills ,because doors have moisture problems with snow, rain, wet leaves and the like. With window sills, tuck the flashing up into the groove that receives the siding. For door and window jambs, flashing paper or 15-lb.felt, 6 in. or more in width, is stapled around the frame. The siding felt is tucked underneath this flashing. Make sure that these paper splines run over the sill flashing, which overlays the siding paper. For shingle siding, the sill flashing and the bottom of the jamb spline should overlap the tops of a shingle course, and then be covered by the two remaining courses of shingles underneath the window sill. This way the felt won’t show through.
Window and door headers must also be flashed, and for this, I think thin metal is best. Nail it in place, keeping the nails high, and continue with the siding. Let the siding felt lap over this head flashing. After the siding is on, the 1/2-in. overhang can be bent over the head casing, using a 2×4 block about 1 ft. long. Finish it off by holding the block against the flashing and beating it with a hammer to make a nice flat surface.
For step by step diagrams and more on flashings, click the View PDF button below.
Fine Homebuilding Recommended Products
Fine Homebuilding receives a commission for items purchased through links on this site, including Amazon Associates and other affiliate advertising programs.
Original Speed Square

100-ft. Tape Measure
Fall Protection
