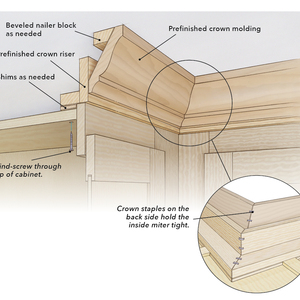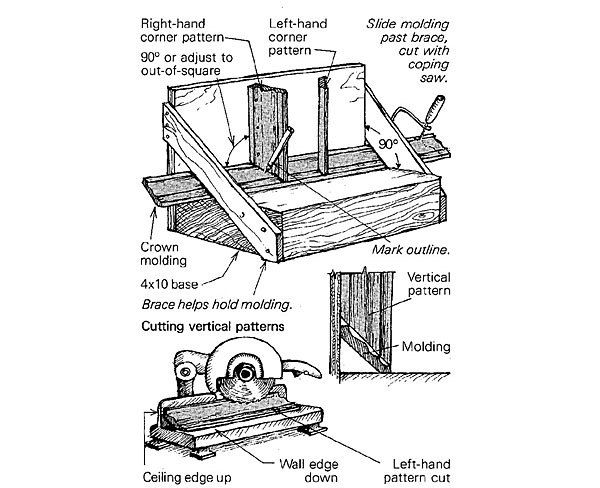
The fixture shown in the drawing makes it easy for me to mark and cut crown molding for a coped inside corner. I use framing scraps to make the fixture — a 4×10 for a weighty base, 3/4-in. plywood for the back, and 1x4s for braces. These braces should be set so that the molding, with its face up, just passes underneath the bottom edge.
For the vertical pattern pieces, cut miters on two short lengths of crown molding, one righthanded, the other, left. These should be cut from stock of the same mill-run that you’ll be installing. Nail these two pattern pieces so that they just touch the horizontal molding that is in the fixture for marking. The vertical pattern pieces should be nailed at 90° to the table of the fixture, although they can be adjusted out-of-square if necessary.
To use the fixture, just mark the molding using the right or left-hand patterns, and slide the scribed end out beyond the fixture for cutting with a coping saw. For marking and cutting, the molding is held securely by the pattern pieces and end braces. A generous undercut and a half-round file for touch-ups will yield a joint good enough to write home about.
Harry W. Stangel, Palo Alto, CA


