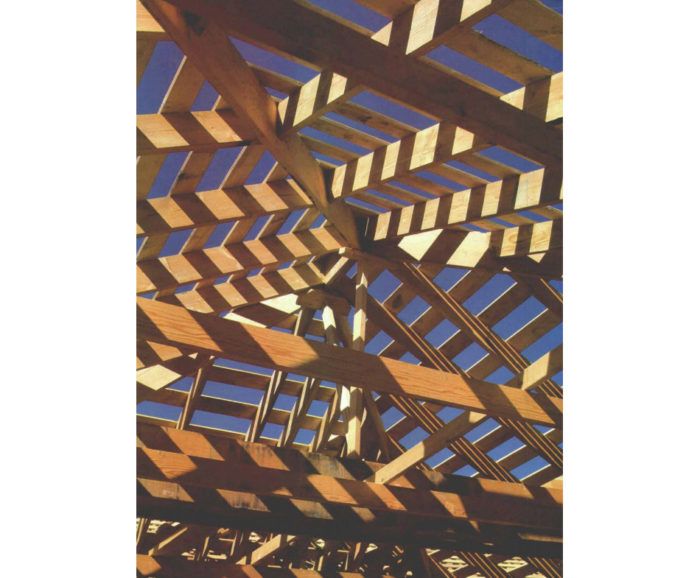
Synopsis: Production framer Don Dunkley shares his approach for framing a roof with a gable at one end and a hip at the other. He covers layout, cutting, and installation.
One of the most satisfying events in building a house is the completion of the roof. Some builders borrow from European tradition and nail a pine tree to the peak in celebration. At the least, it is usually the excuse for a party. There are good reasons to celebrate. Framing a roof can be perplexing, physically taxing and sometimes dangerous. However, with thoughtful organization of rafter layout, production rafter-cutting techniques and carefully built scaffolding and bracing to help raise the ridge and rafters, your celebrating doesn’t have to come out of a sense of relief.
The best way that I know to share my knowledge of roof framing is to describe the steps involved in building a simple hip and gable roof. This article will cover most of the problems that are encountered in a rectangular building—laying out and assembling common rafters, hips and jacks, along with the ridge, purlins and collar ties.
Preparation
The roof is ready to frame once all the walls are built, plumbed up and braced off. The exterior walls must be lined very straight, because any irregularities in the span will show up on the roof frame. Before you start sorting through your framing stock, study your roof plans carefully. They should show an overhead (plan) view on a scale of 1/8 in. or ¼ in. to 1 ft. They will tell you the type of roof (gable, hip or gambrel), the pitch or slope, the length of overhangs (eave and gable end), the layout of the rafters, their spacing (16 in. on center, 24 in. o.c.), and the sizes of the framing members.
Layout
Job-site layout begins with measuring the span of the building. Always measure from the top (double) plate height. There are usually slight variations between the span shown on the plans, the actual span at the bottom-plate level, and the one at the double plate. Since rafter lengths are calculated down to ¼-in. changes in span, use the double-plate measurement. A 100-ft. tape is the tool for this job.
First, the positions of the rafters must be marked on the top of the double plate. This lets you properly locate the rafters when erecting the ridge. The layout is also necessary to distinguish the positions of the rafters from those of the ceiling-joist layout, which should be placed so they can be used as ties to which the rafters can be nailed. Starting with the hipped end of the roof, lay out the positions of the three king common rafters. Strike a line 10 ft. in from each corner down the length of the building, as well as one midway along the width, and write the letter C (for center) on the plate over each of these lines, which will serve as centers for the king commons. Next, lay out hip-jack rafters on 2-ft. centers from the corner of the building toward the king common rafters.
For more photos, drawings, and details, click the View PDF button below:
Fine Homebuilding Recommended Products
Fine Homebuilding receives a commission for items purchased through links on this site, including Amazon Associates and other affiliate advertising programs.
Peel & Stick Underlayment

Smart String Line

Leather Tool Rig


