Flashing a Sklyight Curb
The order of adding flashing around a skylight prevents leaks.
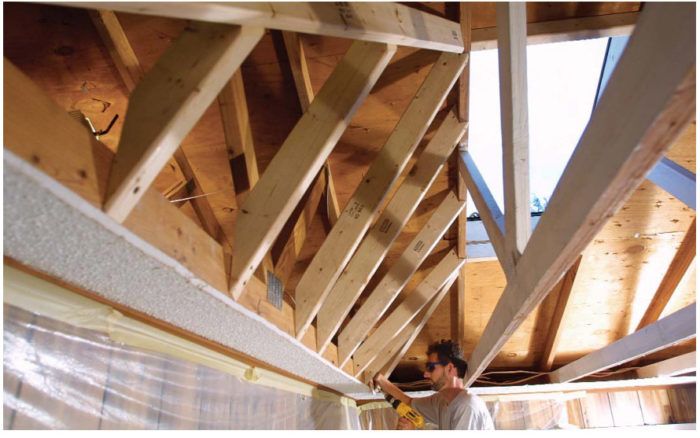
Synopsis: This article shows step-by-step instructions for flashing around a skylight. Diagrams show how pieces of flashing should be cut and the order in which they are applied.
Most manufactured skylights can be bought with flashing kits, but if you’re installing a site-built unit like the one described in the previous article, cutting and forming your own flashing is the only way to go. Even if you’re working with a factory-built unit, you may choose not to buy the optional flashing kit, but to make your own instead. This is an especially attractive alternative when the manufacturer supplies strip flashing for the unit’s sides instead of the superior step flashing. Buy a roll of .019-in. thick aluminum 16 in. or 20 in. wide, and follow the directions below.
Base flashing
First unroll a length of aluminum, and cut off a piece about 8 in. longer than the width of the skylight. Slice it to a width of 8 in., and save the scrap for step flashing. Bend the aluminum lengthwise along a straightedge to form a right angle, with one side about 3 in. across and the other, 5 in. Then set the 3-in. side against the bottom curb of the skylight, and the 5-in. side flat on the roof. Hold the angled aluminum so that an equal amount of flashing extends beyond each side of the skylight. Now mark a line on the vertical side of the flashing flush with the corner of the curb on each side of the skylight. This is a fold line. Next, draw a line to make a diagonal cut across the vertical side of the flashing, ending exactly at the point where the fold line meets the bent corner of the flashing, as shown in step 1 of the drawing in the PDF below.
When you’ve cut both sides, fold the vertical half of the flashing around the skylight, and flatten the rest onto the roof. If you’re not re-shingling, slide the angled tab of flashing under the first course of shingles on each side of the skylight. This is your base flashing. Folded and cut, it’s ready to tack to the roof with a single nail in each upper corner.
Step flashing
Most manufactured flashings include the first two pieces of step flashing as an integral part of the bottom flashing. Each piece is bonded to the bottom flashing with a soldered or locked seam joint. You can approximate this detail using an 8-in. square of aluminum sheet from your roll, bending it at a right angle with 3 in. vertical and 5 in. flat, and making a V-cutout along its fold so that it can be bent around the base.
The rest of the step flashing, except for the two top corner pieces, consists of square or rectangular sheets with a single 90° bend. The precut sheets sold in hardware stores as step flashing are typically 5 in. by 7 in., a size that offers minimal protection. Buy larger pieces if you can, or make your own from 8-in. squares.
For more photos and details on flashing a skylight curb, click the View PDF button below.
Fine Homebuilding Recommended Products
Fine Homebuilding receives a commission for items purchased through links on this site, including Amazon Associates and other affiliate advertising programs.

Roofing Gun
Fall Protection
Peel & Stick Underlayment
