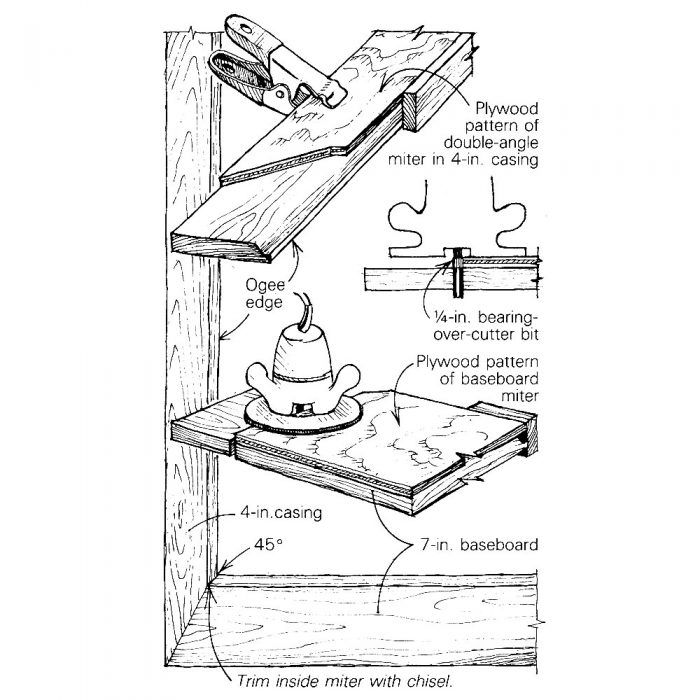
Recently the general contractor I work for was low bidder on the finish phase of a large Victorian-style office building. The job called for crown moldings, 20 raised-panel doors surrounded by 4-in. casings and hundreds of feet of 7-in. high baseboard. Both the baseboard and the casing had a 5/8-in. Roman ogee milled on one edge. At each doorway, the base and casing were to be mitered. The miter where the ogees met at the top of the joint was 45°, but this angle changed on the flat face of the trim pieces, as shown. The question was how to cut a lot of these double-angle miters with speed and accuracy.
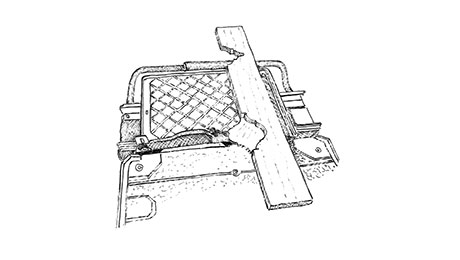
I solved the problem by drawing the joints full size (both right-hand and left-hand sides) on 3/8-in. plywood, and then cutting each one apart along the lines of intersection. I added stops along the ogee-edge side of each pattern, making it easy to align them with the stock. Clamping the stock and patterns together as shown in the drawing, I cut each joint with a small router using a 1/4-in. bearing-over-cutter bit (see FHB #10). Armed with these guide jigs, the rest of the crew joined me in production-cutting the miters.
—Bob Grace, San Jose, CA
Edited and illustrated by Charles Miller
From Fine Homebuilding #15







View Comments
Clearly Fine Homebuilding does not review these tips from old issues or about the quality of the associated graphics.
How can anybody use the graphic on this tip?
Come on FHB, This is basic web editing; look at the web page using several different browsers before going live and validate quality. Then check the live version again, less than 5 minutes of extra work. How can you be a champion of professionalism and quality with pictures like this?
I notice that the quality of the graphics is very poor in many of your web products. I hope this is not a precursor to what's coming to the magazine. Poor product = poor management?
I did this myself on the our master bath shower. The base extends fully along the wall and the shower opening casing is mitred into it on both sides.
The easy way on this job (above) would be to mitre the casing into the base at 45 degrees for the width of the casing and the then "straight cut" (cross cut) down on the remainder of the base. With a good blade you really shouldn't see end grain. Round the sharp edge on the cross cut to match the casing and it will look terrific.
I absolutely agree with the previous posts.
The graphics can be worse! A couple weeks ago the graphics didn't match the text...they were from a different article.