Veneer Plaster
Getting the look and texture of plaster on lath with gypboard and mud.
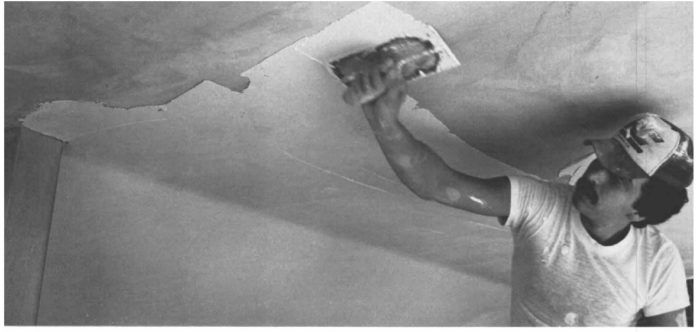
Synopsis: Veneer plaster can be applied over sheets of special gypsum board that replace the wood or metal lath that once was the norm. The process leaves a hard finish that needs no further attention, but it takes speed and agility to apply this material. This article is a short guide on how to do it.
Finishing with plaster isn’t the awesome job that it once was. Modern plastering systems have replaced the traditional wood or metal lath with gypboard sheets, textured on one side so they hold the plaster. After hanging and taping this substrate, you trowel on a thin (3/32-in.), seamless surface that’s far stronger (up to 3,000 psi) and harder than the drywall itself. It can be painted or left as is, with no sanding or other treatment required.
Called Thincoat, Skimcoat, Kalcoat, Imperial Plaster, or simply veneer plaster, depending on what manufacturer or contractor you’re talking to, the finish costs a few cents more per square foot than a conventional drywall finish. It takes time to learn how to handle the mud, though, and you’ll need at least two people to do the job right. The plaster sets quickly, and it’s meant to be worked fast.
Materials
Veneer plaster isn’t a new material, but it’s only in the last several years that manufacturers have put together complete systems based on its use. The systems consist of gypsum-core backing board (which is nothing more than regular gypboard with a bluish, textured paper surface), more commonly called blueboard; high-strength plasters for one or two-coat finishes; a retarder compound to extend the setting time if you’re mixing big batches or working slowly; fiberglass-mesh joint tape; metal or plastic corner beads; and plastic edge terminals for transitions between plaster and other surfaces. You’ll need all these items for most jobs. Manufacturers have their own product lines and encourage you to use their stuff only, but in practice, everything but the plaster pre-mix is interchangeable.
Veneer plaster can be either a one or a two-coat finish. The one-coat system is quicker, but if you want a slightly stronger, smoother wall surface, use the two-coat system. With the two-coat system, the base, or scratch coat is a grey, coarse plaster that bonds well with the substrate and with the white finish coat that covers it. This final coat can be floated to a satiny-smooth finish, or you can texture it by adding washed sand to the mix, or by going over the plaster roughly with your float. The finish coat can also be tinted with powdered pigment, though this is risky, since color may vary slightly from batch to batch.
Apart from sand, pigment and retarder, all you add to the plaster is clean water. The retarder gives about 15 minutes more working time — a blessing if you’re troweling in corners or around contoured areas that demand more attention than flat work. A retarder works best when it’s pre-mixed in water and then added to the batch as it’s being mixed. Use the water-to-weight ratios recommended on the bag, both for plaster and retarder.
For more photos and details, click the View PDF button below:
