Laying a Tile Floor
Epoxy mastic on a plywood subfloor is a durable alternative to the traditional mortar-bed method.
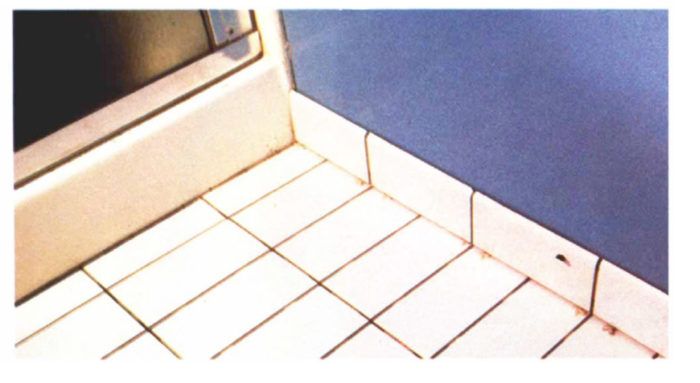
Synopsis: The author uses the renovation of a bathroom showing signs of water damage as a lesson in how to lay a new tile floor. He covers preparation of the subfloor, layout, and the application of a tile surface over epoxy mastic. A sidebar discusses different types of ceramic tile.
Of all the finish floors available to the builder, none is more permanent than ceramic tile. Tile floors hundreds of years old attest to the durability of the materials, and today ceramic tiles are available in almost limitless colors and patterns. Because ceramic tile can resist the ravages of water, it is often chosen as the finish floor in wet locations like bathrooms, kitchens and mudrooms. But regardless of how durable and pretty the tile is on top, its useful life depends on things that can’t be seen: a sturdy subfloor, high-quality mastics or mortar, an accurate layout and sound installation.
This article describes a typical tile installation in a small bathroom. The job was a remodel, but the procedures are the same for new construction. The tools are the same, too. Except for the snap cutter, which you can rent from most tool-rental centers, tile-laying equipment isn’t expensive.
Preparing the subfloor
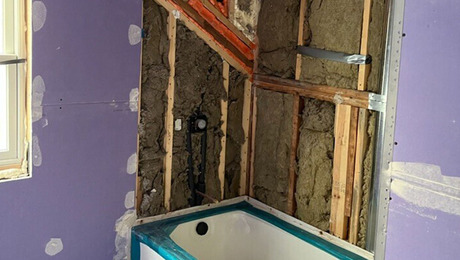
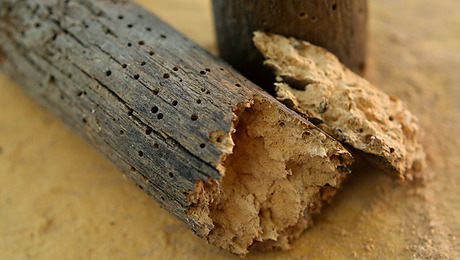
The floor in this bathroom had been covered by wall-to-wall carpeting that extended from the neighboring living room. Years of careless splashing in the shower had rotted a corner of the rug, and the subfloor was about to follow. Fortunately the joists weren’t damaged, so I didn’t have to perform any framing surgery. I just had to remove the toilet and tear out a rotten rug.
The original subfloor was 1×6 T&G planking over joists 16 in. o. c. This is a satisfactory substrate for a finish floor that can flex, like vinyl or carpet, but a tile floor requires a stiffer base, or it will crack. I won’t install a tile floor unless the subfloor and the underlayment are at least 1-1/4 in. thick, so I covered the planking with 5/8-in. CDX plywood and fastened it down with 2-in. ring-shank nails driven into the joists every 6 in. At the walls, I left a 1/4-in. expansion gap.
I never use particleboard as an underlayment because it’s not as strong as plywood and it swells if it gets wet. Exterior grades of plywood, when properly fastened, can stand up to the occasional tub oveflow without swelling and popping the tiles loose.
I left a gap of about 1/16 in. to 1/8 in. between the pieces of plywood for a glue joint. By edge-gluing the plywood sheets with the epoxy thinset, the underlayment becomes an integral layer that won’t move in isolated spots as a result of a water spill. If individual pieces are allowed to move, the result can be cracked tiles or broken grout lines. Unless the subfloor needs a lot of surface preparation, glue the plywood edges as the tiles are set. Adjacent pieces of plywood shouldn’t be more than 1/32 in. above or below each other, and for a larger floor, the edges of the plywood sheets should be staggered.
For more photos and details on laying a tile floor, click the View PDF button below.
