Replacing an Oak Sill
Doing the job on a formal entry without tearing out jambs and trim.
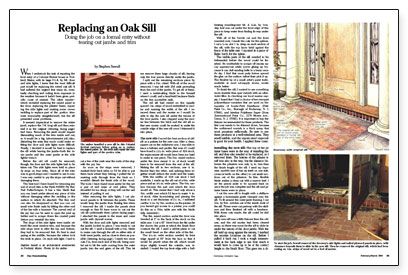
Synopsis: An architectural woodworker explains how he replaced a 7-ft.-long oak sill at a formal entry without removing the door jambs or casing. His approach was faster and did less damage than a full-scale dismantling.
When I undertook the task of repairing the front entry of a Colonial Revival house in Portland, Maine, with its large 3½-ft. by 8-ft. door and side lights, I knew that the most difficult part would be replacing the rotted oak sill. It had suffered the neglect that many do, eventually checking and rotting from exposure to the weather because it hadn’t been given periodic coats of sealant. The other repairs — which included replacing the raised panel in the door, replacing the pilaster bases, repairing the side lights and making some crown molding to replace part of the portico trim — were reasonably straightforward, but the sill presented some problems.
It seemed impractical to remove the entire jamb, replace the 7-ft. long sill and then reinstall it as the original had been. Removing the jamb would require dismantling much of the trim inside and out, so it would be a big, labor-intensive job; Also, disturbing the entry that much could make refitting the door and side lights more difficult. Finally, I decided it would be best to replace the sill while leaving the jambs — both the inner jambs and the outer jambs at the side lights — intact.
Before the old sill could be removed, though, the door and the side lights had to be taken out. The side lights were held in place by stops on four sides. Since all of the trim was in good shape and I wanted to use it over, I was very careful to pry the stops out without damaging them.
The best tool I have found for removing any sort of wood trim is the Hyde #45600 Pry BarNail Puller-Scraper. It has a thin blade that you can insert under almost any piece of trim without damaging either the molding or the surface to which it’s attached. The thin end can also be sharpened so that you can cut small wire finish nails by hitting the other end of the bar with a hammer. The curved end of the pry bar can be used to open the joint up further and to scrape down the crusted paint before you reinstall the trim.
The stops of the side lights were inside mitered like most window trim, and because the side stops went in after the top and bottom, they had to be removed first. It’s best to start prying at the middle, because the miters lock the ends in place. On each side light, I had to cut a few of the nails near the ends of the stop with the pry bar.
As soon as the stops were removed, I marked their back sides so I’d be able to put them back where they belong. I pulled the remaining nails through from the back so I wouldn’t disturb the finish side of the wood. The tools I have found most useful for this are a pair of end snips or end pliers. They shouldn’t be too sharp or they will cut the nail instead of pulling it out.
For more photos, drawings, and details, click the View PDF button below:


