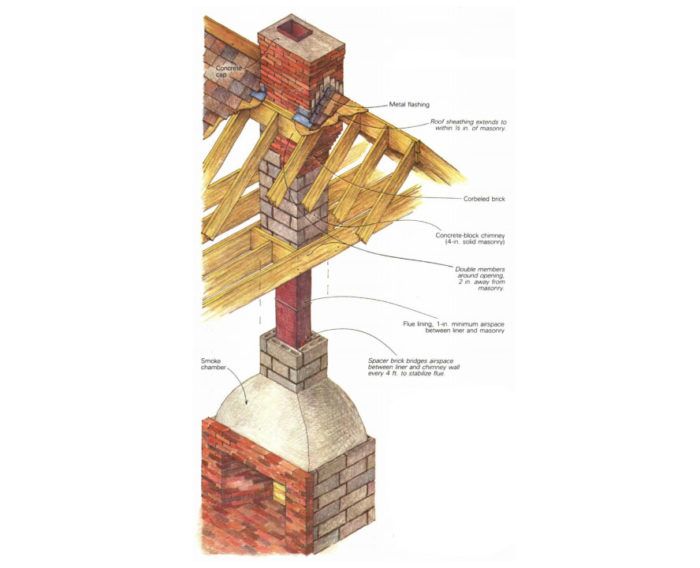
Synopsis: An explanation of how to build a standard masonry chimney lined with tile for a fireplace. The article discusses materials and techniques and includes two good diagrams showing flashing details at the roof line, including a small cricket. A sidebar describes through-pan flashing.
Throughout most of history, masonry chimneys were just hollow, vertical conduits of brick or stone. These single-wall chimneys have many problems: they conduct heat to the building’s structure; they aren’t insulated from the cold outside air, and so allow severe creosote buildup as the cooling gases condense; and they suffer from expansion and contraction, which lead to leakage of water (at the juncture of chimney and roof) and smoke (through cracks in the masonry).
In present-day chimneys, ceramic flue tile carries the smoke. It can withstand very high temperatures without breaking down, and also presents a much smoother and more uniform passageway, which means easier cleaning and thus less chance of chimney fires. Brick or concrete block, laid up around the tile but not in contact with it, serve as a protective and insulative layer.
Ceramic flue tiles can be either circular or rectangular in section, and are available in a number of sizes. Brick, block and mortar are the only other materials you need to build a chimney. John Hilley, a mason I’ve worked with for the last eight or nine years, uses type S mortar throughout the entire chimney, but some codes require refractory cement to be used for all flue-tile joints.
Requirements and guidelines
Before you start building a chimney, you’ve got to consider sizing, location and building-code requirements. I’ll be talking about masonry chimneys that are built above fireplaces, but most of the construction guidelines also apply to masonry chimneys that are meant to serve a woodstove, a furnace or a boiler.
The Uniform Building Code contains basic requirements for chimney construction, and most states and municipalities have similar rules tailored to meet particular regional needs. I have a 1964 U.B.C. that reads the same as the 1984 Massachusetts State Building Code. It calls for a fireclay flue lining with carefully bedded, closefitting joints that are left smooth on the inside. There should be at least a 1-in. airspace between the liners and the minimum 4-in. thick, solid-masonry chimney wall that surrounds them. Combustion gases can heat the liner to above 1,200°F, and the space between liner and chimney wall allows the liner to expand freely. Only at the top of the chimney cap is the gap between liner and wall bridged completely, and here expansion can be a problem. We’ll talk about this later.
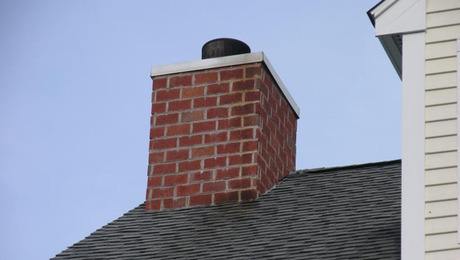
Chimney height is pretty much dictated by code. According to my Massachusetts Building Code, “All chimneys shall extend at least 3 ft. above the highest point where they pass through the roof of a building, and at least 2 ft. higher than any portion of a building within 10 ft.” This rule applies at elevations below 2,000 ft. If your house is higher above sea level than this, see your local building inspector. The rule of thumb is to increase both height and flue size about 5% for each additional 1,000 ft. of elevation.
For more photos, illustrations, and details, click the View PDF button below:
Fine Homebuilding Recommended Products
Fine Homebuilding receives a commission for items purchased through links on this site, including Amazon Associates and other affiliate advertising programs.
Plate Level
Roof Jacks
Hook Blade Roofing Knife


