Stud-Wall Framing
With most of the thinking already done, nailing together a tight frame requires equal parts of accuracy and speed.
Synopsis: The author’s premise is that techniques used by production framers to speed construction of tract housing don’t necessarily mean a loss of quality. This essay discusses a number of time-saving steps that can made framing go faster. A sidebar discusses the use of jacks to raise framed walls.
I spent much of my former career as a carpenter building a reputation for demanding finishwork, but some of my best memories center around the sweaty satisfaction of slugging 16d sinkers into 2×4 plates as fast as I could feed the nails to my hammer.
The emphasis in framing is on speed. A lot has to happen in a short time. Accuracy, however, is no less important. The problems created by sloppy framing — studs that bow in and out, walls that won’t plumb up and rooms that are out of square — have to be dealt with each time a new layer of material is added.
The fastest framing is done using a production system. But these techniques have long been the domain of the tract carpenter, and bring to mind legendary speed coupled with a legendary disregard for quality. However, production methods don’t have to dictate a certain level of care. Instead, they teach how to break down a process into its basic components and how to economize on motion.
Done well, production framing is a collection of planned movements that concentrates on rhythmic physical output. It requires little problem-solving since most of the head-scratching has been done at the layout stage. As long as the layout has been done with care, a good framer can nail together and raise the walls of a small home in a few days, and still produce a house in which it’s a pleasure to hang doors and scribe-fit cabinets. And this pace will give both the novice and the professional builder more time on the finish end of things to add the finely crafted touches that are rare in these days of rising costs.
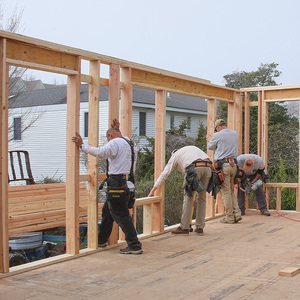
If you know what the basic components of a frame are, nailing the walls together is simple. After figuring out which walls get built first, you will separate the bottom and top plates (which were temporarily nailed together so that identical layout marks could be made on them); fill in between with studs, corners, channels, headers, sills, jacks and trimmers; and then nail them all together while everything is still flat on the deck or slab. The next step is to add the double top plate and let-in bracing. Finally you’ll be able to raise the wall and either brace it temporarily or nail it to neighboring wall sections at corners and channels. Before joists or rafters are added, everything has to be plumbed and lined — this means racking and straightening the walls so that they are plumb and their top plates exactly mimic the layout that was snapped on the deck.
For the sake of simplicity, I have stuck largely to giving directions for nailing together a single exterior 2×4 wall with most of the usual components. I have tried to mention how this process would be different under different circumstances, and how each section of the wall is part of a larger whole. If you are using 2x6s or have adopted less costly framing techniques, such as the ones suggested by NAHB’s OVE (Optimum Value Engineering), you’ll have to extrapolate at times from the more traditional methods explained here.
For more photos, illustrations, and details, click the View PDF button below:
Fine Homebuilding Recommended Products
Fine Homebuilding receives a commission for items purchased through links on this site, including Amazon Associates and other affiliate advertising programs.

Smart String Line

Protective Eyewear

Portable Wall Jack
