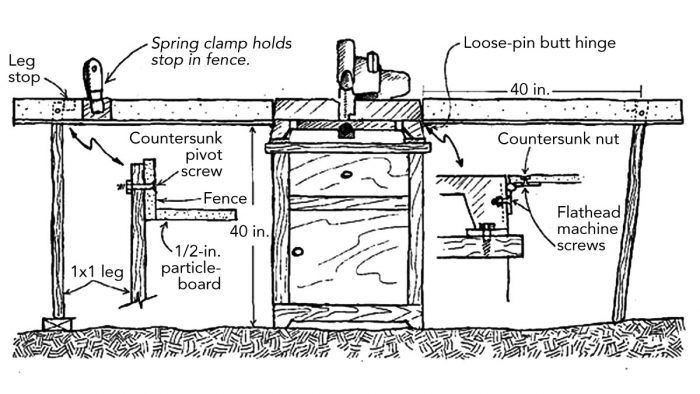
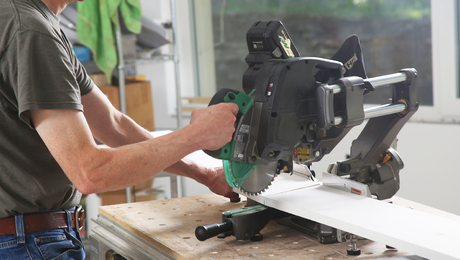
Geoff Alexander’s article on power miter saws (FHB #19, pp. 42-45) made me think about my own setup for the tool. As shown in the drawing, I mount my 10-in. Makita on a cabinet that has a drawer and some shelves. This storage space is for stashing blades, sandpaper and other paraphernalia.
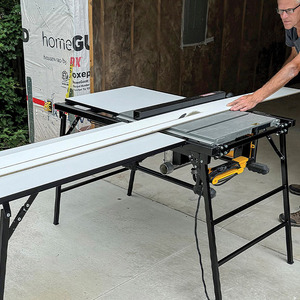
The heart of the system is a pair of extension wings that are attached to the saw with three 1/2-in. loose-pin butt hinges. The wings are built of 1/2-in. particleboard. They are about 5 in. wide and 48 in. long, with a 4-in. high fence that is edge-butted, glued and screwed. The hinges are attached to the saw’s cast-iron table and the wings with flathead machine screws. The other ends of the wings are each supported by a 1×1 leg that is attached to the wing fence with a single countersunk machine screw. A glued-on stop keeps each leg from opening too far.
When I arrive at a job site, I first set up the saw and its cabinet, and then I slide the hinge pins in place to connect the wings. To get them level, I eyeball down the wings and across the saw table. I adjust them either by shimming the legs or swinging one of them back out of plumb.
This arrangement is very simple to adjust, and it’s also portable. The 10-ft. long work surface gives me enough room to handle just about any board. Its 40-in. height is easy on my back, and the wing fences are good places to clamp stops for multiple cuts under 60 in.
—Bruce Donegan, Ridgway, CO
Edited and Illustrated by Charles Miller
From Fine Homebuilding #23











View Comments
Cast iron table?
Yes, miter saws once came with case iron bases.
The tip is from Issue 23, when cast iron was a new, modern invention.