Plumb and Line
Without this final step of straightening the walls, the care taken during framing will have little effect.
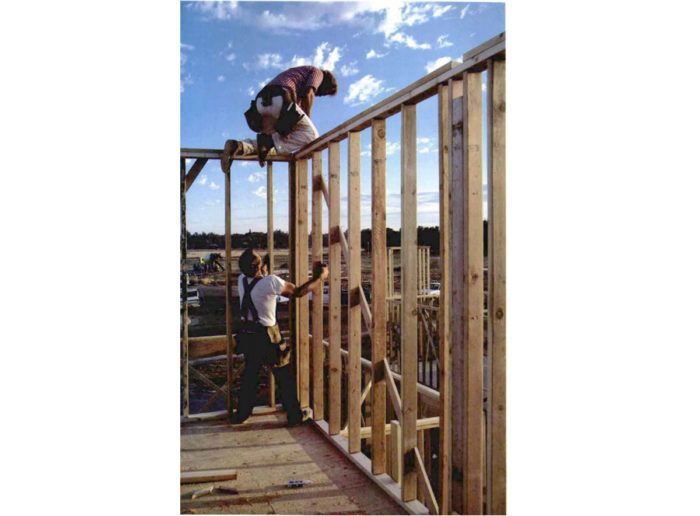
Synopsis: A carpenter explains how to make sure that newly framed walls are plumb and straight, an essential step in the framing process.
It’s strange to think of a completed wall frame as being a kind of sculpture that needs final shaping. But that’s just what it is. Until the walls have been braced straight and plumb, they can’t be sheathed or fitted with joists or rafters without producing crooked hallways, bowed walls, ill-fitting doors and roller-coaster roofs.
The production name for getting the frame plumb, square and straight is plumb and line. The job doesn’t take very long — three to six hours for most houses — but it’s essential. After the frenzied pace of wall framing, plumb and line can be a welcome relief. It requires at least two carpenters (three’s a luxury) working closely together. The work is exacting, but not hard, and there’s a sense of casual celebration in having finished off the wall framing.
Stud-wall framing is based on things being parallel and repetitive. If you plumb up the end of a wall, then all the vertical members in the wall will be plumb in that direction. And if the bottom plate of the wall is nailed in a straight line to the floor, then getting the top of the wall parallel to the bottom is easy: just plumb the face of the wall at both ends, and make the top plates conform to a line between these two points.
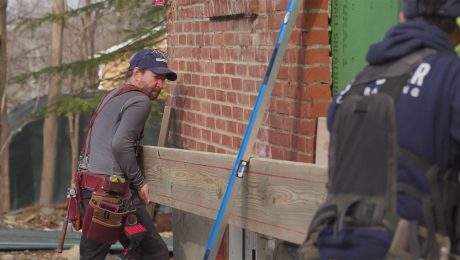
Plumb and line is a fluid process in which walls are braced individually, but the sequence of operations is important. Although you can start at any outside corner, walls should be plumbed and then lined in either a clockwise or a counterclockwise order, since each correction will affect the next wall. Once the bottom plates have been fully nailed to the floor or bolted and pinned to the slab, the exterior walls are plumbed up and the let-in braces are nailed off, or temporary diagonal braces are installed to prevent the wall from racking (the movement in a wall that changes it from a rectangle to a parallelogram, throwing the vertical members out of plumb). Then line braces are nailed to the walls to push or pull them into line at the top and to hold them there. Last, the interior walls are plumbed and lined with shorter 2×4 braces.
Plumbing and lining can begin once all the intersecting walls are well nailed to their channels or corners. On each of these walls, the end stud has to line up perfectly with the channel flat or corner studs. It’s also wise to make sure that the heights of the walls match up. If they don’t, it’s usually because the end stud isn’t sitting down on the bottom plate. Also, all double top plates must be nailed off where they lap at corners and channels. Be sure that there aren’t any gaps here (a common defect in hastily framed houses), and that the end studs and plates are sucked up tight.
For more photos, drawings, and details, click the View PDF button below:
Fine Homebuilding Recommended Products
Fine Homebuilding receives a commission for items purchased through links on this site, including Amazon Associates and other affiliate advertising programs.
Stabila Extendable Plate to Plate Level

Protective Eyewear
Speed Square
