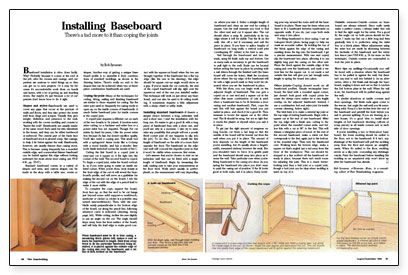
Synopsis: This is a short article that offers the basics on installing baseboard, with illustrations showing how a built-up baseboard is constructed as well as the difference between mitered and coped inside corners.
Baseboard installation is often done badly. Why? Probably because it comes at the end of the job, after the crowns and casings, and carpenters are anxious to wind things up so they can get on to new projects. Or it may be because it’s uncomfortable work done on hands and knees, with a lot of getting up and kneeling down. But maybe it’s just because a lot of carpenters don’t know how to do it right.
Shapes and styles
Baseboards are used to cover any gaps that occur at the juncture of walls and floors, and they also protect the lower wall from dings and scrapes. Visually they give weight, definition, and presence to the wall, working with the crown molding and corners to “frame the wall.” Baseboards are usually made of the same wood that’s used for trim elsewhere in the house, and they can be either hardwood or softwood. The central part of the back face of baseboard stock is plowed away, like casings, to help it lie better against the wall. Baseboards, however, are usually thinner than casing stock. This is because casing frequently has a rounded outside edge, and a somewhat thinner baseboard can be butted against this edge without looking awkward.
Standard baseboard comes in a variety of shapes and sizes, and custom shapes can be made in the shop with a tablesaw, router, or shaper. Another way of getting a unique baseboard profile is to assemble it from combinations of standard moldings, as shown in the drawing in the article. There’s really no end to the shapes that can be achieved when two- or three-piece combination baseboards are used.
Coping the joint
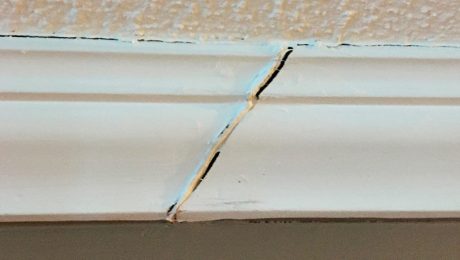
Many of the techniques for cutting, fitting, nailing, and finishing baseboard are similar to those required for casing. But the miter joint used so frequently for casing tends to open up on the inside corners of baseboards. A much better baseboard joint for inside corners is the coped joint.
A coped joint requires a different cut on each of the two boards to be joined. It involves some miter cutting, so a backsaw and miter box or a power miter box are required. Though I’ve cut miters by hand for years, I like the power miter box because it’s fast, but doesn’t sacrifice quality. You’ll also need a coping saw. This small tool with a spring-steel frame looks like a C-clamp with a wood handle, and has a slender, fine-tooth blade stretched across the mouth of the C.
Cutting the first board in a coped joint is easy—just cut it square so it fits tight into the corner of the wall. The second board is coped. To begin a coped joint, miter the board vertically, as if you were going to make an inside mitered corner. When you’re done, look closely at the front edge of the cut—it will reveal the baseboard’s profile, and will serve as a guideline for making the second cut on the board. I rub the edge of the cut with the edge of a pencil lead to make it more visible.
For more photos, drawings, and details, click the View PDF button below:
Fine Homebuilding Recommended Products
Fine Homebuilding receives a commission for items purchased through links on this site, including Amazon Associates and other affiliate advertising programs.
Smart String Line
Anchor Bolt Marker
100-ft. Tape Measure
