Decking and Sheathing
How one production carpenter puts the skin on wood-frame houses.
In this article, a contractor explains his approach to installing plywood sheathing on walls, floors, and roof decks. It offers a general discussion as well as several tips that will make this job go faster. A sidebar examines different types of sheathing products, although other materials have been introduced since this was published.
The skin that knits together a building’s bones and provides a base for the finish materials is the sheathing, and in contemporary wood-frame construction that usually means plywood. Sheathing a building isn’t a fussy or complicated operation. Thousands of square feet of plywood have to be secured with tens of thousands of nails, and a lot of odd-sized pieces of plywood (specials) have to be cut to fit the parts of the building that don’t conform to a 4-ft. by 8-ft. module. Fortunately, a skillsaw makes short work of the cuts, a nail gun takes the pressure off your forearm and at 32 sq. ft. per sheet, plywood covers big chunks of a building all at once. Given the simplicity of the task and the capabilities of the tools, clearly the thing to learn about sheathing is how to do it fast.
Subfloor
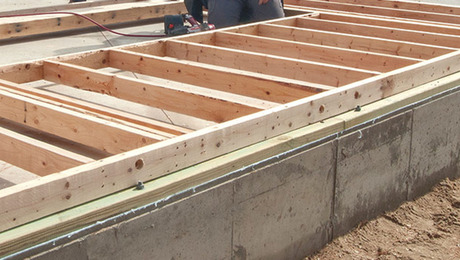
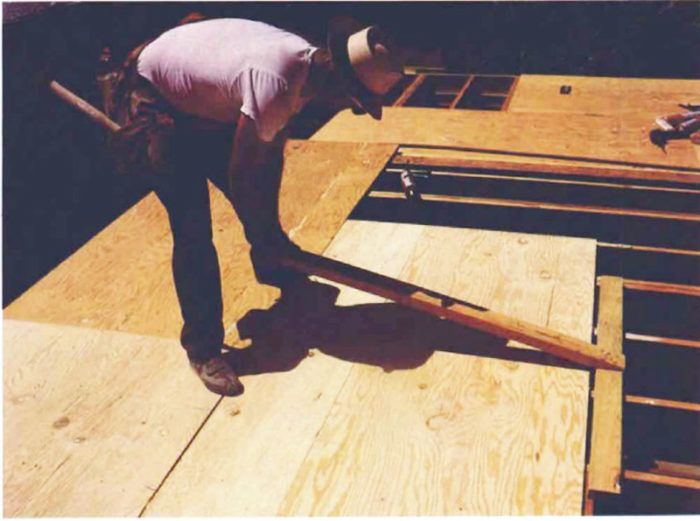
I use T&G plywood almost exclusively for subfloors because it eliminates the need for blocking under the long edges of the plywood, and so cuts joisting time in half. A plywood subfloor should start on a side of a building that is perpendicular to the joists. It’s nice to have a straight side to begin the plywood; if the building has projections for bays and rooms, 1 begin with the side that has the fewest jogs. 1 snap a chalkline across the joists 4 ft. in from the edge of the building and lay down a bead of construction adhesive on the tops of the joists that will fall under the first course. 1 align the plywood so that its groove side butts the chalkline, facing the bulk of the building, and I make sure I’ve got about a -in. gap between the ends of the neighbouring plywood panels to allow for expansion. Then 1 nail off this first course, but I don’t put any nails within 6 in. or so of the grooves. This allows me some wiggle room to install the next course of plywood.
If you are working on a second floor and a forklift is available, now is a good time to land a stack of plywood on the deck. Let the stack hang a little over the edge of the building so that you’ll have room to work the next course into the first course of grooves. As an alternative you can land your plywood stack on the side of the building that you are working toward.
Sheathers generally work in pairs—one carpenter spreads the plywood and nails it off, while the other one does any necessary cutting, applies the construction adhesive to the joists and fits the T&G edges of the plywood together with a bump-stick. The bump-stick eliminates the need for another carpenter and a sledgehammer. To make a bump-stick, simply lap and nail two 2x4s together in the shape of a T. A 4-ft. crosspiece will do, and the handle should be about 5 ft. long with about a 20° bevel on the end that is attached to the crosspiece. To use the bump-stick, stand with your feet on the joint between the plywood sheets to align the tongues and grooves, then pull and bump the plywood together with the stick.
For more detail and photos, click the View PDF button below.
Fine Homebuilding Recommended Products
Fine Homebuilding receives a commission for items purchased through links on this site, including Amazon Associates and other affiliate advertising programs.
Smart String Line

Magoog Tall Stair Gauges
Plate Level
