Clear Wood Finishes
How one painter applies lacquer and varnish to interior woodwork and camouflages the nail holes.
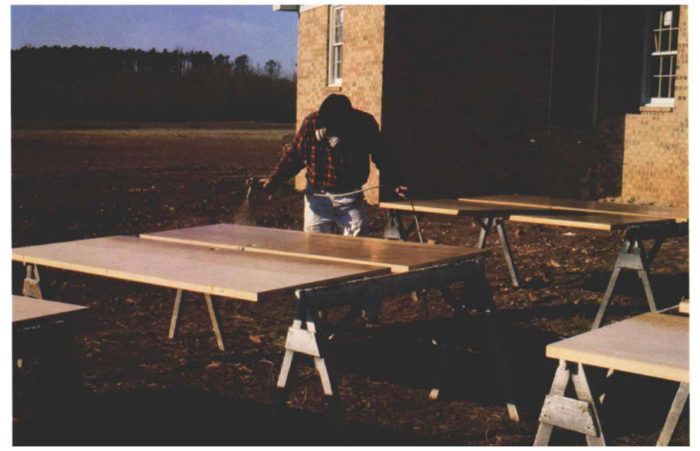
Synopsis: An experienced builder and painter explains techniques he uses to apply clear finish to interior woodwork, mostly by using spray equipment. A chart that accompanies the article offers details on custom-matching putty to fill nail holes in stain-grade work.
People like the natural beauty of wood grain and figure. So just about every house, whether new or old, has some type of clear finish (see article sidebar) applied to a wood surface. Even houses with painted walls and moldings typically have a fireplace mantel or a set of cabinets that shows off the natural color and figure of the wood. Side by side, the painted and natural surfaces add a stylish note of contrast to a room. They also add to the painter’s workload.
If you read my earlier article on spray painting trim, you’ll recognize some of the techniques to follow. Preparing wood for the application of clear finishes is very similar to preparing it for painting, though only up to a point. For example, filling the nail holes calls for a different approach when you can see through the finish.
If I’m doing enamel trim, I prefer that the carpenters install all the trim before I paint. But for varnishing, I like only the door and window casings to be installed. Other moldings can be prefinished and installed after the walls have been painted. I can get away with this because the joint where varnished moldings meet the wall doesn’t have to be caulked—slight cracks just don’t show up very much. Also, I have more control over the finish on the moldings when I’m working on them at a convenient height. A disadvantage to prefinishing moldings is that the nail-hole putties won’t have a top coat of varnish, but since baseboards and crown moldings are not at eye level, the difference in sheen is barely detectable.
Health hazards
Varnishing woodwork is not the healthiest of endeavors. Airborne dust particles and noxious odors abound throughout jobs. To put a hold on strong vapors, I use a Binks twin cartridge respirator. It works well and is quite durable. Paper prefilters stop large particles such as dust and spray mist, while charcoal cartridges stop most vapor. I change the paper filters when breathing becomes difficult. When I can smell fumes through the charcoal filters, it’s time to change them.
For sanding, you can use the same respirator with the charcoal cartridges removed to ease breathing, but small disposable paper dust masks are more comfortable. I use 3M’s #8710 mask. It’s more expensive than the typical disposable mask, but it works better. It has a paper carcase, a strip of foam that helps to stop leaks around the nose, and two head straps instead of one. If a strap comes off, I reattach it with white glue.
For more photos and details, click the View PDF button below:
Fine Homebuilding Recommended Products
Fine Homebuilding receives a commission for items purchased through links on this site, including Amazon Associates and other affiliate advertising programs.
Original Speed Square
Anchor Bolt Marker
100-ft. Tape Measure
