Guidelines for Laying Stone Walls
Master the basics of building a dry-laid stone wall and gravity will do the rest.

Synopsis: A practiced stone mason explains the proper method for building dry-laid stone walls. He covers the use of story poles and string lines for layout, cutting stone and how to fit pieces together so the wall stays put.
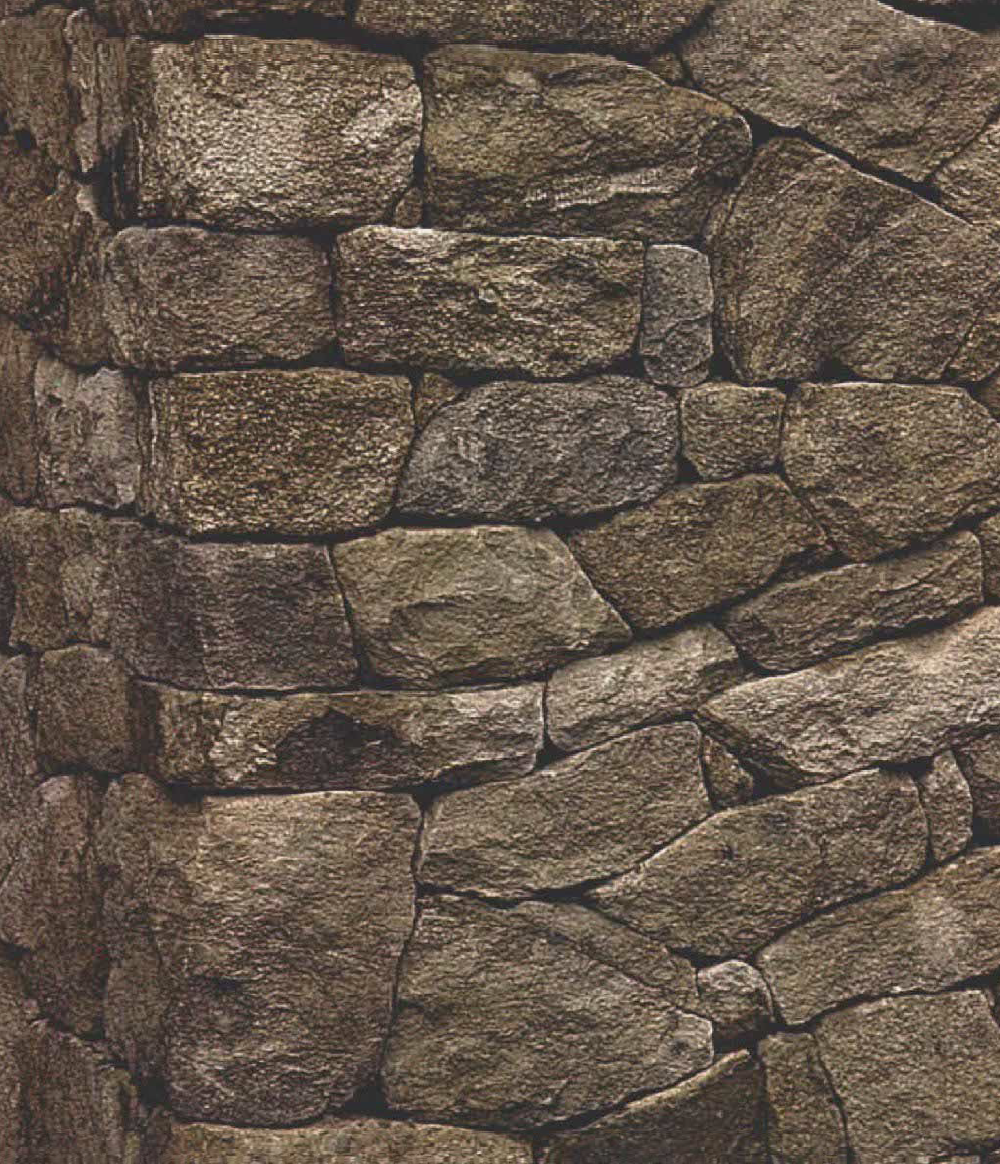
When I assess the quality of a stone wall, I look not at the stones, but at the spaces between them. That’s where the knowledge and the craftsmanship of the mason is revealed. By reading the joints, I can tell how tightly the wall is tied together and how well the stones fit.
Dry-laid stone is perhaps the oldest form of building. Fieldstones stacked and shimmed together created rough walls long before recorded history. But because there is no mortar in drylaid work, it has the disadvantage of being permeable by air and moisture. That’s why its use is usually limited to retaining walls, where the passage of water is necessary, or to simple foundations where ventilation is desirable.
Dry-stack construction is nearly as old as dry-laid work. Mortar is used in dry-stack work, but it isn’t visible. The mortar is trowelled in behind the stones, filling the voids between them. Dry-stack walls are laid stone-on-stone, like drylaid walls. But because, they’re less permeable by air and moisture, they’re the better choice for house walls and chimneys.
In my area, dry-stack chimneys built stoneon-stone and backed with clay mortar have stood for over two-hundred years. Although it’s arguable that today’s stronger portland-cement mortars make this meticulous fitting unnecessary, I prefer to build the old way. To Steve Magers, the mason who taught me stone, the only law of masonry is gravity. Gravity always prevails, so it’s best to learn how to cooperate with it. Whether you’re building a dry-laid or a dry-stacked wall, a garden wall or a chimney, the same basic guidelines apply.
 The footings—Though it isn’t always possible, my helpers and I like to provide a footing under every stone wall or chimney we build. A lot of the repairs we’ve done would have been unnecessary had there been footings in the first place. Footings distribute the weight of the stone and provide protection against frost heave. The footing must sit on solid, compacted earth below the frost line. It should be at least twice as wide as the wall it is going to carry. In most cases, local building codes spell out the depth and dimensions of the footings.
Sometimes, dry-laid stone footings are used for retaining walls instead of concrete. They should have broad, flat stones at the base to spread the weight evenly. In this type of footing, we usually lay 1 in. to 2 in. of crushed by Joseph Kenlan stone under the first course and below the frost line to help it drain.
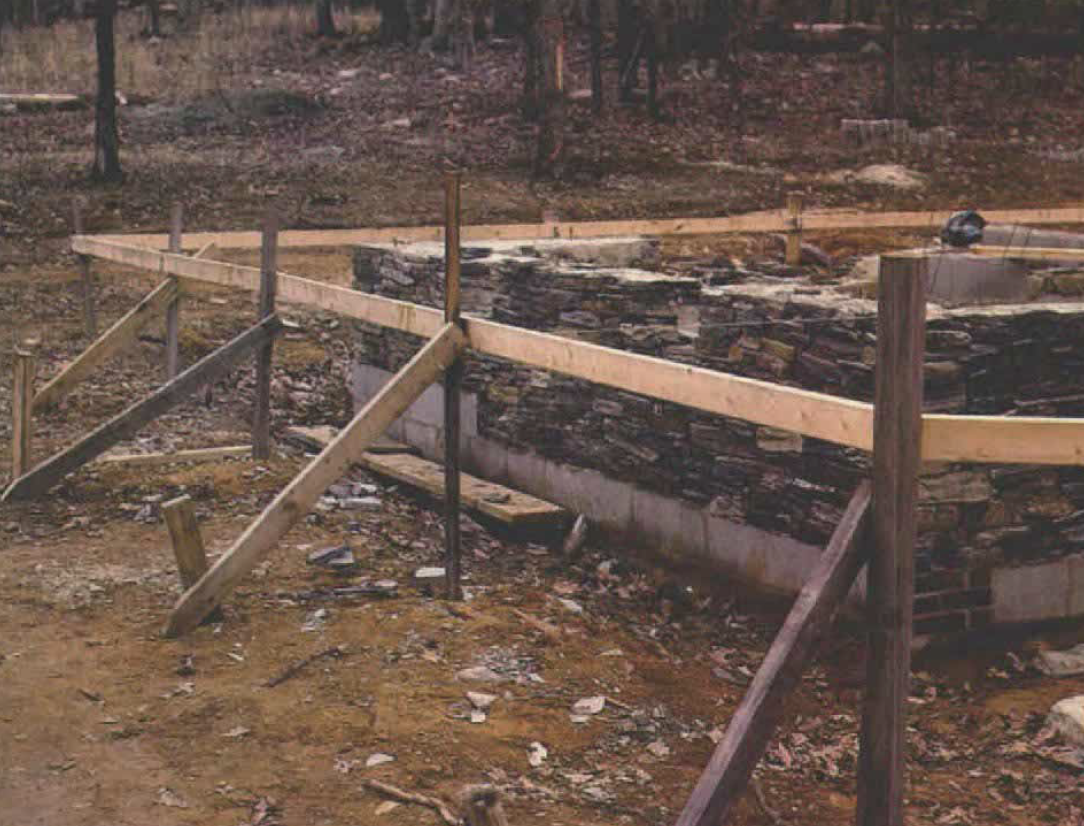
String lines and story poles—When the footing is complete, the use of string lines or story poles will help keep the stone courses straight. For walls, two methods are commonly used. Batter boards are the preferred method for foundations and low walls. A line strung between them is used to indicate both the face of the wall and its top edge. By sighting between the line and a chalk line snapped directly on the footing (or the first course), you can keep the walls plumb without the constant use of a level. For taller walls, story poles can be set up at each corner of the wall. They should be carefully plumbed and braced . The poles serve as vertical sight lines. Strings can be pulled between them to indicate the top of the wall or any other horizontal detail, such as a window opening. If there’s framing above the work, two plumb lines suspended from it can also serve as vertical sight lines.
Hold the stone about 1/8 in. back from the strings to keep from pushing them out of alignment. Check the strings periodically to make sure they’re straight and taut
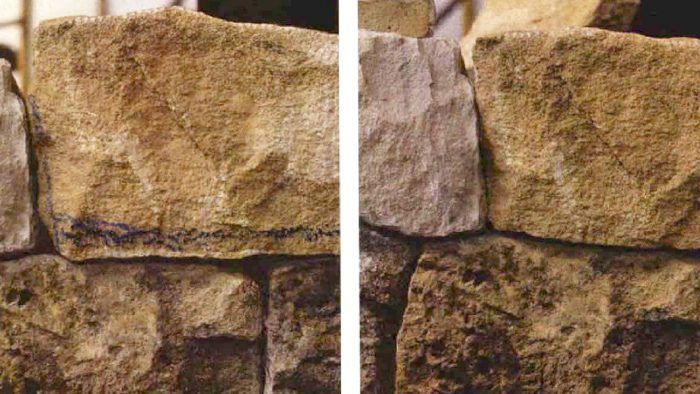
Examining the stone—Once the stone is on the site, you can begin to sort through it. Pick out the “specials” and store these in separate piles. For example, stones that have a true 90° angle and are of sufficient size should be set aside for use as cornerstones. It isn’t necessary to go through the whole pile at this point. Specials can be set aside during the regular course of the work. While going through the pile, examine the stone carefully. Most stone has a definite structure. The direction in which the stone splits the easiest is called the rift and reflects the way the stone was formed. The rift is very pronounced in slates and many sedimentary rocks, but is not so obvious in some igneous stone such as diabase or basalt, or in some metamorphic stone such as quartzite. Stone should be laid with the rift aligned horizontally, when possible. This positions the strongest part of the stone in the horizontal plane and prevents the delamination that is seen with carelessly laid sandstone and limestone. When the rift isn’t obvious, you can usually find it by breaking a stone with a hammer or pitching chisel (more on these tools later). By splitting just one or two stones, you can usually determine the rift of the whole pile. Our general rule of thumb regarding the rift is that the more pronounced the rift is in the stone, the more important it is to orient it properly in the wall.
The grain is the second easiest direction to cut the stone. It runs roughly perpendicular to the plane of the rift, although in some stones it runs diagonally instead. The face of a stone (the visible side of a stone once it’s in a wall) has typically been formed by a split along the grain. When working stone, try to plan your cuts to take advantage of the rift and grain. If you plan your work to go along with the stone’s inclinations, you’ll save a lot of effort.
Occasionally we run across freestone, which works equally well in all directions. This has its advantages, but it also makes it tough to distinguish between the rift and the grain. Since the rift represents the optimal bedding plane of a stone in a wall, you’ll want to be careful to orient the freestone properly, or it could weather excessively. We also run across stone that doesn’t work well in any direction. It can be laid with little regard to bedding planes. Examining the stone pile will also tell if there are obvious flaws and cracks to watch out for; a visual and hammer inspection is helpful here. Unless it’s sandstone or other soft stone, a flawless stone will have a characteristic ring when struck with a hammer. A cracked stone will give off a dull thud.
Stonemason Joe Kenlan lives in Pittsboro, N. C. Photos by the author.

For more photos and guidelines for laying stone walls, click the View PDF button below.
From Fine Homebuilding #54
Fine Homebuilding Recommended Products
Fine Homebuilding receives a commission for items purchased through links on this site, including Amazon Associates and other affiliate advertising programs.

100-ft. Tape Measure

Smart String Line

Anchor Bolt Marker


