Synopsis: Renovations frequently include removing a load-bearing wall and replacing it with a long header that can support structural loads. In this article, the author discusses how he approaches this job.
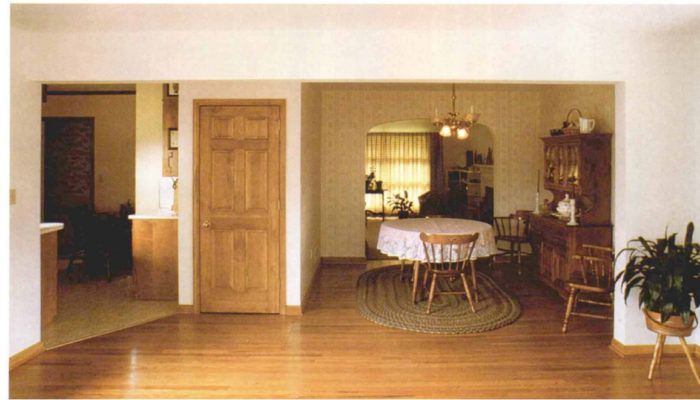
One of the most dramatic ways to alter a living space is to tear out a wall or cut a large opening in it. “Open up the floor plan” and “let more light in” are catch phrases every remodeler hears frequently. But many homeowners and novice remodelers find this an intimidating prospect. The work is extremely messy and seems chaotic. And two words—”bearing wall”—keep many people from tackling it. Actually, this is a straightforward job that demands more common sense than technical skill. Whatever the circumstances, the same basic procedure is followed. Advance planning, careful observation, and a step-by-step approach will eliminate that “I’m in over my head” panic.
Know thine enemy
Simply put, a bearing wall is a wall that bears some of the weight of the structure above it. A wall that is not load bearing supports only its own weight and that of the finish materials on it. To remove a non-bearing wall, just demolish it. Removal of a bearing wall, however, will require some temporary structure (called shoring) to support loads while the work is going on, and will require the installation of a permanent load-bearing member (usually a header or beam supported by posts or studs) to take the place of the removed portion of wall. If you expect to have a framed opening by afternoon where there was a wall that morning, much of the work will have to be done before the reciprocating saw comes out of its case.
First, determine if the wall to be altered is in fact a bearing wall. This is usually fairly easy. Generally, a bearing wall is perpendicular to the joists and/or rafters above it. The weight supported by the joists is sitting on the wall. Another clue is to look beneath the wall (in the basement or the crawlspace) for indications that the wall is transferring loads to the ground. You might find another framed wall, a beam set on piers, or a foundation wall. If the suspect wall is on a second floor, you’ll have to figure out what supports it and then look to see what’s beneath that wall.
Sizing the header
The next step, assuming that you are indeed dealing with a bearing wall, is to figure out approximately how much wall you’ll need to remove and then size the header. The carpenter’s rule of thumb used to be this: for spans 4 ft. or less, the header was made of doubled 2x4s; for up to 6 ft. of span, doubled 2x6s; and so on up to 12 ft. of span and 2x12s. Nowadays, however, the building inspectors in my area always want to see at least 2x10s in a bearing-wall header, so I use these for anything up to 10 ft. Given that the structural integrity of the house depends on correctly sizing this header, I’d recommend that you check with your local building department if you’re at all in doubt. In any case, headers less than 12 ft. in length don’t call for anything fancy, and you can get the materials at the local lumberyard.
For more photos, drawings, and details, click the View PDF button below:
Fine Homebuilding Recommended Products
Fine Homebuilding receives a commission for items purchased through links on this site, including Amazon Associates and other affiliate advertising programs.
Portable Wall Jack

Bluetooth Earmuffs

Stabila Classic Level Set


