I’m a lazy perfectionist, which I think helps to explain the origins of the following method that I use to install the jambs of pre-hung doors and the extension jambs and sills of windows. Once I tell you about the door technique, I’m sure you’ll be able to imagine how to apply it to the installation of windows.
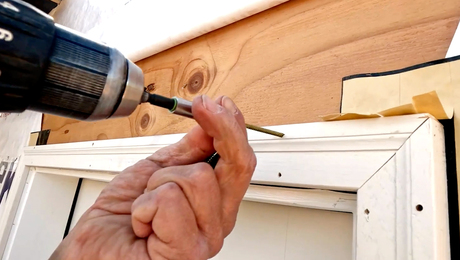
I begin by checking the hinge-side cripple stud for plumb. If it needs wood shims at the top or bottom, I add them as necessary. I then use my finish nailer to affix the hinge-side of the door jamb to the cripple at the top and bottom. Next, I sink a #2 by 10 self-tapping Phillips-head screw beside each hinge gain. I place the screws to end up under the door stop, and I back them with shims if necessary.
Now comes the easy part. With my nailer in one hand and my pry bar in the other, I sink a few pairs of 8d finish nails through the head jamb and into the header. Usually, the head jamb gets pushed up a little too far in places, so I pry it back down, making the space between the door and the head jamb just right. I do the same thing for the latch-side jamb, nailing and then prying the jamb back to get even spacing from the door. This works because with pneumatic finish nailers, you can tack the jamb in place without a shingle backing the nail.
With the door hung in its rough opening and the jambs properly aligned, I use a can of urethane foam insulation to fill the crevices between the jambs and the rough framing around all the nails. The foam sticks tenaciously, and provides a firm, non-shrinking backing in an instant. Later on I use a loose hacksaw blade to trim off the cured, excess foam before I nail on the casings.
Armin Rudd, Cocoa, FL
