Replacing an Inlaid Gutter
How one sheet-metal contractor fabricated and installed a lead-coated copper drainage system.
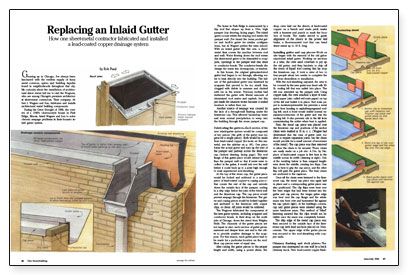
Synopsis: Inlaid rain gutters fabricated from lead-coated copper are not nearly as common as aluminum and plastic versions, but if you’re faced with the problem of repairing one this article would be a good place to start. It describes a project to replace gutters inset along the bottom edge of the roof at a Chicago house and covers all the basics of the procedure.
Growing up in Chicago, I’ve always been fascinated with the endless supply of fancy metal cornices, spires and building façades found in neighborhoods throughout that city. My curiosity about the installation of architectural sheet metal led me to visit the Wagners, who are among Chicago’s premiere architectural sheet-metal contractors. Their company, Albert J. Wagner and Son, fabricates and installs architectural metal building components.
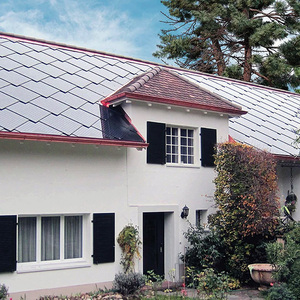
During the Great Drought of 1988, the owners of a 1940’s chateau-style house in Park Ridge, Illinois, hired Wagner and Son to solve chronic seepage problems in their house’s inlaid gutter system.
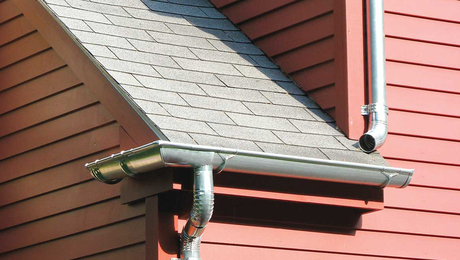
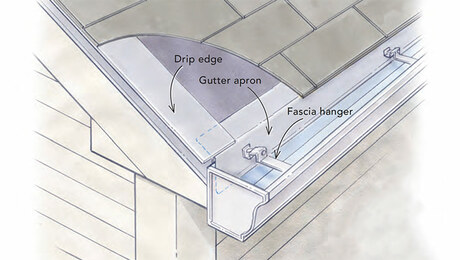
The home in Park Ridge is surmounted by a hip roof that slopes up from a 10-in. high parapet. The inlaid gutter occurs where the sloping roof meets the parapet wall (I’ve heard the terms pocket gutter and built-in gutter for similar configurations, but Al Wagner prefers the term inlaid). With an inlaid gutter like this one, a sheet-metal liner covers the junction between roof and wall. Water flowing down the roof enters this sheet-metal gutter to be channeled to scuppers, openings in the parapet wall that drain to conductor heads. The conductor heads discharge the water into downspouts, or leaders.
In this house, the original galvanized-steel gutter had begun to rot through, allowing water to leak directly into the building. The failure of the galvanized gutter was hastened by scuppers that proved to be too small: they clogged with debris in summer and choked with ice in the winter. Previous roofers had slathered the gutter with liberal amounts of aluminized roof sealer and asphalt, but this just made the situation worse because it sealed moisture in rather than out.
Another source of seepage was created by the lack of a through-wall flashing under the limestone cap. This allowed backed-up water and even normal precipitation to weep into the building through the stone parapet cap.
Fabricating the gutters
Each section of the new inlaid-gutter system would be composed of two pieces (the girth of the gutter was too great for a single piece). Both would be made from lead-coated copper. One piece forms the actual gutter and runs up the side of the parapet and partway across the limestone cap. The roof flange of this gutter piece would extend higher than the parapet wall so that if water were to collect in the gutter, it would exit over the wall before it could back up to a point high enough to soak unprotected roof sheathing.
At the top of the stone cap, the gutter piece would be locked and soldered to a second piece of lead-coated copper — a coping piece — that covers the rest of the cap and extends down the outside face of the parapet, ending in a drip edge below the joint of the brick wall and the limestone cap. The cap piece would prevent seepage through the limestone. The gutter and coping pieces would be locked together and anchored to the limestone with copper clips, or cleats. All joints would be soldered.
For more photos, illustrations, and details, click the View PDF button below:


