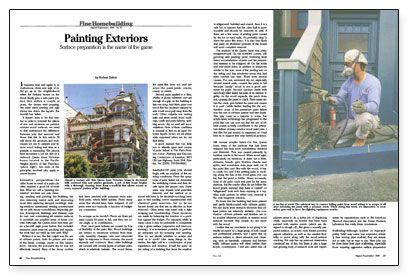
Synopsis: This article focuses on the preparation required to repaint a Queen Anne Victorian house nearly a century old, paying particular attention to methods for removing paint with scrapers, propane torches, and electric heat plates. It’s a good primer on the topic of surface preparation in general.
It happens time and again. A simultaneous cheer and sigh of relief go up in the neighborhood when the funkiest house on the block finally gets a new paint job. And then within a couple of years, the seams start popping, the paint starts peeling and ugly stains run down the façade: the face-lift has fallen.
It doesn’t have to be that way, but in order to forestall the effects of sun and moisture on painted exterior wood surfaces, we need to first understand the difference between jobs that succeed and those that fail. In this article I’ll talk about the products and techniques we use to prepare and restore wood siding and trim as a prelude to repainting. The photos here document a job we did on a redwood Queen Anne Victorian house located in the Pacific Heights district of San Francisco, but most of the principles involved also apply to newer homes.
Extensive preparation
An older home in need of a paint job often requires a good bit of work first. What we call a “painting restoration” involves not only cleaning, sanding and painting the building, but also removing rusted nails and resecuring loose trim; replacing decayed moldings; making windows operational; treating non-structural dry rot with epoxy consolidants; inspecting gutters, downspouts, flashings, and chimney caps for rust; and scrutinizing all exterior surfaces to establish any possible areas of future concern. Although this Queen Anne had been given a face-lift eight years before that included extensive paint removal, patching and repairs, the work had not held up very well. Why?
Believe it or not, the first culprit was the use of oil-base paints, both for primer and some of the finish coatings (more on this subject later). Second, the pervasive dry rot was not effectively treated. Many of the decay cavities had been patched with polyester resin auto-body putty, which failed quickly. Third, many areas that should have been stripped of old paint were not — typically a function of budgetary constraints.
To scrape or to torch?
There are three primary causes for paint to fail, and they can occur singly or in combination.
First, most paint failures are caused by loss of flexibility of the paint film. Wood buildings are subject to enormous stresses from heat, cold, humidity changes, rain and ultraviolet light. In response to these stresses, the wood expands and contracts. Most older buildings are covered with several layers of oil-base paint, which is relatively inelastic. The wood flexes, the paint film does not, and surprise — the paint peels, cracks, crazes or craters.
Second, paint applied to a dirty, chalky or glossy substrate can’t get enough of a grip on the building to last very long. And third, paint over wood that has moisture trapped inside it will soon pull away from the wall. Other culprits are rusting nails and sheet metal, loose moldings, caulk and putty failures, splitting wood, dry rot and salt accumulations. None of these conditions is unusual to find on an aged Victorian façade. In fact, we are pleasantly surprised when we do not find them.
For more photos and details, click the View PDF button below:


