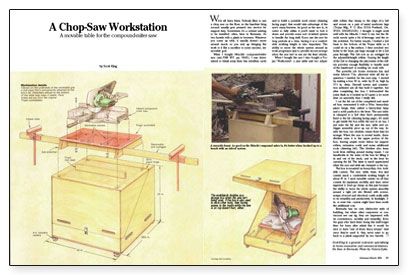
We’ve all been there. Nobody likes to use a chop saw on the floor, so the handiest thing around usually gets pressed into service for support duty. Sometimes it’s a cabinet waiting to be installed; often, here in Bermuda, it’s two barrels with a plank in between. Whatever you come up with, it usually doesn’t move around much, so you end up bringing the work to it like a sacrifice to some ancient, immovable god.
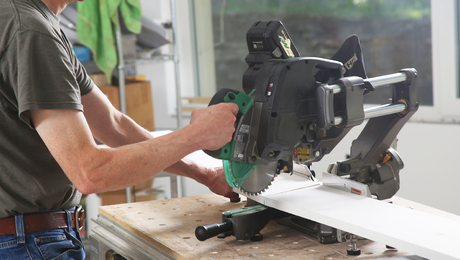
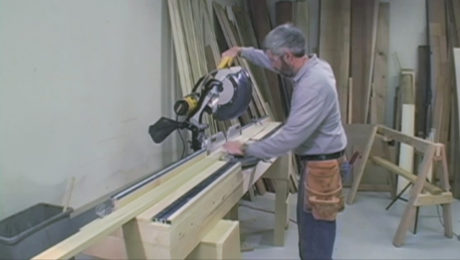
When I bought Hitachi’s compound-miter saw, I was determined to break away from this mindless cycle and to build a portable work center that would take advantage of the saw’s many features. As good as the saw is, in order to fully utilize it, you’ll need to bolt it down and provide some sort of infeed system to handle the long stuff. If you use the saw for long periods at a time, having it at a comfortable working height is also important. The ability to move the whole system around as work progresses, and to provide secure storage when the saw isn’t in use, are the final criteria.
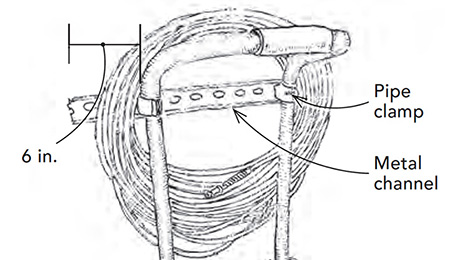
When I bought the saw I also bought a Trojan “Workcenter”: a saw table and two adjustable rollers that clamp to the edge of a 2×6 and mount on a pair of metal sawhorse legs (Trojan Mfg., Portland, Ore.). I thought it might work well with the Hitachi. I tried it out, but the Hitachi exerts quite a bit of leverage, and the table wobbled. For better results, I bolted a 2×6 base to the bottom of the Trojan table so it could sit on a flat surface. I then notched two holes in the base, just large enough to let a 2×4 pass through. The 2×4 acts as an outrigger for the adjustable-height rollers. Varying the length of the 2×4 or changing the placement of the rollers provides enough flexibility to handle most of the baseboard or molding we work with.
The portable job boxes that everyone has, and some leftover 3/4-in. plywood, were all the inspiration I needed for the next step. I started by making a box 30 in. wide by 25 in. high by 26 1/2 in. deep. Drywall screws and construction adhesive are all that hold it together, but after completing the box, I belt-sanded the joints flush so it looked as if I spent a lot more time on assembly than I really did.
I cut the lid out of the completed and sanded box, remounted it with a 30-in. heavy-duty piano hinge, then added a heavy-duty hasp and a solid padlock to the front. The saw table is clamped to a 2×4 cleat that’s permanently fixed to the lid. If I need to get inside the box while the saw is on top, I just raise the lid, and the saw, table and outrigger assembly pivot up out of the way. Inside the box, two dividers create three bins for storage. When the saw is stored inside, these dividers raise it to the upper portion of the box, leaving ample room below for support rollers, extension cords and some additional tools. The dividers also keep tools from shifting around during transit. I cut handholds in the sides of the box for lifting it in and out of the truck, and in the front for opening the lid. The latter is much appreciated when the saw and table are clamped to the top.
For more drawings and details, click the View PDF button below:
Fine Homebuilding Recommended Products
Fine Homebuilding receives a commission for items purchased through links on this site, including Amazon Associates and other affiliate advertising programs.

BOSCH Compact Router (PR20)
Festool Cordless Track Saw (TSC 55 KeB-F)
Cadex 18-Gauge Brad Nailer (CB18.50)


