Putting on a Concrete-Tile Roof
It takes nimble feet, a strong back and attention to flashing details to do it right.
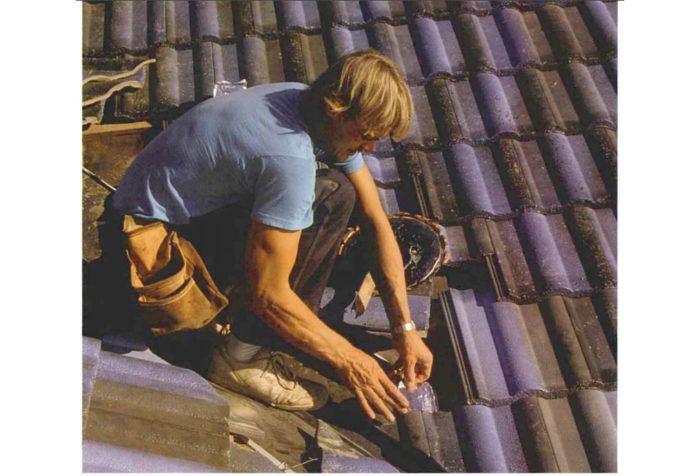
Synopsis: Installing a roof of concrete tile poses challenges builders won’t encounter with asphalt shingles and other roofing materials. The author describes how one expert does it, with particular attention to details at the usual trouble spots: roof penetrations, ridges, hips, and valleys.
Most people with even a little construction experience would not hesitate to install an asphalt-shingle roof, yet they quake at the idea of putting on concrete tile. Maybe it’s the mystery of flashing, where the undulating tile profile meets the straight line of ridge, or worse yet, the angled line of hip or valley. Maybe it’s the uncertainty of laying a material that won’t bend, not even a little, and is too thick to slip under a skylight flashing. Or, maybe it’s simply the idea of moving all that weight around. After all, an average roof might need 16 tons of tiles, and that number carries with it the image of hauling coal, growing older daily and falling deeper in debt.
After presenting the case for choosing a tile roof in a previous article, I started to wonder whether there was in fact a bona fide basis for the amateur’s reluctance to roof with concrete tile. To find out whether it’s a job best left to the professional, I went up on the roof with one: Marlen DeJong, principal in the modestly named A-1 Tile Company of Everson, Washington. After spending a week watching him install roofs on three houses over the course of a summer, I have concluded that tile roofing, though physically demanding, should not intimidate a conscientious builder. The interlocking tile is virtually foolproof. The only tricky spots — and these do require careful attention to detail — are the “joints” in a roof: the ridge, rake, valleys, hips and roof penetrations.
Readying the roof
A tile roof requires a little more preparation than a shingle roof. Special attention must be paid to setting fascia, applying felt underlayment and nailing on horizontal battens. DeJong asks the carpenters to run the eave fascia 5/8 in. past the rake and to set it 1 1/2 in. above the plywood roof sheathing. Like a shingle starter course, the raised fascia lifts the first course to the same pitch as the other courses.
The felt underlayment forms a second line of defense should any water somehow sneak past the tile. DeJong uses 30-lb. roofing felt, 36 in. wide, lapped 3 in. at each course. At the eave, where the raised fascia would dam the water, he installs an “anti-ponding strip,” which is a preformed sheet-metal flashing (available from most roofing-tile manufacturers) that takes the felt (and any runoff) smoothly over the raised fascia. In areas that get snow, Dejong doubles the felts along the eaves and seals their edges with roofing tar to seal out any water that might get beneath the tiles as a result of ice damming.
For more photos and details, click the View PDF button below:
Fine Homebuilding Recommended Products
Fine Homebuilding receives a commission for items purchased through links on this site, including Amazon Associates and other affiliate advertising programs.

Roofing Gun
Flashing Boot Repair
Roof Jacks
