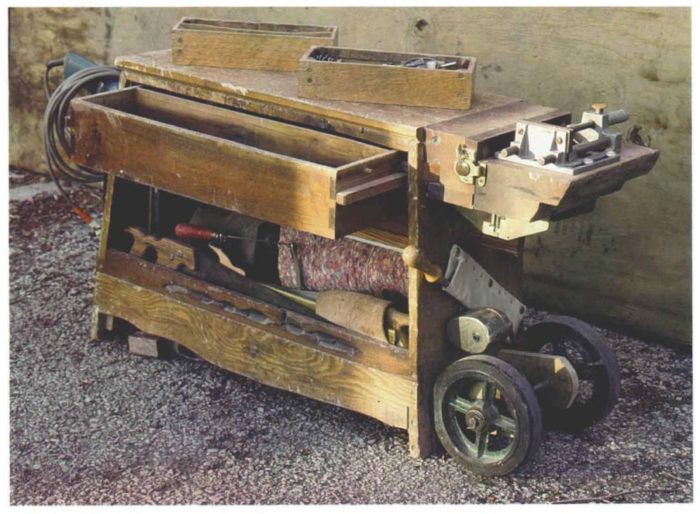
Synopsis: A compilation of four ideas from four carpenters for making movable tool stands, including miter-box and radial-arm stands, a rolling tool bench, and a portable tool box. Not especially fancy, but practical and well designed for the job.
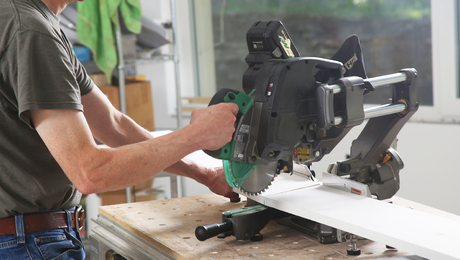
As a professional woodworker, I divide my time between the workshop and the job site. Consequently, I set up my tools to serve in either place. The miter-saw stand featured here, for example, adds a level of convenience and utility not found in the tool alone. Moreover, its wheels and collapsible legs enable the tool to travel easily between jobs.
In devising stands and tables for tote-able power tools, there is an ever-present danger of “T-Birdizing” — turning a once-lean-and-mean tool into a heavy, cumbersome lead sled that loses its original appeal. I always weigh utility against extra weight, complexity and safety when designing stands for my tools. That’s why the exact dimensions of the saw stand you build are less important than its suitability for your needs.
Second-generation stand
This stand is the second one I built, and I designed it specifically for my slide/compound saw. Previously, I made a narrower version for a 10-in. mitersaw. You can easily adapt the design for whatever type saw you have.
The table is 3/4-in. birch plywood, measuring 56 in. long and 22 in. wide. I used 5/4 oak for the legs and apron (4/4 would have been adequate, I just had the 5/4 handy). With the legs set up, the table stands 30 1/2 in. off the ground. I used drywall screws to assemble everything — no glue.
After trying to navigate stairs and rough terrain with the 5-in. wheels on my first stand, I knew enough this time to use 10-in. wheels. A piece of 1/2 in. threaded rod, 27 in. long, serves as an axle.
Nesting legs
One leg assembly nests inside the other for compactness when the table is folded for transport. The inside legs have 2 1/2-in. wide vertical members; the outside have 3 1/4-in. wide vertical members. Both leg assemblies have a plywood stretcher let in across the bottom and a hardwood stretcher let in across the top. The hardwood stretcher is tied to the underside of the plywood top with piano hinges.
When folded up, the legs are trapped by a 12-in. by 56-in. plywood retaining strip, hinged to the apron of the table with another piano hinge. To hold the plywood and legs in place, I insert two carriage bolts through holes in the plywood retaining strip and thread them into a set of T-nuts in the plywood stretchers. The carriage bolts each have a 3-in. dia. wooden disc mounted on them, making them “wrench-less” fasteners. The same piece of plywood that holds the legs in the folded-up position also swings down and ties the leg assemblies and top together when the legs are deployed.
To deploy the legs, two wrenchless fasteners are removed from the plywood, which is then swung up out of the way. The legs are folded out, and the wrenchless fasteners are reinserted through the retaining strip and into a second set of T-nuts in the leg assemblies.
For more photos and details, click the View PDF button below:
Fine Homebuilding Recommended Products
Fine Homebuilding receives a commission for items purchased through links on this site, including Amazon Associates and other affiliate advertising programs.
Paslode Cordless Finish Nailer (IM250A)
Milwaukee Cordless Tablesaw (2736)
DEWALT Impact Driver (DCF885)
