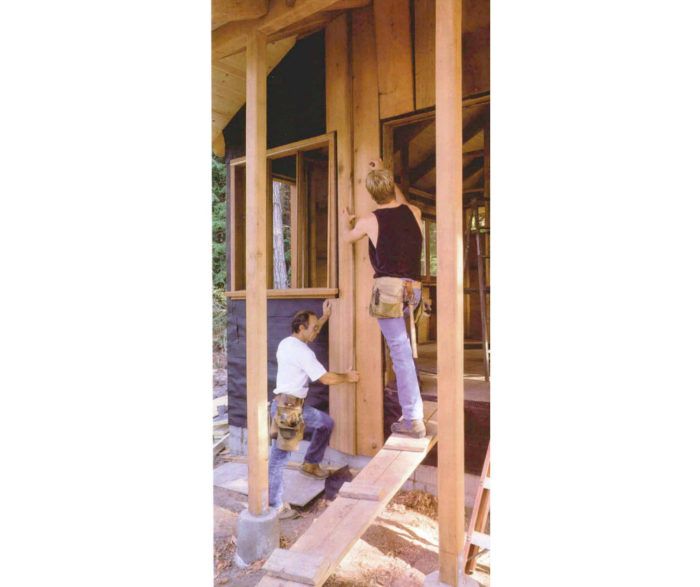
Synopsis: Board-and-batten siding has an appealing, rustic quality that’s still widely used in many parts of the country. This article explains how it should be applied so it stays put and offers a few tips for installing flashing correctly.
For the most up-to-date coverage of this process, read the more recent article Better Board and Batten
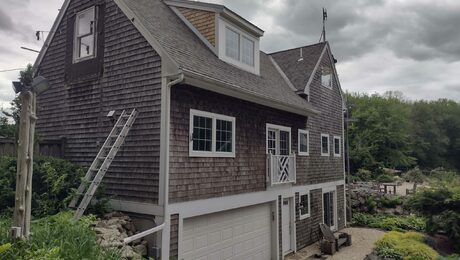
When I built my own house a dozen years ago, I chose board-and-batten siding for several reasons. It’s a commonly used siding in my neck of the woods, where rough-sawn redwood planks have long been used to clad barns and houses. The rhythmic vertical lines of board-and-batten siding complement the upright stance of my two-story house. And because I wanted a rustic look, I used relatively inexpensive, roughsawn 1×12 boards with tight knots and left them unfinished to weather naturally.
In my innocence, I also thought board-and-batten siding would be pretty easy to install. In some ways it is, but there are many pitfalls on the way to a well-done job. My first project taught me how important it is to consider details like flashing and trim before putting the wood on the wall. Subsequent projects have given me a chance to learn how to plan and execute the work properly while at the same time reaffirming my appreciation for the beauty and durability of board-and-batten siding.
Patterns, materials and preparation
The name board and batten encompasses several variations on the basic theme of affixing square-edged boards vertically to a wall and then covering the gaps between them with another layer of boards. The most common arrangement is to apply boards first, followed by narrow battens. The common variants are boards over boards and reverse board and batten. I have also seen board-and-batten siding used with very narrow strips of wood to side curved walls.
The quality of the material you use is more important in determining the final look of the building than the material’s weathertightness. Siding, building paper, sheathing, and flashings all work together to keep out the elements, so a knot or a crack in a board isn’t enough to compromise the entire assembly. Knotty, rough-sawn wood will work fine for a stained or unfinished exterior as long as the knots are sound. If you want a refined, painted look, you’ll need surfaced, knot-free material.
If you plan to paint it anyway, consider using medium-density-overlay (MDO) plywood in place of the boards. You can cover the nailing patterns with the battens, and because MDO has a smooth, resin-impregnated skin, it doesn’t telegraph the typical plywood-grain pattern when painted. If you’re building in an area that is prone to earthquakes, this kind of painted plywood wall can be made to satisfy shear-wall requirements while still looking like board-and-batten siding.
In my experience, redwood and red cedar are the two most common wood species used for board-and-batten siding. In other parts of the country, poplar, Southern yellow pine, and cypress are used. Boards are typically 6 in. to 12 in. wide. The battens can be as narrow as 2 in.
For more photos, drawings, and details, click the View PDF button below:
Fine Homebuilding Recommended Products
Fine Homebuilding receives a commission for items purchased through links on this site, including Amazon Associates and other affiliate advertising programs.
Original Speed Square
100-ft. Tape Measure
Smart String Line






View Comments
Reverse board and batten (battens first then boards) is suggested for a rain screen behind the siding. But to keep the "look" of traditional board and batten what about reverse board and batten and then a second layer of battens to cover the board gaps? So sheathing, WRB, battens (= vertical furring), boards with gaps over battens, then battens again over gaps. If this makes sense, what would the nailing pattern be (or screwing pattern if attaching to sheathing rather than blocking)?