Synopsis: Air leaks make houses less comfortable and less energy efficient while allowing unwanted moisture into wall and ceiling cavities. This article explains how leaks can be eliminated with simple tools and a small budget. A list of adhesives, caulks, and foams is included.
Many builders still assume that careful air-sealing techniques are only for the lunatic fringe of construction—the folks who build houses so tightly that the homeowners can’t take a deep breath without sucking smoke back down the chimney. That’s too bad. Uncontrolled air leakage in a home not only affects the annual heating and cooling bills but also the effectiveness of ventilation systems and the long-term durability of the structure.
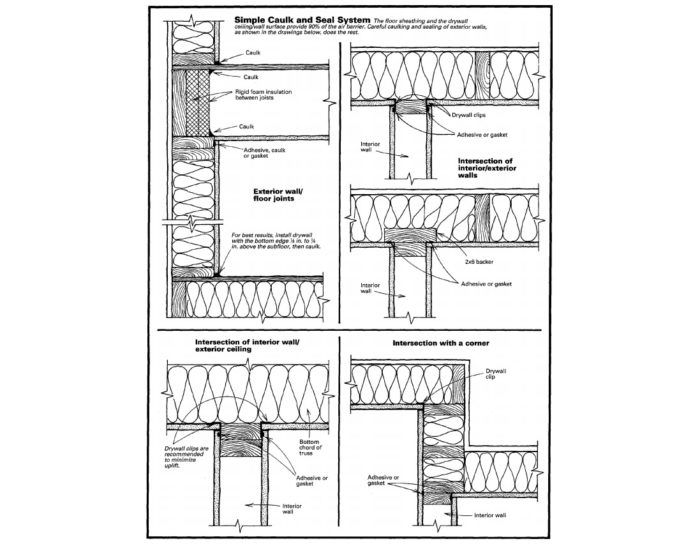
Sealing a house carefully doesn’t call for exotic techniques or an extra bank credit line. With a caulk gun, a razor knife, a systematic approach, and $250 or so, you can eliminate most air leaks and improve the energy efficiency of any new house. The systematic approach is called the Simple Caulk and Seal (SCS) system. It was devised several years ago to address complaints from builders that other tightening schemes were too complicated. The system helps builders identify potential air leaks before construction starts and offers techniques to seal them. The idea is to make the process so simple that there’s really no reason not to seal a house carefully.
Here’s a summary of how it works. First, a builder uses a checklist and a set of building plans to identify potential air leaks. Then the builder works out a strategy for sealing the potential leaks and figures out who should do the work (it might be any of the trades). Snooping out potential leaks isn’t as tough as it sounds, though. That’s because the floor sheathing and the drywall ceiling/wall surfaces provide 90% of the air barrier. Careful caulking and sealing generally plugs any other potential leaks.
Why houses leak
There are two natural forces that cause air to move into and out of buildings: the stack effect and the wind. The stack effect causes most of the uncontrolled air exchange. It occurs when there’s a wintertime temperature difference between the air inside a home and the air outside. The difference in air densities causes cold outside air to infiltrate at the lower levels of a home while the warmer inside air exfiltrates at the upper levels.
Wind forces operate as you might think. Infiltration occurs on the windward (positive-pressure) side of a home when cold air is forced into gaps in the building shell. Exfiltration occurs on the leeward (negative-pressure) side of the house when warm air is sucked out of gaps in the building shell. Wind effects on air exchange vary with shielding and terrain conditions at the site. However, a home on an exposed site may have wind-induced infiltration three or four times as large as in a more protected site.
Because it’s difficult to control the stack effect and the wind, the only effective way to reduce their impact is to minimize the number of holes through which air can flow.
For more photos and details, click the View PDF button below:
Fine Homebuilding Recommended Products
Fine Homebuilding receives a commission for items purchased through links on this site, including Amazon Associates and other affiliate advertising programs.
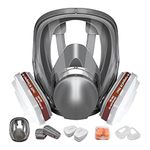
Respirator Mask
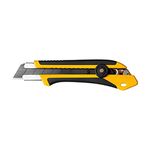
Utility Knife
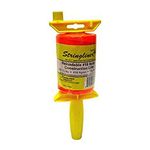
Smart String Line


