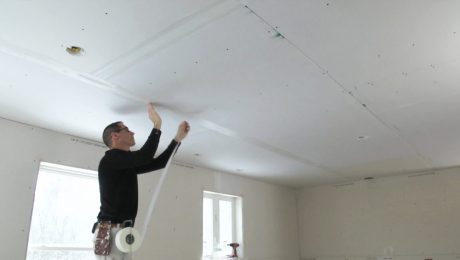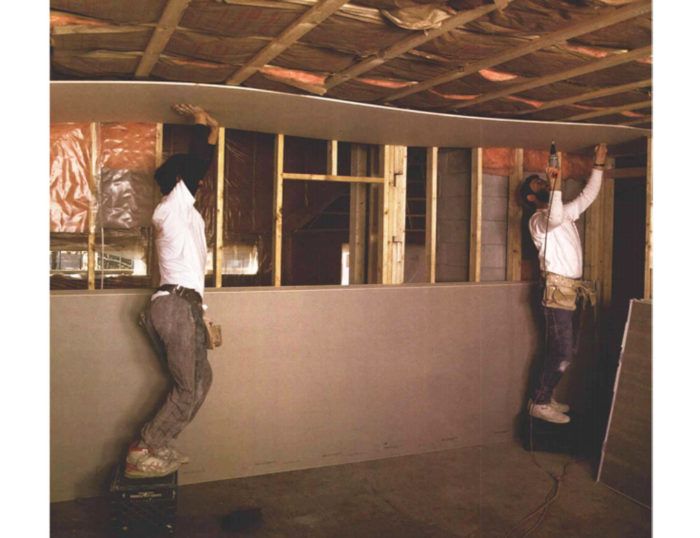
Synopsis: An explanation of how best to apply sheets of gypsum drywall to walls and ceilings, including methods for checking rough framing for flatness, how to keep seams from being obtrusive, and shortcuts for cutting window openings and rounding corners. A sidebar explains how to cut holes for outlets and switches by hand.
For many builders, installing drywall ranks second in popularity only to paying liability premiums. It’s dirty, heavy, even backbreaking work. And unless you do it all the time, getting tight joints and a smooth finish can seem like a Herculean effort.
Maybe that’s why it’s so easy to find bad drywall jobs. The stuff causes enough frustration that quality can fall victim to just getting the job done. A first-rate job is one that nobody notices, while a botched job is a memorable job.
Installing drywall is a two-phase process: first the sheets are hung, then they’re taped and finished. In the June/July issue of Fine Homebuilding, I’ll discuss taping and finishing, but in this article I’ll concentrate on hanging drywall. No matter what type of drywall you choose, properly hung sheets are faster, easier and more pleasant to tape.
Readying the framing
The quality of a wall’s finish depends a lot on what’s under it. Woodframed walls are supposed to lie in a continuous plane, but not all of them do. I check them with a straight 2×4 or with a string pulled across the face of the studs. If I find a warped stud, I either replace it or straighten it with a kerf and a couple of scabs tacked to the sides of the stud.
The moisture content of the framing is important. Use surfaced, kiln-dried lumber. If you’ll be drywalling soon after framing, get lumber that hasn’t been stored outdoors. I learned the importance of this some years ago. We were renovating a hotel dining room with a 40-ft. long interior wall. Our supplier had brought us a load of waterlogged and frozen 2×4 studs, but under pressure from the owners, we framed the wall anyway. Over the next few days we hung and taped the drywall. Then we went home for the weekend. By Monday, after several days of thawing and drying, enough of the once-frozen studs had bowed at the center to buckle the entire wall. A gaping crack now ran the length of the wall. The whole thing had to be torn down and reframed with dry wood.
I use 1×3 strapping to fur out all ceilings, and I think it’s worth the trouble. Shimming behind the strapping ensures a flat surface—even in an old house. The strapping also gives the electrician a place to run wires without having to drill holes in rafters or ceiling joists. And because the straps are placed 16 in. o. c., the joists can be placed 24 in. o. c. and then finished with 1/2- in. drywall without worrying about it sagging. The extra width of a 1×3 makes a larger target to hit with drywall screws, which is especially welcome when working on the ceiling.
For more photos and details on installing drywall, click the View PDF button below.


