Framing Walls
Speed and efficiency are the results of a careful, well-thought-out layout.
Synopsis: Scott McBride describes his methodical approach to framing walls, with an emphasis on careful layout and marking of parts and pieces.
I’ve heard a lot in recent years about the speed and the efficiency of California framers, but I find it hard to imagine anyone faster than the Italian-American carpenters who taught me to frame walls in the suburbs north of New York City. These men worked with an extraordinary economy of motion.
I want to discuss wall framing in general and, more specifically, to point out some of the methods and tricks I learned while working with New York carpenters. Even though some of these framing methods differ from those practiced elsewhere in the country, they have worked well for me, and I think they can work for anyone who wants to be more efficient on the job.
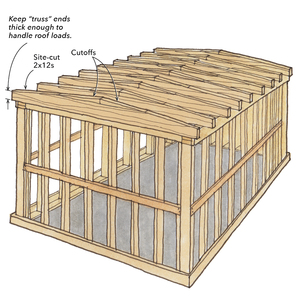
Carpentry has a vocabulary all its own. Stud, jack and header all have meanings outside the carpentry world, but to a framing crew these terms have specific definitions as components of a wall. If you are confused by a sentence that reads, “Toenail the king stud to the bottom plate,” then you should familiarize yourself with the drawing in the PDF below.
Snapping chalklines
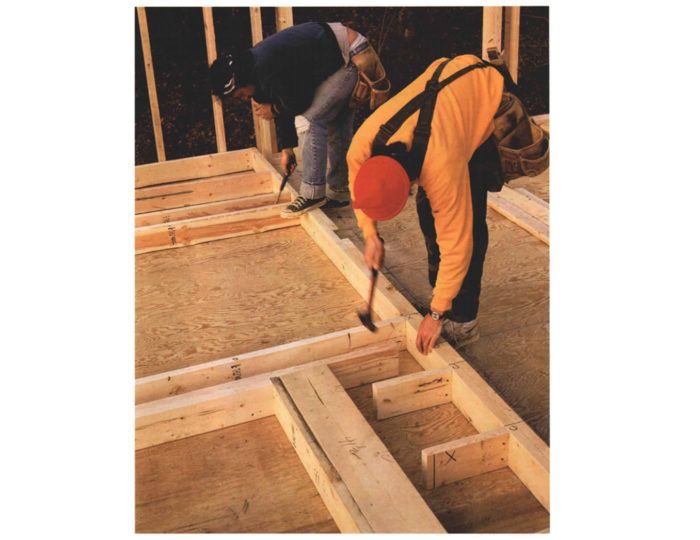
The first step in any wall-framing method is snapping chalklines on the plywood deck to indicate the locations of the various walls. Wall locations will be shown on the plans. First, I snap lines for all the exterior perimeter walls. If I’m building 2×6 exterior walls —which I usually am these days—I use a 2×6 block to gauge a mark 5-1/2 in. in from the edge of the deck at each end of each wall. To position the block, I sight down to the comer of the foundation or of the story below, aligning the outside edge of the block with this vertical line of sight. You can’t depend on the rim joist (called the box beam in New York) for registering the block because the rim joist is often warped out of plumb. Staying in line with the true corner is desirable, even if it means a bump in the sheathing at floor level. Otherwise the building tends to grow as it goes up, causing inconsistencies in the span that can complicate the roof framing.
After making a mark on all the comers of the deck at 5-1/2 in., I connect the pencil marks with chalklines. I anchor the end of my chalkline with an awl tapped into the deck. When all the exterior walls are snapped out, I move on to the interior partitions, taking measurements from the plans and transcribing the lines onto the deck. I snap only one line for each wall and scrawl big Xs on the deck with my lumber crayon. The X indicates the side of the line where the wall goes. If there are 2×6 interior partitions as well as ones made of 2x4s, I indicate with my crayon which partitions are which.
For more photos and details on framing walls, click the View PDF button below.
Fine Homebuilding Recommended Products
Fine Homebuilding receives a commission for items purchased through links on this site, including Amazon Associates and other affiliate advertising programs.

Bluetooth Earmuffs
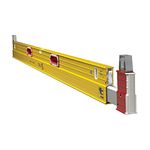
Stabila Extendable Plate to Plate Level
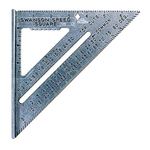
Original Speed Square


