An Elegant Site-Built Door
Build a custom interior or exterior door with common job-site tools and readily available materials.
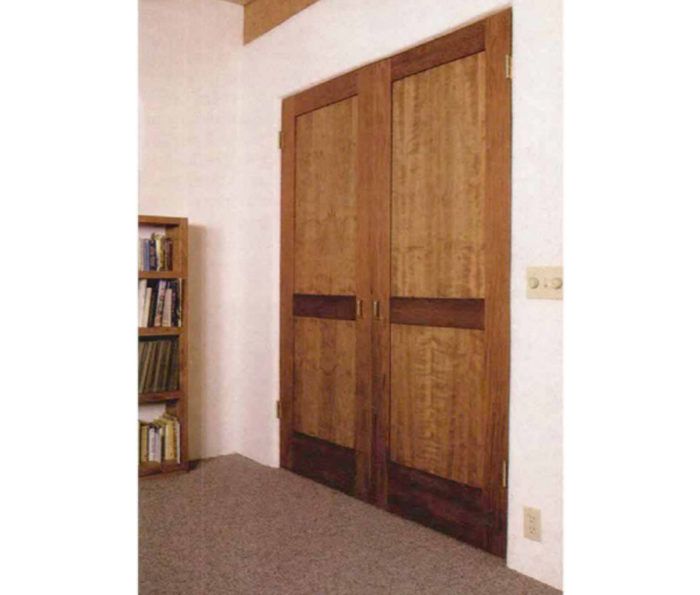
Synopsis: This article describes the construction of both an interior and exterior door of cherry. The author uses dowel joints and panels of cherry veneer plywood to simplify construction. A short sidebar explains how to make a self-centering router base for cutting mortises.
To my eye, nothing adds to the handmade feeling of a home like custom doors do. They are, after all, constantly being touched and used. It stands to reason then that a few extra dollars are well spent on upgraded doors. But a lot of people balk at the idea because custom doors cost plenty. Well, they don’t have to.
I make simple, economical doors that also are beautiful. I don’t skimp on the materials when I make these doors ($100 worth of materials is about average), and I typically match them with the predominant trim or furniture woods found in the rest of the house. My doors are affordable because they don’t take long to make, and they don’t require a lot of specialized tools. If you’ve got a router, a drill, a circular saw and a flat work table, you can build doors right on the job site.
My doors are updated versions of the frame-and-panel style, with simple, clean lines. Instead of using panels that are milled from a single, thick piece of stock, I make the panels for my interior doors out of three layers of plywood. The middle layer is 1/2-in. birch or mahogany plywood. To this core I glue ¼-in. plywood with the appropriate veneer.
One of the trickiest parts of building doors is joining the stiles and the rails (these are the vertical and horizontal parts, respectively, of the frame). I use two different methods to make this joint. Interior doors don’t get the wear and tear of exterior doors, so their frames can be joined with dowels. This method is less work but not as strong as the loose tenons I use to join exterior doors. More on them later.
On-site door shop
A door-building work station must be outfitted with at least one sturdy work table. The ideal size is around 40 in. by 84 in. I made the one in my shop out of 2x6s. An even simpler version can be constructed easily from 3/4-in. A/C plywood (good side up) with a 2×4 frame on edge. Position the table so that you can move around at least three sides of it. On a job site, I prefer to affix one of the short sides to a stud wall and support the other end with 2×6 legs braced with plywood gussets.
For more photos, drawings, and details, click the View PDF button below:
Fine Homebuilding Recommended Products
Fine Homebuilding receives a commission for items purchased through links on this site, including Amazon Associates and other affiliate advertising programs.
Original Speed Square
Anchor Bolt Marker

100-ft. Tape Measure


