Building an Exterior Newel Post
Redwood boards and custom moldings decorate a pressure-treated post and anchor the front-porch steps.
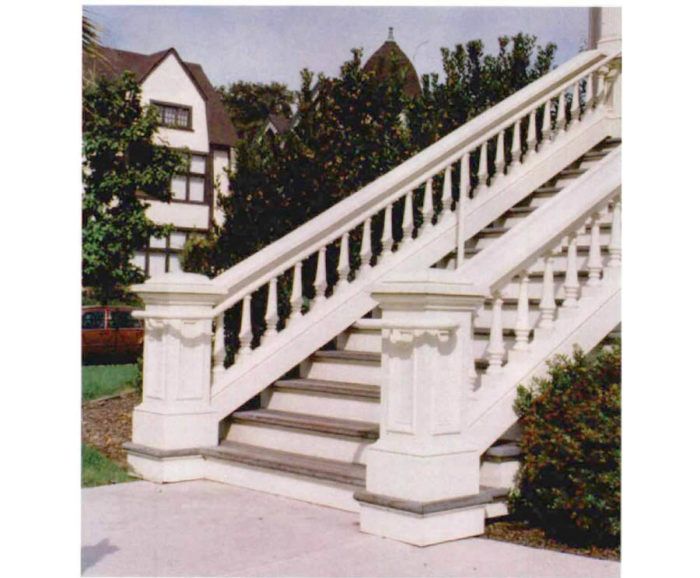
Synopsis: An experienced union carpenter explains how to transform an ordinary pressure-treated 4×4 into newel posts for an ornate Italianate Victorian stair. Layers of redwood and careful detailing are the keys.
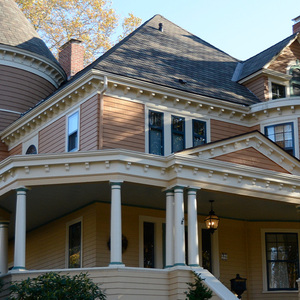
I could hardly believe my good fortune when I landed a job at Preservation Park. This development in Oakland, California, is a collection of historically significant houses that were rescued from the wrecking ball. The dozen or so houses that make up the project were neglected, rundown, and in the way of other projects. But instead of carting them off to the landfill, the local redevelopment agency had the foresight to move the houses to a new neighborhood where they could be rebuilt into offices that honor Oakland’s diverse architectural heritage.
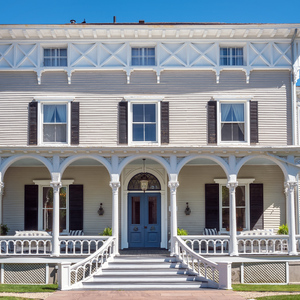
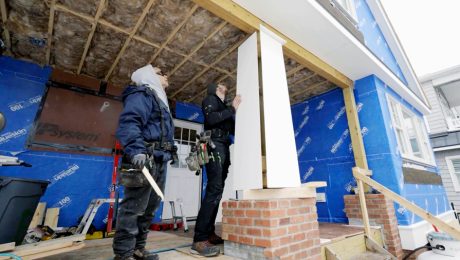
The houses, which ranged in style from Tudor to Victorian, needed rebuilding. I was to rebuild the porches and the stairs, which had been lost during the moves. The newel posts I built for Trobridge House are good examples of the work I did at Preservation Park. And while Trobridge House is a Victorian of the Italianate style, the methods I used to build the newels certainly could be adapted to other styles.
Custom-milled moldings
The Italianate style enjoyed the height of its popularity in the 1870s. The style drew heavily on massive, classical masonry motifs for inspiration, translated into wood by the ingenious millworking machines of the Industrial Revolution. The ubiquity of mills made highly finished materials readily available to the contractor for jobs both big and small.
Long gone is the vast selection of off-the-shelf Victorian house parts. But here in the San Francisco Bay area, there are still a few mills that can duplicate the old trim. Guided by bits of paint-encrusted molding from Trobridge House, the venerable El Cerrito Mill and Lumberyard in the nearby town of the same name ground shaper knives to mill crown, base, panel moldings and handrails for this job.
Tied to the ground
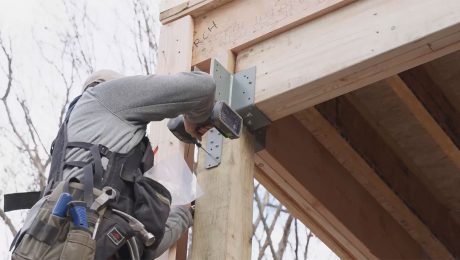
As the primary anchorage for the handrail, the newel post must be firmly connected to the landing. The most typical method (and the one used on this job) is to build the newel around a pressure-treated post that is bolted to a steel post base. Set in concrete, the base keeps the bottom of the post from getting wet by elevating it slightly above the ground. As shown in the right drawing on the facing page, the base should be oriented so that the bolts are perpendicular to the line of the handrail with the prongs helping to stabilize the newel from the side. The steel post base requires careful layout because the location of the newel must be decided before the concrete is placed.
For more photos, drawings, and details, click the View PDF button below:


