Framing Gable Ends
You can use a story pole and a level to lay out accurate cuts without a tape measure.
Synopsis: A framing carpenter turned structural engineer describes his method for framing gable-end walls. He uses a level and a story pole instead of a measuring tape and explains how to use the “common difference” associated with the roof pitch to speed layout.
The first time I had to frame and sheathe the gable end of a house, I did a miserable job. The carpenter I was working for had no system for laying out the studs, which are all of different lengths and have angled cuts on their tops to match the roof pitch. He just said fill in the end between the last rafter and the plate below so that we could put sheathing on it. Then he took off. I did a lot of cutting and fitting and recutting and measuring. The job seemed to take forever.
A few years later another carpenter taught me the method I’m going to explain here. It may look confusing at first, but once you get it, you’ll have a gable end framed in less time than it takes to read this article.
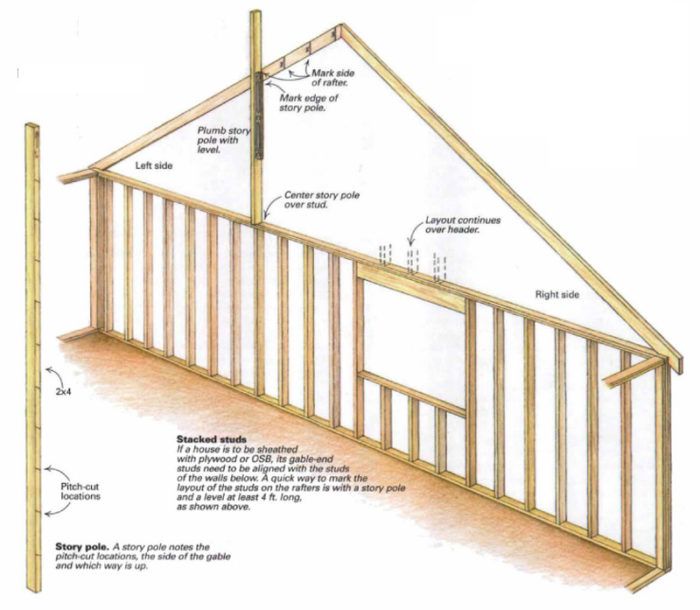
The studs are lined up over the wall studs below (called stacking) and notched around the gable-end rafter. The important part of the notch is the pitch cut, which is on the same angle as the rafter. When the studs are cut and installed this way, they flush up to both the interior and exterior of the framing. I like the solid feel of gable walls that are framed with this method.
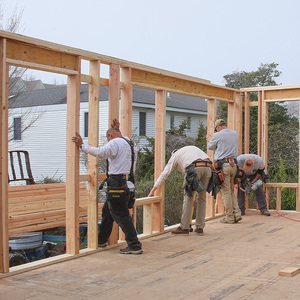
Before installing the gable-end studs, a little preparation is required. You should place a couple of sheets of plywood on the ceiling joists for a work area. On this work area you need a circular saw, a level that’s at least 4 ft. long, a framing square and enough studs and sheathing to cover the gable. It’s also helpful to leave out the next-to-last rafters to give yourself adequate room to work. I only forgot that trick once.
Story pole
Begin the job by selecting a straight stud that is long enough to extend above the top of the rafter at your highest stud. This is your story pole, and it eventually will have the height of the notches for all the gable studs marked on it. Draw a big R on one edge to indicate the right side of the gable, and a big L on the opposite edge to record the left side. Then put an arrow on one edge to show which way is up.
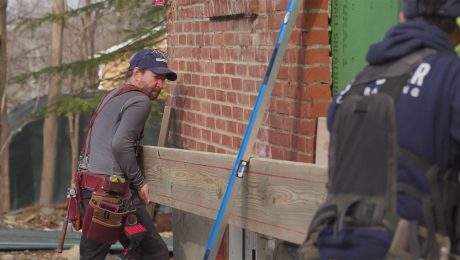
Begin marking at the high end of the gable by putting the bottom of the story pole directly over the stud nearest the peak. The story pole is held against the rafter at the top and plumbed with the level. Next make a mark on the rafter to show the uphill side of the story pole and another mark on the edge of the story pole that records the bottom of the rafter. With the marks made, pull the story pole away from the rafter and draw an X on the downhill side of the line on the rafter to show where the stud will go.
Repeat this procedure for all of the studs on one side of the gable, then turn the story pole around and do the same for the studs along the other side. When you’re finished, your rafters should be marked for stud layout, and your story pole should have similar markings on both sides that show the positions of the pitch cuts.
For more photos and information on framing gable ends, click the View PDF button below.
Fine Homebuilding Recommended Products
Fine Homebuilding receives a commission for items purchased through links on this site, including Amazon Associates and other affiliate advertising programs.

100-ft. Tape Measure
Guardian Fall Protection Pee Vee
Original Speed Square
