A Furniture-Grade Finish for Trim
Applied in layers, alcohol-based dyes and stains make for a beautiful job.
Synopsis: This article explains an advanced technique for applying layers of color and topcoat to interior trim. A sidebar offers an alternative method for those without spray equipment.
Multilayer finishing isn’t new. For years the furniture industry has been making finishes look deeper and more uniform by applying colors one on top of another. But wood finishing in the construction and architectural fields is another story. It often consists of just a stain, a sealer and a top coat — what you could call a traditional cabinet-grade finish. But using multilayer finishing techniques on interior millwork, giving window and door casings and other trim the elegant appearance of fine furniture, is not as difficult as it may seem.
We recently took on a Victorian restoration, where building up the finish in layers produced exactly the result the owner was looking for. The house was built in 1870 in Berea, Ohio, by G. W. Whitney, the founder of one of the largest gristmill stone quarries in the country. Most of the trim in the house was of Douglas fir. The staircase, also mostly in fir, included walnut spindles and handrails. Most of the woodwork, such as door and window casings, was to be uniform in color. The doors themselves and some trim on the stairs were given two-tone finishes.
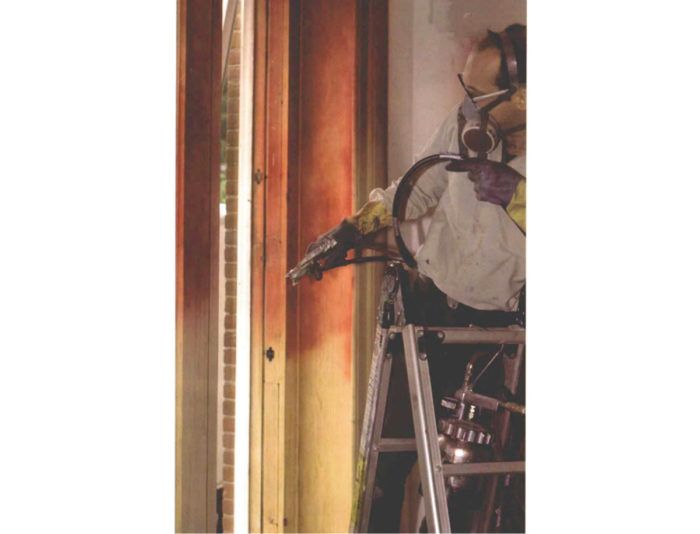
We created a dozen or so color samples to narrow the possibilities, and the owner liked two of them — a red mahogany and a honey maple. But there was something missing in the appearance of these simple cabinet-grade finishes. To look really authentic, the mahogany needed more of an “ox-blood” color, and the honey maple (a color we used on doors and stairs) lacked the orange shades of aged shellac. So we produced a new set of color samples using an additional coloring step. Beginning with non-grain-raising (NGR) dye, we applied the base color, then a wash coat to seal that color into the wood and, over that, a second color of wiping stain. A sealer and two finish top coats over the stain completed the job. The additional layer of color did the trick, adding depth to what had been a routine finish. We use spray equipment, but the technique can be adapted if you finish by hand.
NGR dyes and wiping stains
We’ll give you the exact finishing schedule we used in the house later, but first we’ll tell you more about the individual materials that make up the layering sequence and how we make sure the samples we show a client are produced accurately on the job. We use a color-step panel when searching for just the right color match. In this case, we started with a piece of aged Douglas-fir siding that would approximate the appearance of the old fir trim used inside the house. The board is sanded just as the project material will be sanded, and a strip of masking tape is placed across one end of the sample before any finishing begins. Then the finish is applied in steps, just as it would be on the job. After each layer of finish is dry, a new strip of tape is added to cover a portion of that layer. When the final top coat is dry, the tape is removed to reveal a step-by-step sequence, showing the exact color and appearance of the wood at each step. Color-step panels give us a benchmark to control each step of the finishing operation.
For more photos and details, click the View PDF button below:


