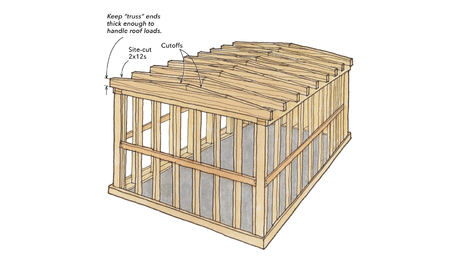
Framing for Skylights
The trick is in laying out and building the splayed walls of the lightwell.
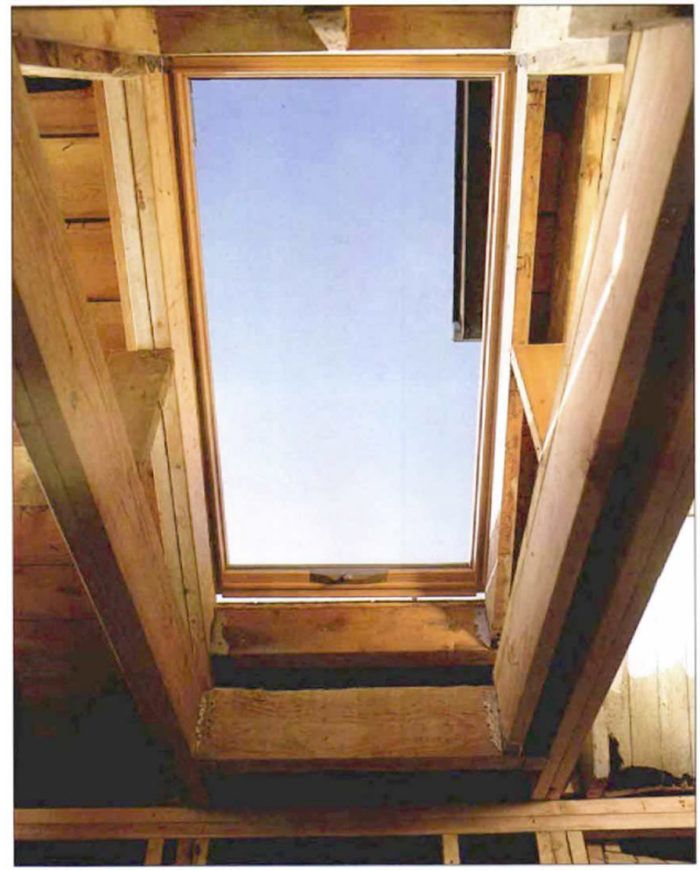
Synopsis: Here are the framing details for adding a skylight in an existing roof. The author suggests a way for sizing the skylight with a splayed wall from below. A sidebar explains how to build the well from plywood.
Winter days in the Pacific Northwest can be short and gray, which helps explain why many people rely on skylights to make the most of what little natural light there is. When I started building 20 years ago, “skylight” wasn’t even in my construction vocabulary. But skylights are now standard in the houses I build and are one of the improvements homeowners ask for most frequently in remodeling projects.
Framing for a skylight isn’t difficult, but it’s more than just cutting a hole in the roof and dropping in a factory-made unit. Installation is a lot simpler in new construction because roof and ceiling framing are open and visible, and the skylight can be included in framing plans right from the start. In a retrofit, you’ll have to grapple with obstructions like heating ducts, plumbing, wiring and insulation, and none of these obstacles may be apparent when you start. Whether you’re installing a skylight in a new house or an old one, though, framing is essentially the same. There are two basic framing questions you’ll have to settle: how to create the openings in the roof and in the ceiling, and how to build the light shaft, or lightwell, that connects the two.
The size of the skylight has a lot to do with how complicated the framing will be. Some skylights fit between rafters or trusses on standard 24-in. o. c. spacing. If you choose one of these units, no rafters or ceiling joists must be cut, and framing is fairly simple. Large skylights require more work and a slightly different framing technique to make the openings and to build the lightwell. I’ll explain how I handle both situations.
Planning the skylight well
What makes framing for a skylight unique is the lightwell, which connects openings in the roof and the ceiling. Of course, if there is no ceiling, such as in an open-beam roof, there is no well, and the only required framing will be at the roof. I frame my skylight wells with 2x material so that they can be insulated like an exterior wall.
The size of the roof opening is determined by the rough opening of the skylight, but the size of the ceiling opening, and consequently the design of the well, is variable. A simple approach, and the one I use when the well will not be very deep (less than 2 ft. high at the high end), is to bring all four sides of the well down 90° to the roof slope. More often, though, 1 run the high end of the well 90° to the roof slope, and the lower end of the well plumb. The ceiling opening then becomes longer than the roof opening but the same width as the skylight. The splayed shape allows for greater dispersion of light inside.
To continue reading about planning the skylight and for more information and photos on this topic, click the View PDF button below.
Fine Homebuilding Recommended Products
Fine Homebuilding receives a commission for items purchased through links on this site, including Amazon Associates and other affiliate advertising programs.
Flashing Boot Repair
Stabila Extendable Plate to Plate Level

Short Blade Chisel


