Building a Fireplace Mantel
Fluted pilasters and decorative trim make for a mantel that appears complicated but really isn't.
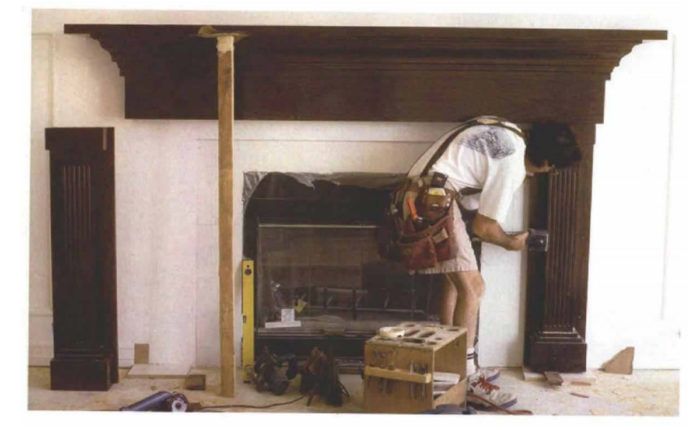
Synopsis: Gary Katz explains how to build a large fireplace mantel in three sections. Fluted columns and built-up molding make an impressive installation, but construction is relatively simple.
At first glance, fireplace mantels seem impressively intricate and outrageously expensive, but frequently they aren’t. I know because a good client asked me to build a copy of a mantel from his previous home. After seeing the original mantel and identifying its parts, I was able to build the new mantel simply and economically using solid stock, plywood, and manufactured moldings. Even though I’ve been a trim carpenter for many years, anyone with a basic knowledge of woodworking can build a fireplace mantel with the techniques I used here.
Strips of MDF simplify flute spacing
For this mantel, the first things to build are the pieces flanking the firebox, or the pilasters. I make each pilaster with three pieces—two sides and one face—mitered together along their length. I rip the faces and sides from solid oak and cut them slightly longer than their finished length. Once the pilasters are built, I’ll trim them to size on a radial-arm saw.
Although I rip the sides of the pilasters to width with one edge square and the other beveled 45°, I rip the faces slightly wide and with square edges. Later, I’ll bevel the edges at 45° for mitered joints, but right now I’d rather push a square edge along the tablesaw’s rip fence. The long point of a bevel can jam under the fence, and in this case I’ll be pushing the face stock through the fence six times to make parallel decorative grooves, or flutes.
Although fluting looks ornate, it isn’t difficult to accomplish with a table-mounted router. My Makita portable 8-in. tablesaw is designed with a router mount underneath, so the bit sticks up through an opening in the table. The fluting also can be cut by running a router along a straightedge or by using a router guide. While these methods might be safer, they are slower and less accurate than a table-mounted router.
I use a 1/2-in. round-nose (core box) bit to cut the flutes, set to a depth of 1/4 in. To make the process easy, I place multiple strips of medium density fiberboard (MDF) between the rip fence and the workpiece and remove one strip after each pass, making it unnecessary to adjust the rip fence for each flute.
For the fluting on these 6-in, wide pilasters, I make the MDF strips 1-in, wide: 1/2 in. for the flute plus 1/2 in. for the space between flutes, which gives me even spacing across the face. The MDF strips stay put because they butt into a stop block that’s screwed to the table extension. The stop block is positioned so that the workpiece bumps against it, resulting in flutes that end 1-1/4in. from the bottom of each face.
For more photos, drawings, and details, click the View PDF button below:


