Installing a Kitchen Sink
From cutting a hole in the counter to attaching the faucets and drain, a master plumber shows the way.
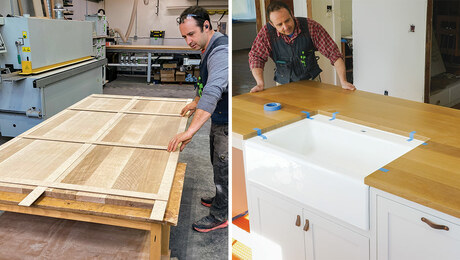
Plumber Peter Hemp explains how to install a rimless kitchen sink with his usual detail on both technique and materials.
Installing a sink in a new kitchen can be one of the few enjoyable tasks a plumber performs—new kitchens smell so good. But if a sink is installed incorrectly, problems can haunt the homeowner for years to come and cause untold suffering for plumbers. I should know. I was once the victim of a bad kitchen sink installation.
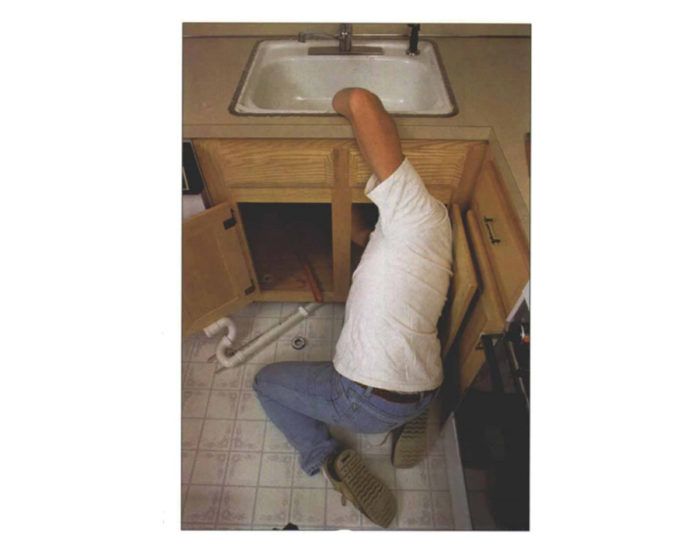
I had been trying to replace a faucet on an old cabinet-mounted basin. To get to the faucet connections, I had to remove the trap and scrunch up inside the cabinet on my back. I ended up with my shoulders not quite through the door and with my face just below the tailpiece of the drain.
I removed the old solid-brass water supplies and, when I reached up and back to put my basin wrench on one of the faucet connections, the heavy, rim-mounted cast-iron bowl fell, jabbing the tailpiece into my face just below one eye. If I had been an inch or so more out of the cabinet, I probably would be either half-blind or dead today.
The installer had used caulk to glue a rim to the sink, evidently not knowing that there were punchouts in the rim to hold the sink securely in place before installing sink clips. The sink was installed on plywood, and tile covered the counter and sink ledge, hiding the rim. No sink clips were used. The caulk long since had shrunk, cracked and dried out. I had been unaware of the danger I was in. So in this article I try to make the installation—and any future extraction—of a sink as simple, yet as complete and painless, as possible. Be aware that photos shown in this article were taken at different jobs, though all relate to installations discussed here.
Sink choices
There are three main types of sink: those in which the lip, or flange, of the bowl overhangs the counter surface (self-rimming); those with the bowl hung from a mounting rim or from clips below the counter (rimless or underhung); and those with tile, marble or granite over the lip of the bowl (mudded-in or counter-over). I’ll deal with rimless sinks in this article.
Cut the sink opening
You can make a template for a rimless sink, or use the mounting rim as a template. For the latter, center the rim right-side up on the counter and trace around the outside of the rim’s central partition that will hang between the sink and the counter. If you’re installing a self-rimming sink, you’ll need a template that follows the contours of the sink yet that is 1-1/2-in. smaller in diameter. The resulting rough opening will create a ledge that’s 3/4-in. wide for the selfrimming sink to bear on.
For more photos and details on installing a kitchen sink, click the View PDF button below.


