Site-Built Footbridge
Using backcountry lamination techniques to span a creek in style.
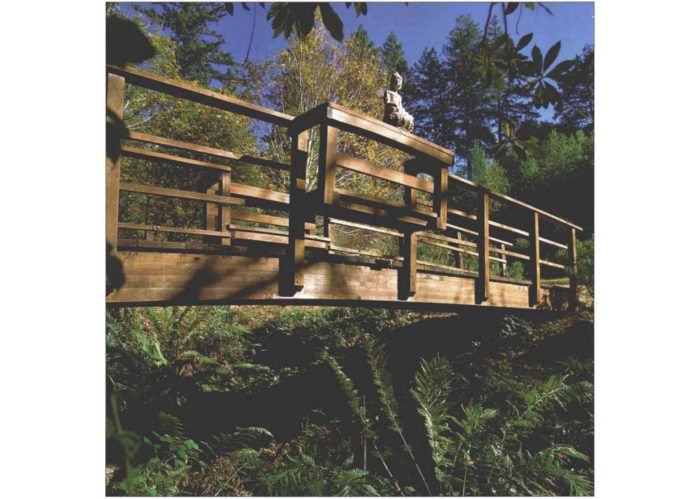
Synopsis: The author explains how he built an arched bridge with a 30-ft. span to cross a creek near his home. Girders are laminations of 2×8 redwood glued up in the author’s shop and carried to their new footings by hand. A sidebar describes a similar project by a different author who built an attractive garden bridge for his house.
There’s nothing like a big event to focus your attention on some long-neglected job around the house. Maybe the new neighbors are dropping by for coffee, or the bank’s appraiser is about to pass judgment on the home-equity loan. For me, it was a wedding day. In a couple of months, some friends were going to be married in the meadow below our house. To get to the meadow, the hundred or so guests would have to cross a small creek on our decaying, poorly constructed footbridge. The thought of launching a marriage with a bridge disaster was enough to get me in gear.
Trailside technology
On hiking trips in the Santa Cruz mountains near our home in northern California, I had admired the many small, finely crafted footbridges. Their decks were supported by laminated redwood girders that were built in place. The local park ranger sent me a drawing of one of their basic bridges. The drawing included the footing design and assembly techniques that I put to use building our bridge. I did change a couple of things, however.
I like the look of the arching footbridges that are often centerpieces of Japanese gardens. So I modified the straight girder the Park Service uses in its bridges by putting some curve into our bridge girders. Also, I decided to incorporate a pair of built-in benches in the railing. Located midspan, the benches provide a contemplative alcove to enjoy the creek, the natural setting and the company of friends.
Put the footings back from the bank
Our creek isn’t very wide. But the banks are sandy clay held together by roots, and you can watch the bank erode before your eyes during a heavy downpour. So I chose to place the bridge footings about 8 ft. back from the erosion line. That put the two footings about 30 ft. apart.
The footing s are 42 in. long and L-shaped in cross section. Both the vertical and the horizontal legs of the footings are 6 in. thick and 16 in. wide. The ends of the girders bear against the vertical legs, which oppose the horizontal thrust exerted by the arched girders. I placed three horizontal lengths of 1/2-in. rebar as well as vertical rebar Ls 6 in. o.c. to reinforce the concrete. Steel post bases cast into the footings anchor the ends of the girders. While building the footing forms, I made sure the footings ended up square and level to one another.
Overbuild the girder
I admit that I didn’t have an engineer on this job. Instead, I made the girders so big that they had to be strong enough. Like the Park Service, I used green construction-heart redwood for the girders, but I used 2x8s instead of 2x6s. It’s important to stagger the joints in a glued-up beam, so I made a chart on graph paper that served as a guideline for the glue up.
For more photos, drawings, and details, click the View PDF button below:


