A New Way to Repair Old Plaster
If cracks and crumbling plaster have you down, here's a remedy that uses basic methods and materials, and that requires no sanding.
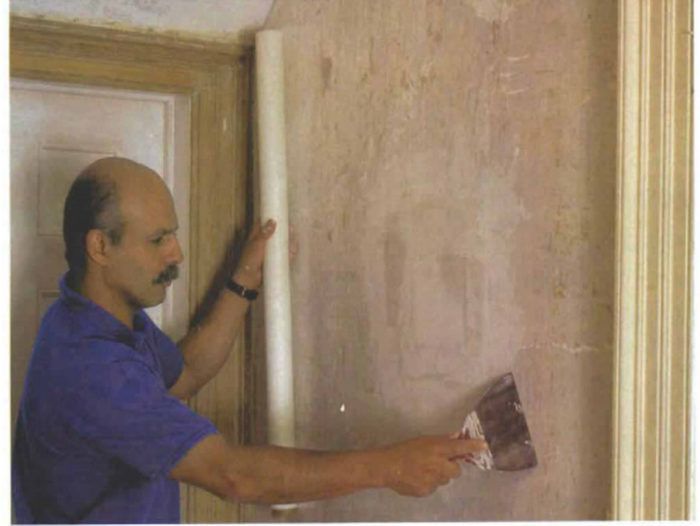
Synopsis: Furniture maker and renovator Mario Rodriguez turns his attention to plaster repairs, using 3-ft.-wide fiberglass mesh to reinforce cracked walls. He covers the process step by step, and includes a sidebar on patching holes in plaster walls with pieces of gypsum drywall.
When my wife and I were hunting for an old house to restore, I was never put off by sagging floors, old kitchens or even leaky plumbing. But every time I confronted ugly, cracked plaster walls and ceilings, I was stopped cold.
Dealing with deteriorating plaster can be one of the most perplexing problems in the restoration of an old house. The usual choice is tearing everything out and starting from scratch, which generates tons of debris and clouds of plaster dust that linger for many months after the job is finished.
There’s also the option of a tedious, expensive multiple-step restoration process that involves cleaning out and filling every little plaster crack with the scratch coat, the rough brown plaster base, and then applying several coats of smooth plaster. But if you can’t afford to have a complete restoration project done and if you don’t enjoy the taste of plaster dust, there is an alternative.
Fiberglass mesh and fortified joint compound provide the base
The method I use starts with woven-fiberglass mesh, a wider version of drywall seam tape, made by Perma Glas-Mesh. The mesh is applied over the existing plaster walls and ceilings and provides a stable, flexible ground that spans small cracks and imperfections in the old plaster surface. The mesh also reinforces the layers of compound that are applied on top.
The rolls of fiberglass mesh are 36 in. wide and 75 ft. long. I found a local building-supply store that stocks the product for around $24 per roll. But any store that sells fiberglass seam tape should be able to order the mesh for you.
The second key to my method is applying a thin layer of ready-mixed joint compound fortified with #00 mason’s sand over the mesh as a base coat. Mason’s sand has a fine, uniform grain with no pebbles and can be purchased at any masonry supplier. If mason’s sand is unavailable, I reluctantly substitute builder’s sand, which is sold by the bag at most building supply stores. Bagged sand should be sifted to remove pebbles before it is mixed into the compound. After the fortified layer is applied, several thin layers of regular joint compound finish the process with no sanding between coats.
Using joint compound instead of plaster has several advantages, the first being that a single product is used for all stages of the process. Another advantage is that joint compound is available at any lumberyard or building-supply store. Joint compound also has a longer working time and shelf life than mixed plaster, remaining workable for weeks if kept in a closed bucket. Also, joint compound is ready to use out of the can, and its homogeneous texture and working characteristics are familiar to almost anyone who’s ever worked with drywall.
For more photos and details, click the View PDF button below:
